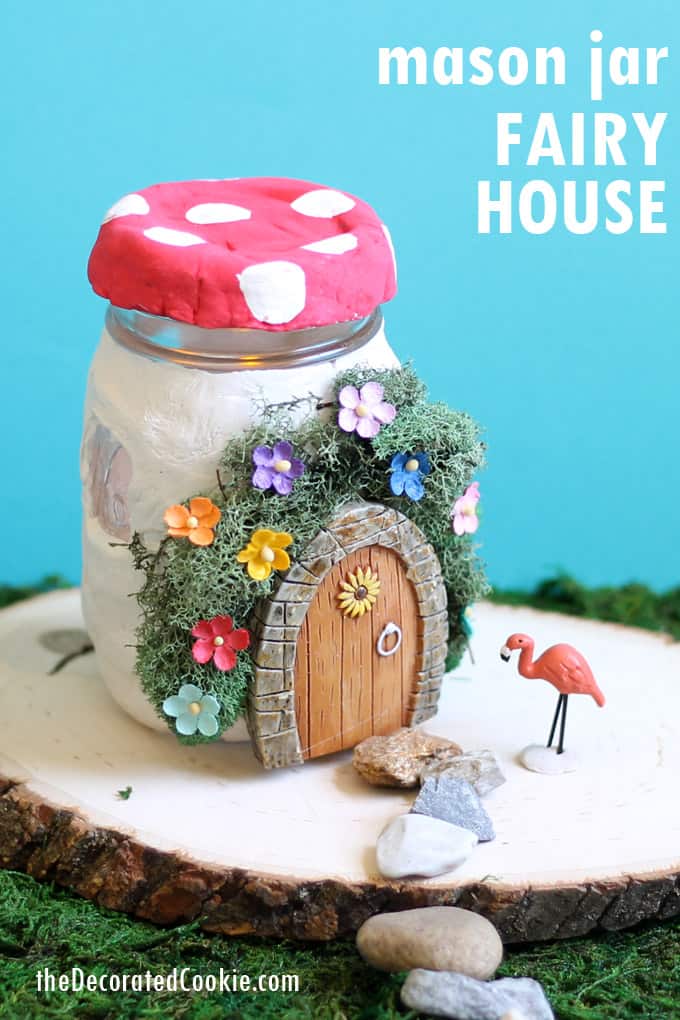
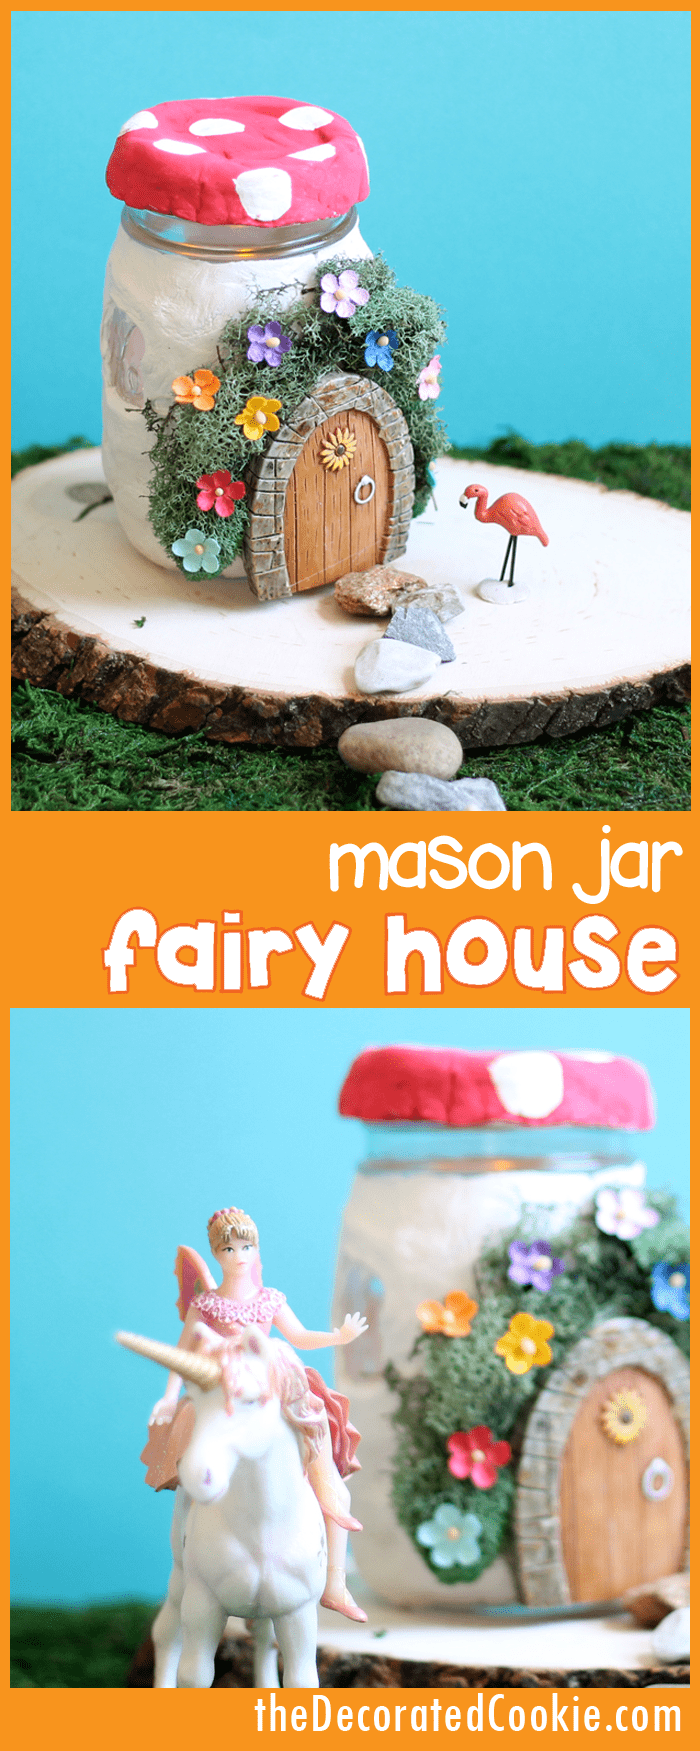
Fairy house craft idea: Use air-dry clay and mason jars to make a light-up fairy garden mason jar.
Fairy house fan?
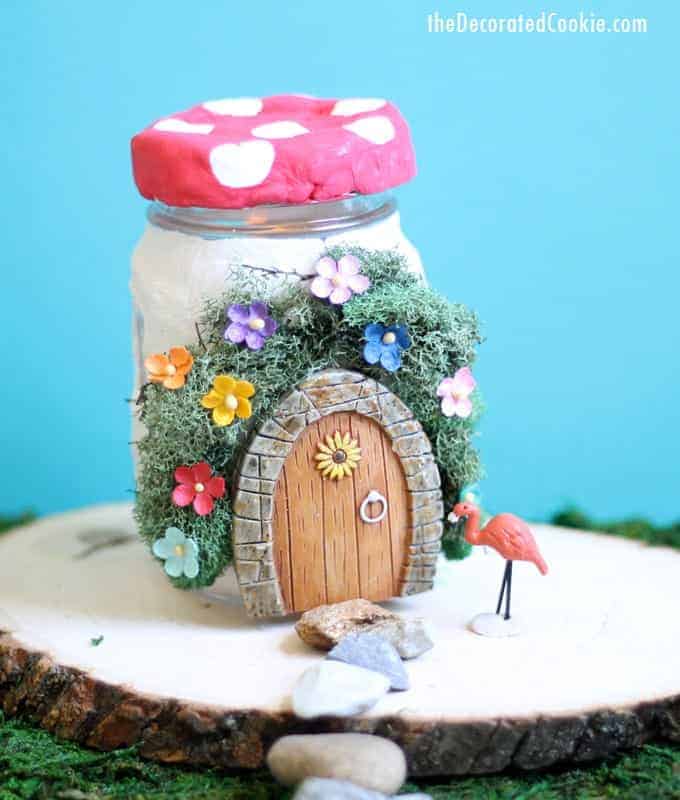
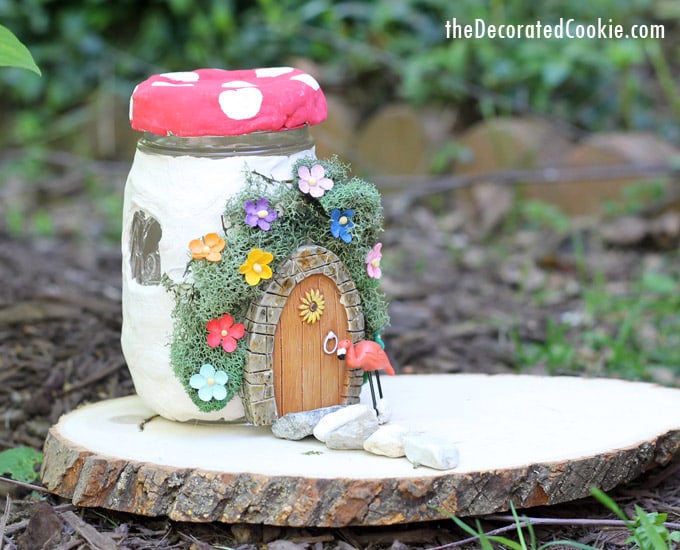
Ohmygosh, this mason jar fairy house is the best thing ever. Thanks to my daughter’s obsession with fairies and fairy gardens (and unicorns and rainbows), I’m a little obsessed with fairies and fairy gardens. And I love mason jars, so these two things were bound to be combined here.
Fairies will flock to these little jar houses. There are windows, so you can put a battery-operated tea light. (Battery-operated because with the lid shut, there is no oxygen in the jar for a real flame. Wait a minute… or the FAIRIES! Ack! If any fairies move in, be sure to leave the lid cracked so they get air.)
Like this idea? You might also like this roundup of DIY doll house furniture ideas and how-tos.
Here I use air-dry clay, acrylic paint, and store-bought moss, so I’m not sure these would survive if left outside in the elements.
They’re best for indoor decorations or temporary outdoor decorations for a fairy party. Or, light up your porch at night with mason jar fairy houses.
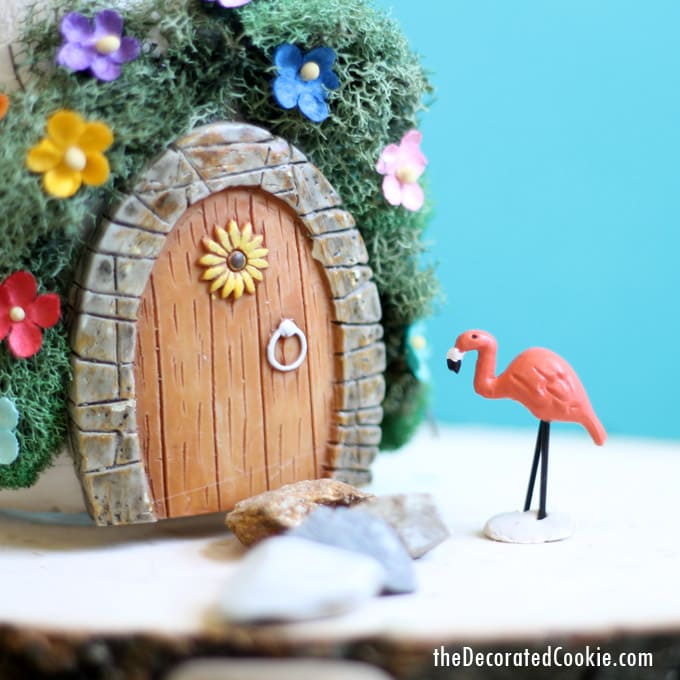
I bought a little flamingo miniature and used some rocks for a walk. Use any other decorations you like to display your fairy house.
These mason jar fairy houses are surprisingly easy to make, but for planning purposes, note that the clay needs to dry overnight. So you will need to allow at least two days for crafting.
If you like these, check out this marshmallow fairy garden or these woodland petits fours.
how to build a fairy house
you will need:*
- mason jar (any size you prefer)
- air-dry clay (white or off-white)
- mini square and/or circle cutters
- fairy door
- hot glue gun and/or Gorilla glue
- faux moss
- little flower decorations
- red craft paint
- white craft paint
- mini marshmallow
- battery tea lights
Find everything in the craft store, or click the affiliate links above (but really, the least expensive option is to hit up the craft store in one stop and use some coupons).
Choose any size mason jar you like, as long as the fairy door you choose fits appropriately.
For a regular-size, pint mason jar, I used a 2 3/4-inch tall fairy door. A 5-inch fairy door will fit the large mason jars.
what to do:
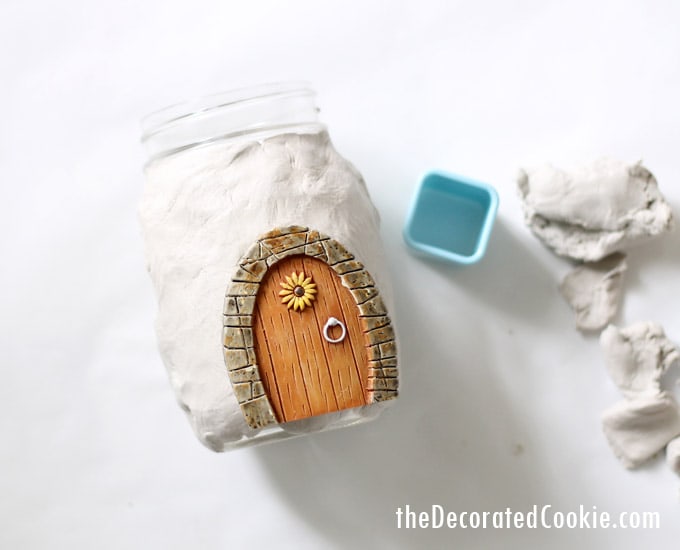
First, coat the mason jar with the air-dry clay.
Knead a small bit and flatten the piece, wrap around the jar. Fill in the entire jar up to the bottom of the area where the lid is screwed.
Do NOT put clay on the bottom of the jar.
Roll the jar on your work surface to smooth. (Don’t worry if it’s perfectly smooth; fairy houses are supposed to be woodsy and a bit rough.)
Test where you’d like to put your door, and cut out a few circles or squares around for windows.
Second, coat the lid with the clay. With the glue gun or gorilla glue, glue the two pieces of the lid together.
Then, coat the lid with the clay as you did the jar, being sure to leave the entire underside free of clay so it can later go on the jar.
Let the jar and lid dry overnight.
Third, with the glue gun or gorilla glue, adhere the fairy door, moss, and little flowers.
Fourth, paint the lid with the red craft paint (you’ll probably need two coats) and let dry. When dry, dab a mini marshmallow in the white paint and stamp dots on the lid. Let dry.
When ready, add the tea light and assemble your jar.
mason jar fairy house

Fairy house idea: Use air-dry clay and mason jars to make a light-up fairy garden mason jar home decoration. Video tutorial included.
Materials
- mason jar (any size you prefer)
- air-dry clay (white or off-white)
- mini square and/or circle cutters
- fairy door
- hot glue gun and/or Gorilla glue
- faux moss
- little flower decorations
- red craft paint
- white craft paint
- mini marshmallow
- battery tea lights
Instructions
- First, coat the mason jar with the air-dry clay. Knead a small bit and flatten the piece, wrap around the jar. Fill in the entire jar up to the bottom of the area where the lid is screwed. Do NOT put clay on the bottom of the jar. Roll the jar on your work surface to smooth. (Don't worry if it's perfectly smooth; fairy houses are supposed to be woodsy and a bit rough.) Test where you'd like to put your door, and cut out a few circles or squares around for windows.
- Second, coat the lid with the clay. With the glue gun or gorilla glue, glue the two pieces of the lid together. Then, coat the lid with the clay as you did the jar, being sure to leave the entire underside free of clay so it can later go on the jar.
- Let the jar and lid dry overnight.
- Third, with the glue gun or gorilla glue, adhere the fairy door, moss, and little flowers.
- Fourth, paint the lid with the red craft paint (you'll probably need two coats) and let dry. When dry, dab a mini marshmallow in the white paint and stamp dots on the lid. Let dry.
- When ready, add the tea light and assemble your jar.






Natasha says
I love the flamingo in the front yard! It’s such a cute touch.
meaghanmountford says
Thanks Natasha!
Lucia Minnig says
I have a question, when my clay dries in cracks but it only happens when it’s on the jar it has never happened before, do u know why or how to stop it?
meaghanmountford says
Hi Lucia,
It’s unfortunately common for air-dry clay to crack because it has water in it, as the water evaporates, the clay shrinks a bit and can crack. But here’s a great blog post on what to do when it happens and how to prevent it from cracking: https://www.delineateyourdwelling.com/7-ways-to-keep-air-dry-clay-from-cracking/