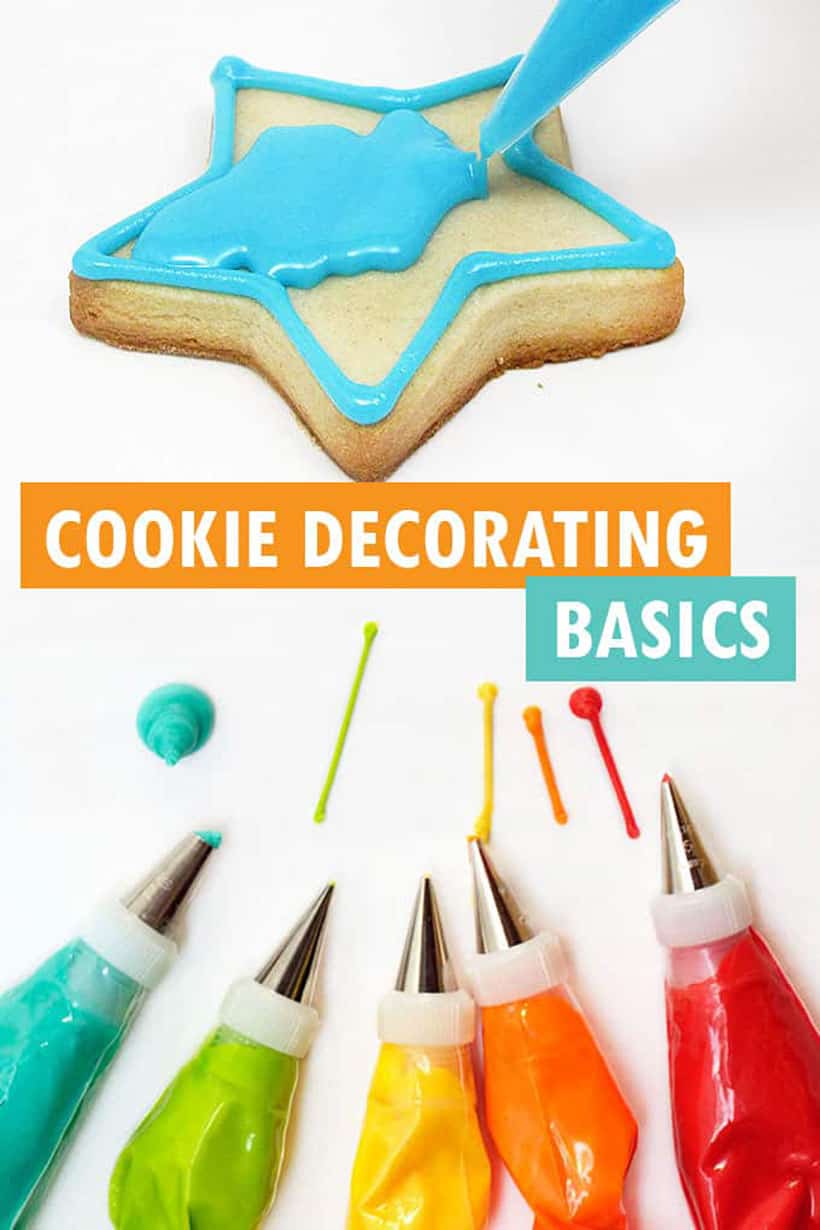
Want to learn how to decorate cookies?
Here are some basic EASY cookie decorating instructions to get you in the kitchen and creating.
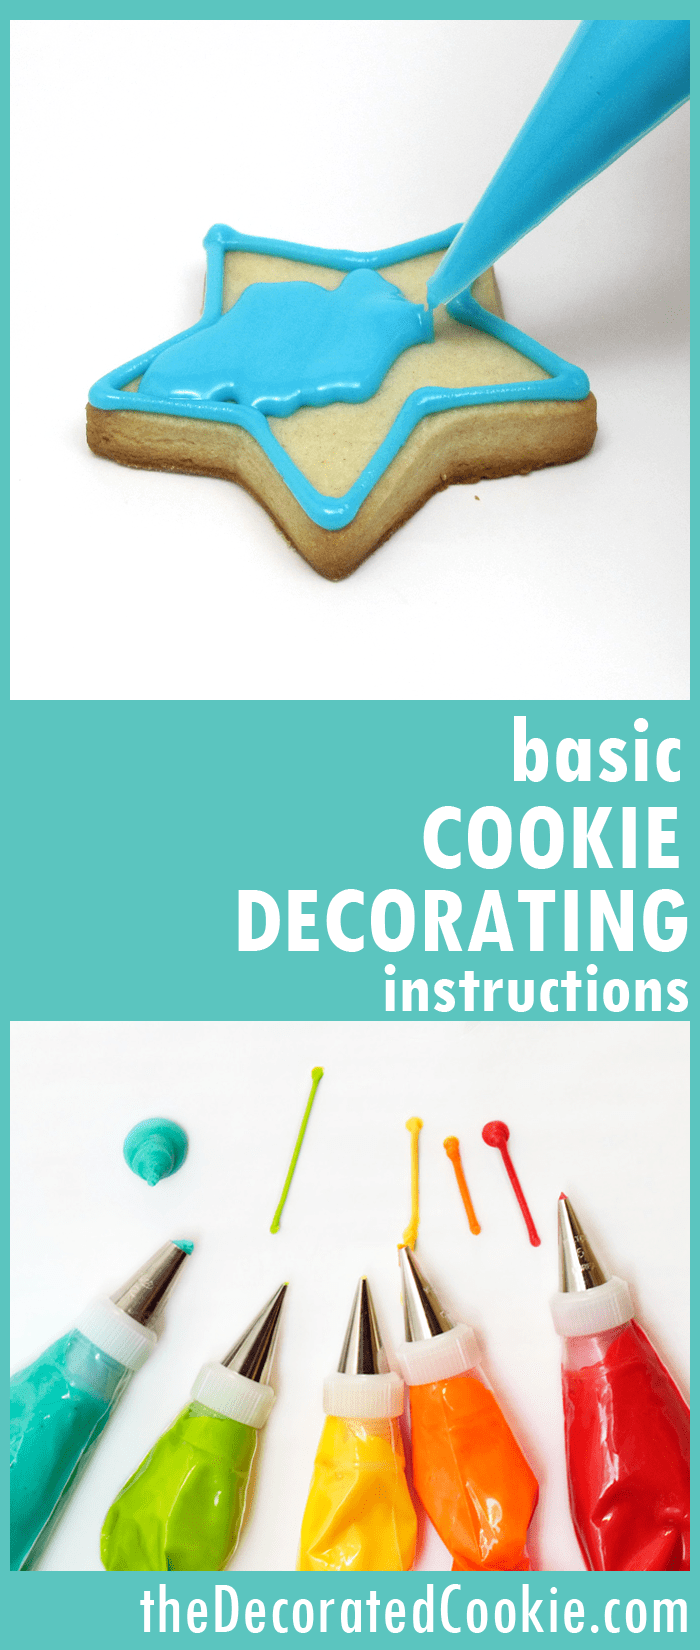
You’ll learn how to outline cookies with royal icing, fill in cookies, and flood icing.
basic cookie decorating instructions
Here are your to-dos of cookie decorating:
- Bake and cut-out cookies.
- prepare and divide royal icing with just the right consistency, color it, and prepare decorating bags.
- Outline your cookies, fill your cookies, and add details.
For a one-page printable cookie decorating cheat sheet, click HERE.
And if you want to learn how to decorate cookies like a pro in less than an hour of video how-tos (and with 27 pages of printables), be sure to check out my cookie decorating for beginners course at The Sugar Academy!
how do you decorate sugar cookies?
supplies and ingredients you will need:
- Cut-out sugar cookies
- Royal Icing
- Food coloring
- Bowls and spoons
- 12 inch disposable decorating bags
- Standard couplers
- Decorating tips, sizes 2, 3, 4 and 5
- Rubber bands
- Scissors
- Toothpicks
- Small knife or spatula
- Paper towels
For tips on finding cookie decorating supplies. And here more cookie decorating recipes.
By the way, if you need vegan cookies and icing recipes. For the best chocolate sugar cookie recipe.
Preparing and Coloring Icing
To test the consistency, take a spoonful of icing and turn it over the bowl. It should cling to the spoon before slowly falling back into the bowl.
To thicken royal icing, add powdered sugar (you may need to add a significant amount, as it’s so fine it dissolves easily). To thin royal icing, add water (a few drops at a time).
My royal icing recipe is a good to-start icing. It’s on the thicker side, so it’s great for outlining and adding details because it will hold its shape. It’s also great to fill in by piping back and forth (you will see the lines of icing).
Divide your icing into bowls and add a drop or two of your food coloring (Americolor Soft Gel Paste is recommended). Stir well.
Continue to add drops of food coloring, one at a time, to achieve desired shade. Stir well. Remember it’s easier to add food coloring than take it away, so work with a few drops at a time.
royal icing consistency for cookie decorating
Consistency is a challenge in cookie decorating.
If you are flooding your cookies (piping a thicker outline and filling with thinned icing so the lines don’t appear), the thicker icing should keep its shape. If you overturn a spoonful, it clings to the spoon before falling.
For flooding consistency, add drops of water, stirring well, until an overturned spoonful takes 10 to 12 seconds for the lines to disappear.
To decorate with one consistency of icing…
Overturn a spoonful. The lines should take 15 to 18 seconds to disappear.
Assembling and Filling a Decorating Bag
Using a coupler with your decorating bag enables you to easily change decorating tips while decorating cookies.
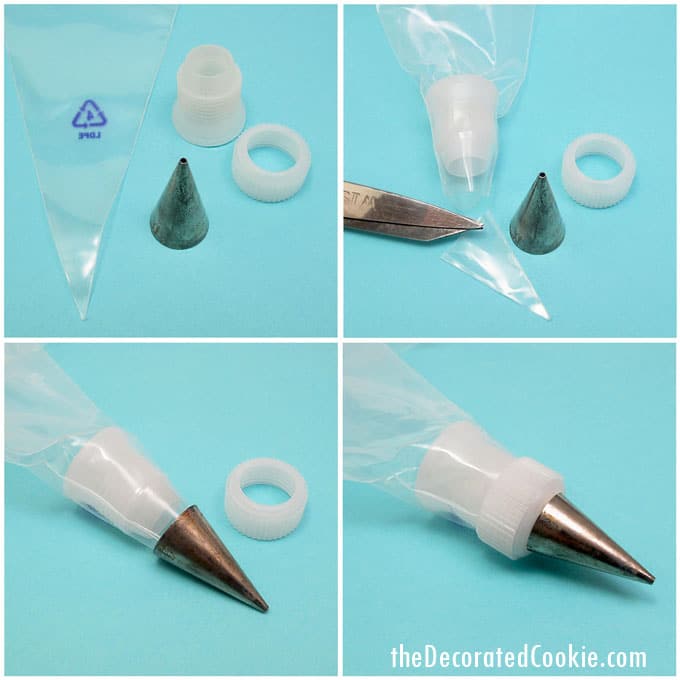
To assemble a decorating bag with a coupler and tip, snip about 1/2 inch from the tip of the bag. Unscrew the ring from a coupler and insert the coupler into the bag, narrow end first.
The coupler should fit fully inside the decorating bag. Hold a decorating tip over the cut end of the bag and onto the coupler, and screw the ring back on.
Fold over the top of the bag to form a cuff, fill the bag with icing (about ½ cup to ¾ cup), twist the bag above the icing, and close tightly with a rubber band.
how to pipe icing
Practice piping icing on a piece of wax or parchment paper.
To pipe, hold the bag in your dominant hand as though you were holding a glass of water. Rest your other hand on top of your dominant hand to steady the bag.
Squeeze with steady, consistent pressure to pipe the icing, letting the decorating tip hover about 1/4 inch above the surface. To stop, quickly press the decorating bag down, then pull away.
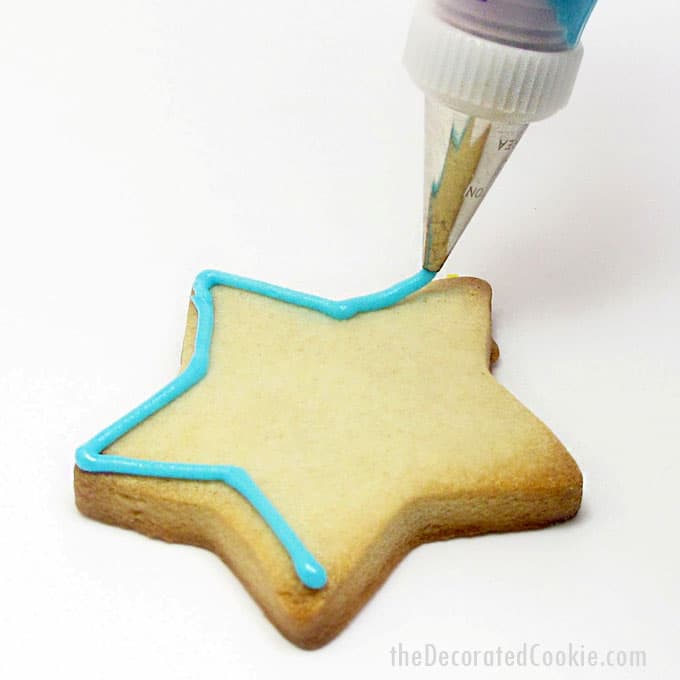
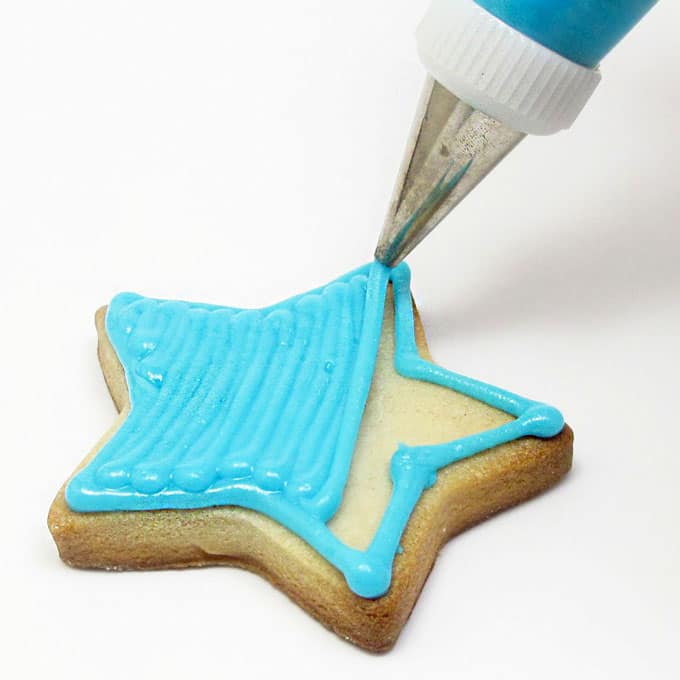
To decorate cookies by piping icing, first pipe the outline of your cookie design, let the icing set about 15 minutes, then pipe back and forth in a zig zag motion to fill the entire cookie with icing.
how to flood cookies
The “flooding” method of cookie decorating is similar to above, but by piping an outline to serve as a dam and then filling the cookie with a thinned icing, your cookies will have a smooth, finished look without showing the lines of icing from piping.
To flood cookies, pipe an outline on your cookies according to the instructions above, and let set about 10 minutes.
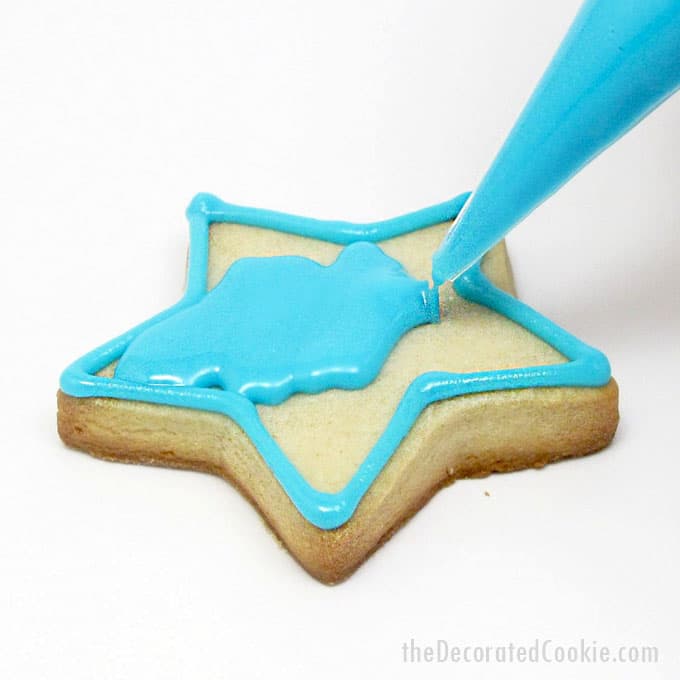
Spoon some of the same color icing in a bowl and add water, a few drops at a time, stirring well after each addition, until the icing is of flooding consistency. When you overturn a spoonful, it should blend into itself an the lines disappear in 10 to 12 seconds.
Note while very thin icing leaves a nice, line-free appearance, the thinner the icing, the more risk of icing colors bleeding, so I like to keep my icing as thick as possible (15 to 20 seconds).
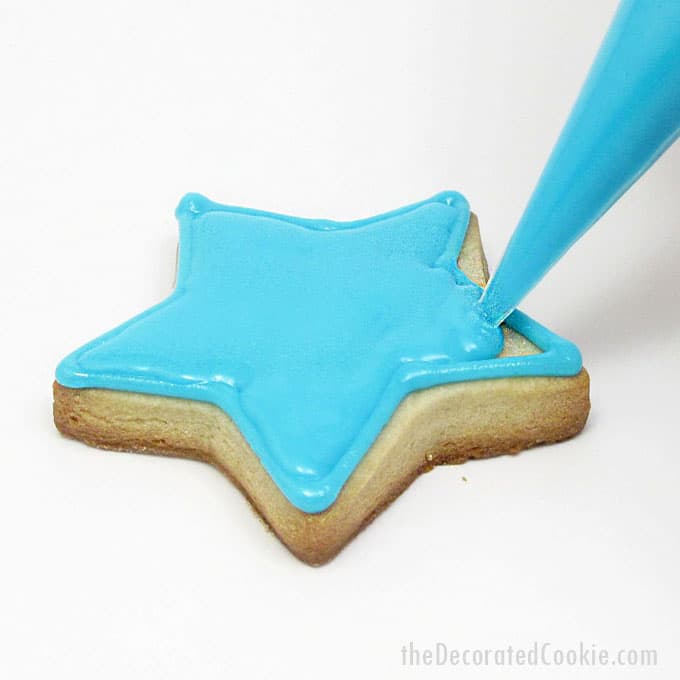
Fill an empty decorating bag with the thinned icing, snip about 1/8 to 1/4 inch from the tip and loosely “pipe” the icing on the cookie. Let the icing flood to the piped outline, encouraging as needed with the back of a spoon or with a toothpick.
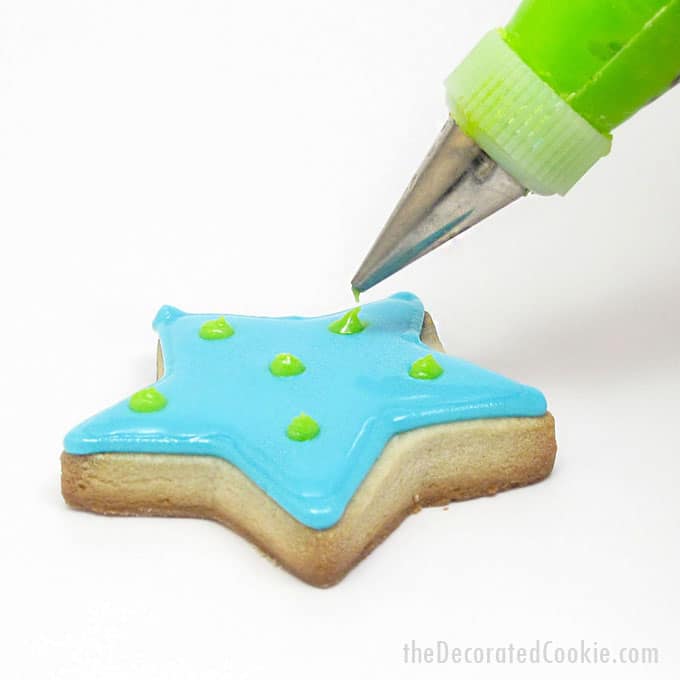
Let the icing dry very well, preferably overnight. When dry, add details on top of the flooded cookie with piped royal icing designs. (Or, if you prefer a different effect, add details when the icing is still wet, and they will sink and blend into the icing.)
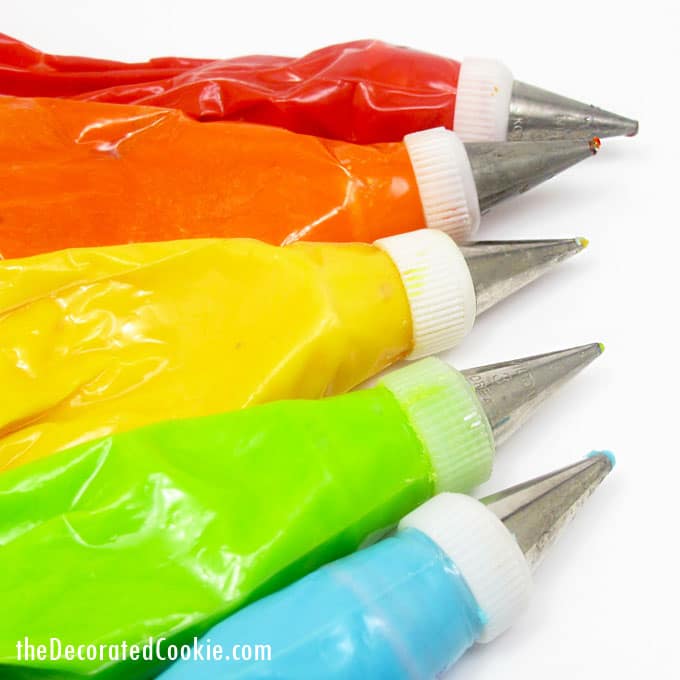
Choosing a Decorating Tip
Here is a general guideline for choosing the right size decorating tip. These are all “round” tips. Textured tips are better for cake and cupcake decorating with buttercream frosting.
Size 2: Use this small, round tip to add details, such as smiley faces, dots and swirls, on top of a cookie flooded with icing.
Size 3: Use this tip to outline cookies and add details.
Size 4: This tip may also be used for outlining cookies or for filling a cookie in by piping back and forth.
Size 5: This large, round tip is used for filling in cookies by piping back and forth.
Helpful Cookie Decorating Hints
- Practice piping on wax or parchment paper first.
- Unclog decorating tips with a toothpick.
- Keep lots of paper towels handy.
- Leave cookies on a baking tray at room temperature overnight to dry well enough to handle and package.
- Don’t fret if you make a mistake. Just scrape the icing off of the cookie and start again!


Sophia Slate says
Thank you for stating that you shouldn’t fret if you make a mistake. I want to learn how to decorate cookies. I will definitely keep all of your great tips and information in mind so I can learn how to decorate cookies.
t richardson says
While I enjoy learning about cookie decorating, you can keep your political views to yourself. Not appreciated.
meaghanmountford says
I’m confused. This is a post about decorating cookies? Regardless, people are not one dimensional. I have thoughts, beliefs, opinions, and it’s my right to express them. It is not your place to quiet another human.
SusanB says
Where are you seeing political views??
Bonnie Smith says
Can not wait to try the tips and tricks in decorating my next batch of cookies.