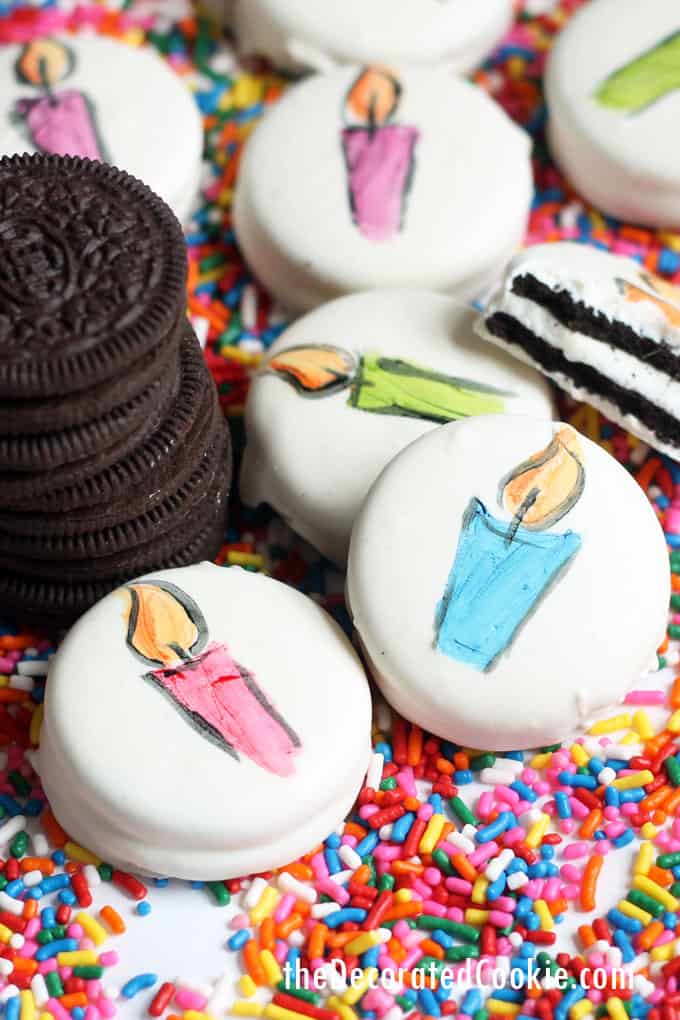
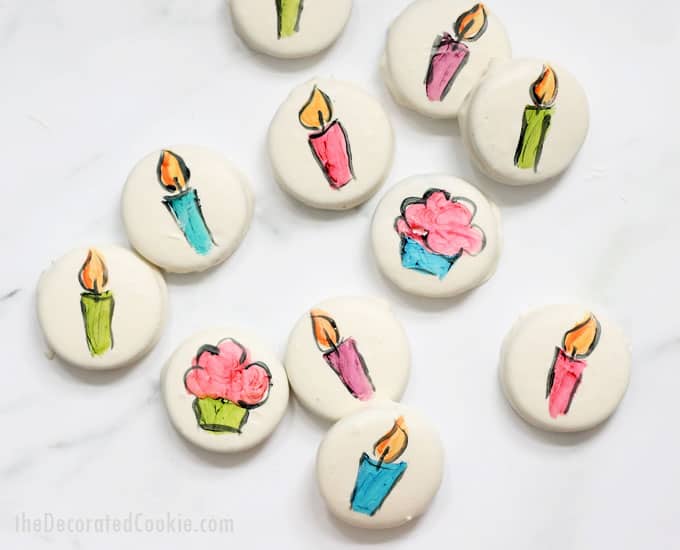
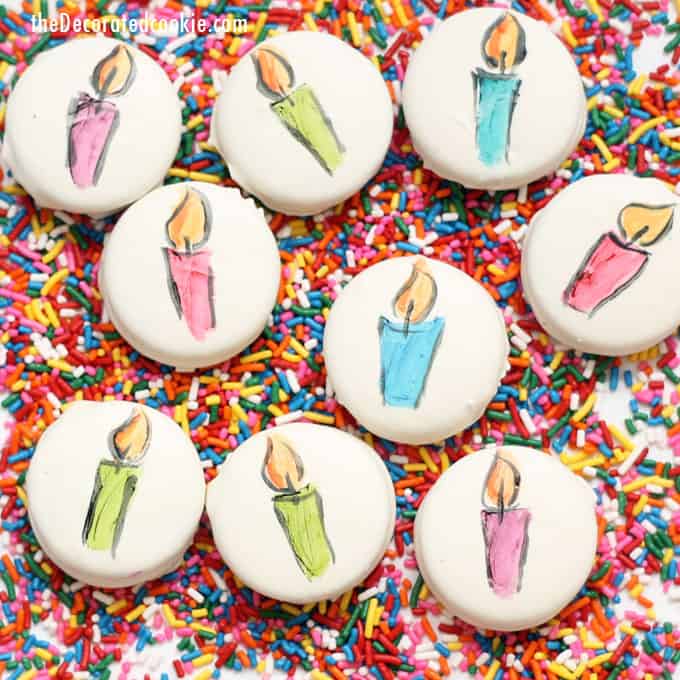
These chocolate-covered, painted birthday Oreos are a unique, personalized, fun food gift idea.
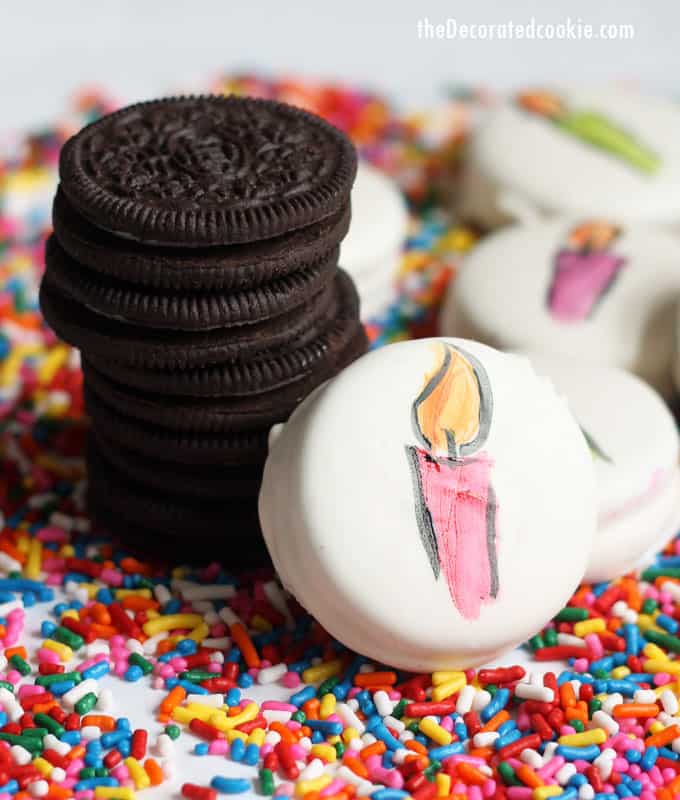
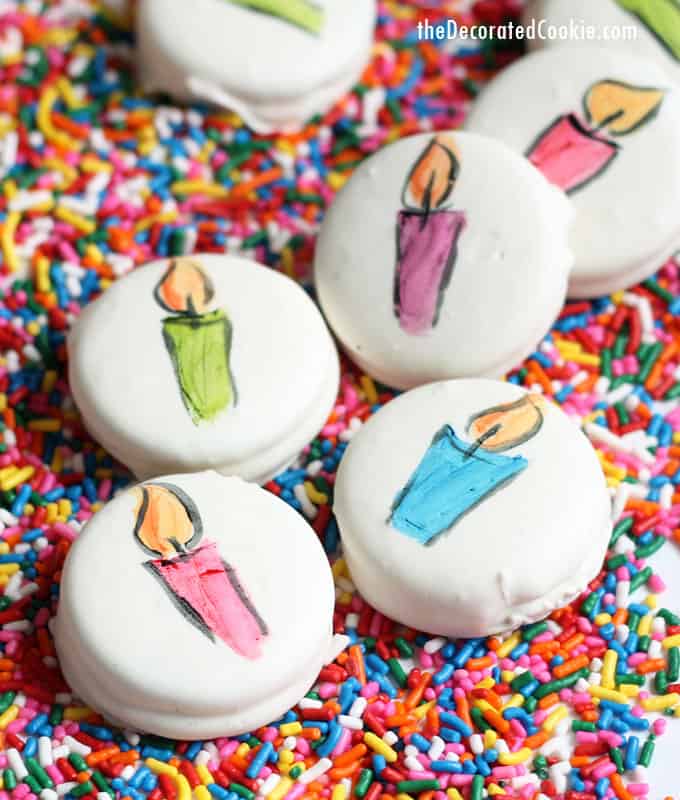
Need an easy treat to dress up for someone’s birthday? Go for the Oreos. Here, I covered Oreos in chocolate (technically, candy melts, but I’ll talk about that more below) and used food coloring to paint birthday candles on the cookies. Thirteen candles, to be specific, for a 13 year old’s birthday. I chose to paint candles (and a couple extra birthday cupcakes), but you can paint any designs you like on birthday Oreos
A few notes about painting on chocolate-covered Oreos:
I used bright white candy melts because I find them more user-friendly (brighter white, easy dipping, and quick to harden), but you may also use white chocolate.
To paint on these, I used my standard Americolor Soft Gel Pastes. For even better results, you should use oil-based candy colors for painting, as they work best on chocolate. I just liked my colors for the regular food coloring better, so I was lazy. It still worked well, but had more of a “watercolor” effect.
Let the painting dry overnight before packaging.
TIP: For a softer color, mix your food coloring with a bit of white food coloring.
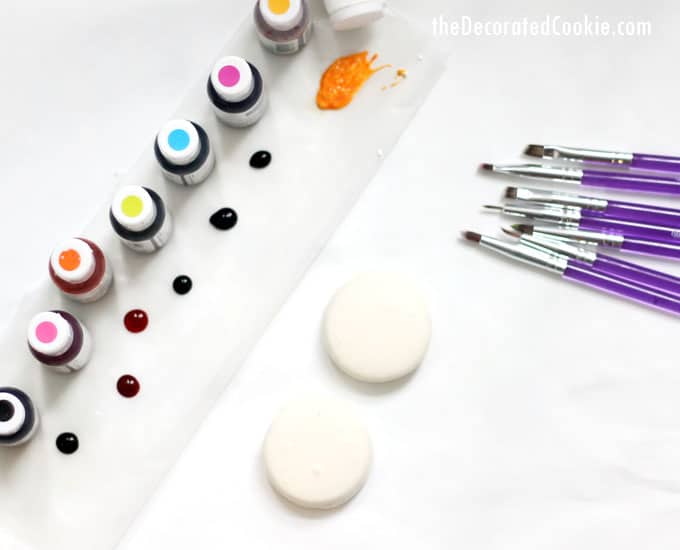
Use food-only paint brushes. I prefer this Wilton decorating brush set.
how to make painted birthday Oreos
you will need:
- Oreos
- white candy melts (or white chocolate)*
- EZ Thin (optional, helps make a better dipping consistency, but not necessary)
- food coloring (Americolor Soft Gel Pastes used here, but Americolor Candy Colors recommended for best results)
- food-only paint brushes
*One bag of candy melts or about 2 cups of white chocolate chips will coat 16 to 18 Oreos
step-by-step instructions
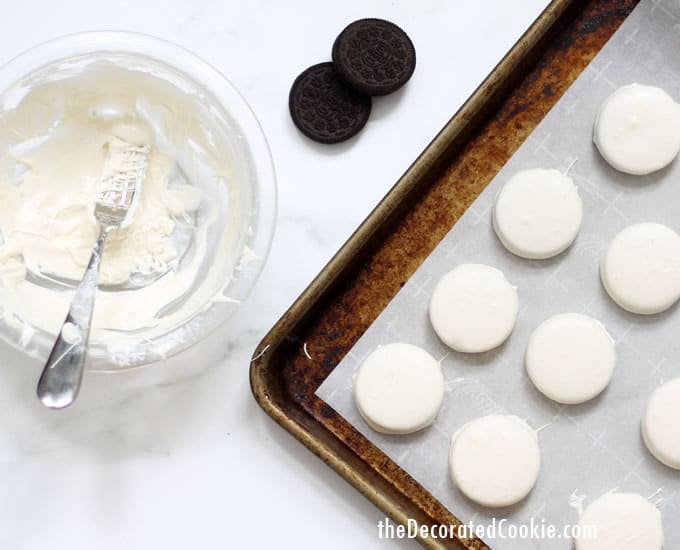
In a microwave-save bowl, place the candy melts or chocolate and a few pinches of the EZ Thins, if using. Melt according to package directions: Melt at 70 percent power for 90 seconds. Stir and continue to microwave at 15 second intervals until the candy is mostly melted. Stir, using the residual heat to fully melt the candy.
Line a tray with parchment or wax paper. Place an Oreo in the melted candy and cover with the candy. (Don’t move the Oreo around too much or you’ll get crumbs in the candy.) Lift it out of the candy with a fork and tap the fork on the side of the bowl to remove the excess. Use another fork to scrape the excess candy from the bottom of the fork holding the Oreo. Place the Oreo on the prepared tray. Fill the tray. Let the Oreos set very well, at least an hour. (If using white chocolate, you may put in the refrigerator to set more quickly.)
To paint the Oreos, add drops of food coloring to a piece of wax paper or paper plate. Paint your design. Use the smallest brush to outline the design with black food coloring. Let set overnight.



Leave a Reply