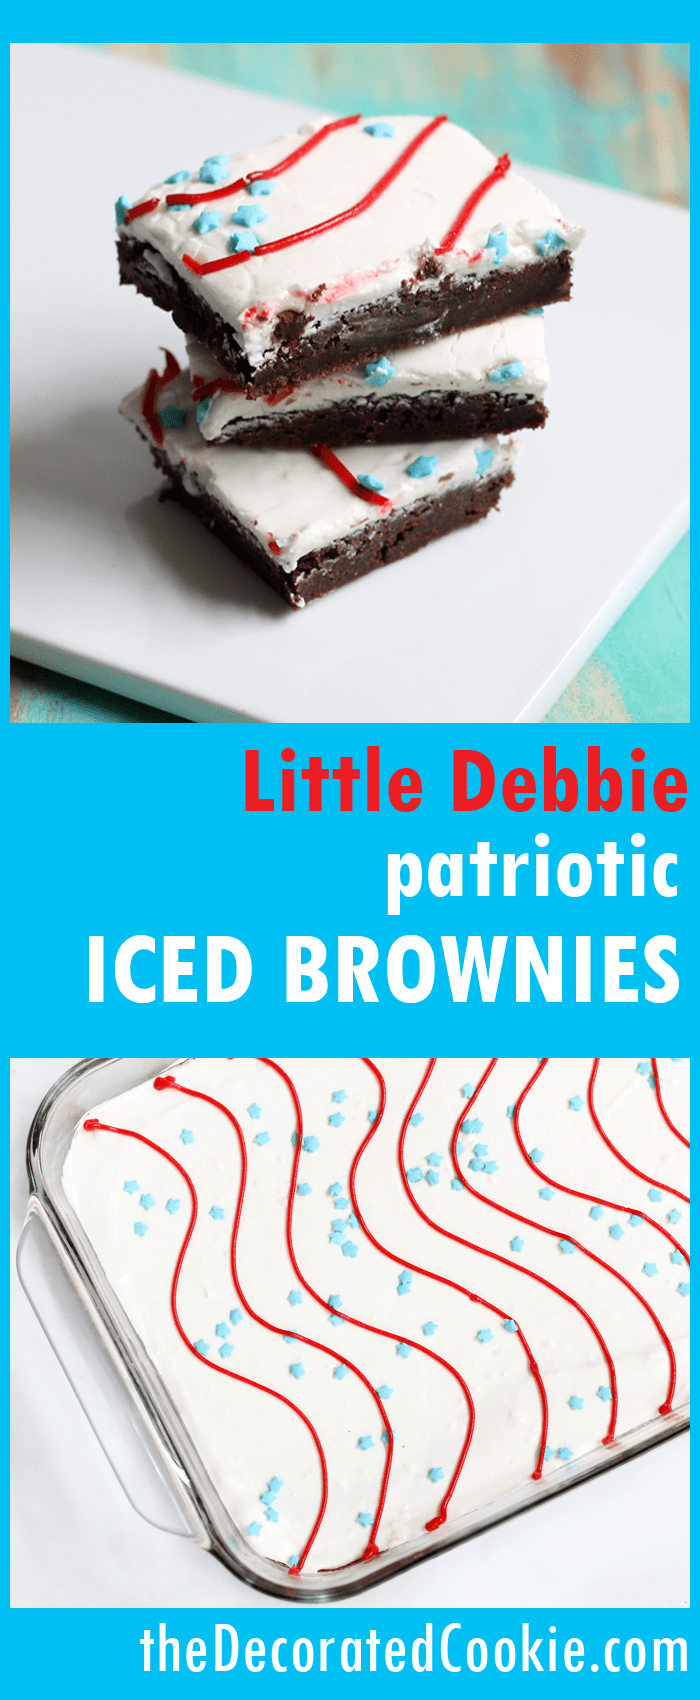
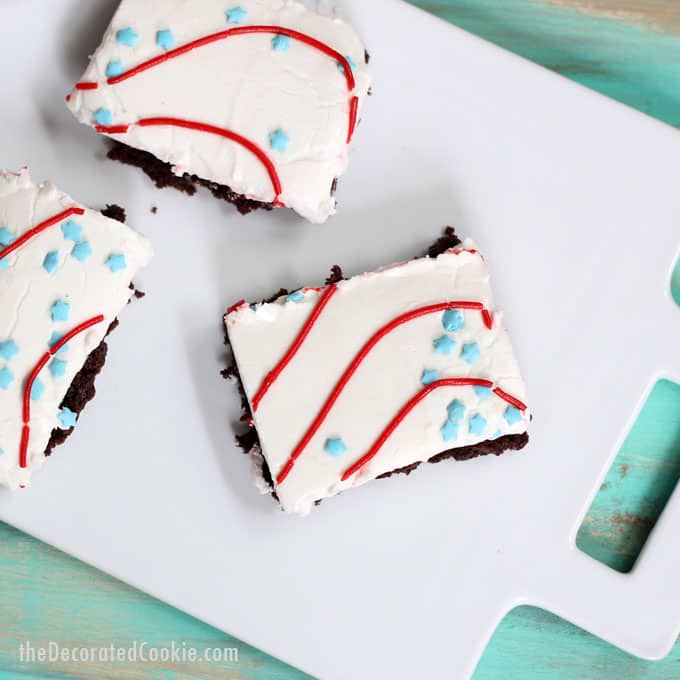
These chewy, fudgy, homemade Little Debbie Brownies taste just like store-bought and are decked out in red, white, and blue for the 4th of July.
how do you make homemade Little Debbie brownies?
You know that wonderfully delicious taste of a chewy, fudgy, chocolatey Little Debbie brownie that brings you back to childhood? Here you go.
I give you this homemade version of the red, white, and blue iced brownies. Homemade Little Debbie brownies are the perfect dessert to make for the 4th of July.
While I made these brownies to look identical to the store-bought version, you can also play around with the decoration for any holiday or occasion. Try rainbow sprinkles, flower sprinkles, Halloween or Christmas sprinkles (am I jumping too far ahead?)…
A few notes about this recipe. For the red icing, choose any of the store-bought tubes from the supermarket, gel or regular icing, whichever your preference.
While I have plenty of homemade red icing around (what with being a cookie decorator and all), the red icing is such a minimal part of the brownies, I went with the easiest option here. But you may of course make your own red icing as well.
To make the icing on top of the brownies a bright white, I did add some Bright White food coloring. The addition of food coloring here is absolutely optional if you don’t feel like purchasing a bottle of food coloring just for this recipe.
And I promise your brownies will still exude patriotism. (And the wonderful aroma of baking brownies, which is one of the many reasons to opt for homemade over store-bought.)
As iced brownies are on the sweet side, if you prefer a less sweet brownie, frost the brownies with a thin layer of icing. To bring on the sugar, use the entire batch.
Note here I let the icing set in the refrigerator. It isn’t necessary to refrigerate the brownies, but I find it’s just so much easier to cut the brownies into squares if the icing is fully set for at least a few hours.
Now, Ms. Debbie, you know I love you but… freshly-made brownies free of preservatives that take less than an hour to make? I hope you understand why I’ll be making this version from now on.
red, white, and blue Little Debbie brownies
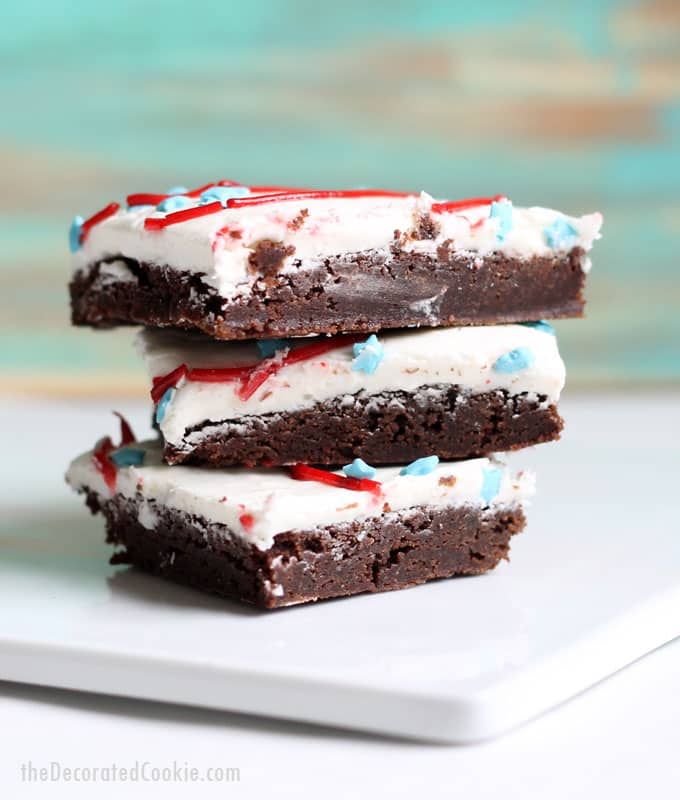
red, white, and blue homemade Little Debbie brownies -- copycat version of the Little Debbie iced brownies for a fun 4th of July dessert idea
Ingredients
- For the Brownies:
- 3/4 cup All-Purpose Flour
- 3/4 cup Unsweetened Cocoa Powder
- pinch of Salt
- 3/4 cup Melted Butter, cooled slightly
- 2 Eggs
- 1 cup Granulated Sugar
- 2/3 cup Dark Brown Sugar, packed
- 2 tablespoons Milk
- 2 teaspoons Pure Vanilla Extract
- For the Icing:
- 1/3 cup Butter, softened
- 1 box Confectioners Sugar, 1 pound
- 1 teaspoon Pure Vanilla Extract
- pinch of Salt
- 4-6 tablespoons Milk
- White Food Coloring, optional
- tube of Red Icing
- Stars Sprinkles
Instructions
- Preheat the oven to 350°F. Grease a 9 x 13-inch baking dish and set aside.
- First prepare the brownies. In a bowl, briefly whisk together the flour, cocoa powder, and salt. Set aside.
- In the bowl of a standing mixer or in a large bowl with a handheld electric mixer, blend together the butter, eggs, sugars, milk and vanilla. Gradually mix in the dry mixture.
- Scrape the batter into the prepared baking dish and spread evenly. Bake for 22 to 26 minutes or until a toothpick comes out clean. Let cool completely.
- To make the icing, blend together the butter, confectioner’s sugar, vanilla and 4 tablespoons of the milk. Add additional milk to desired consistency.
- For a brighter white icing, mix in white food coloring (optional).
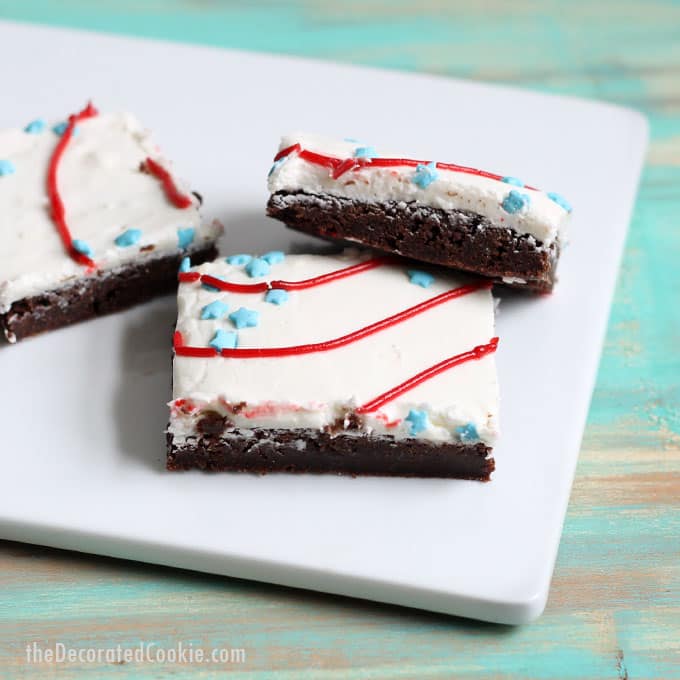
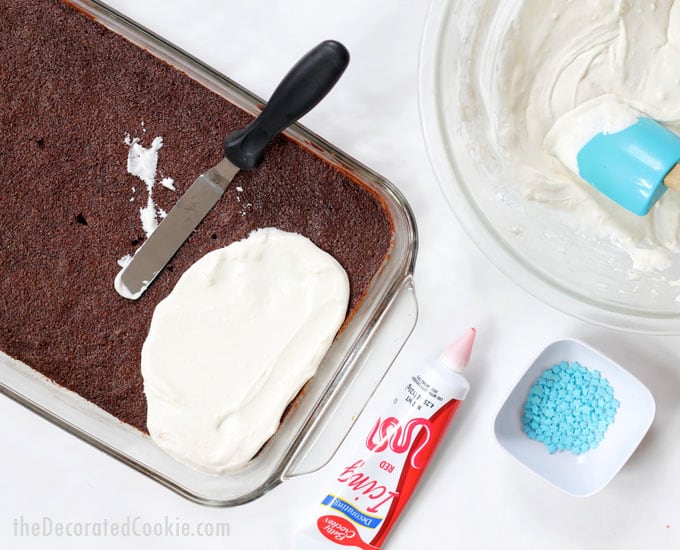
- Spread the icing evenly over the brownies. (You might not use all of the icing.) Sprinkle with star sprinkles and pipe red swirls on the icing.
- For best results, let set very well in the refrigerator before cutting into squares.
Nutrition Information:
Yield:
18Serving Size:
1Amount Per Serving: Calories: 249Total Fat: 13gSaturated Fat: 7gTrans Fat: 0gUnsaturated Fat: 4gCholesterol: 51mgSodium: 120mgCarbohydrates: 32gFiber: 1gSugar: 26gProtein: 2g
This post for homemade Little Debbie brownies also appears on Food Fanatic.


Leave a Reply