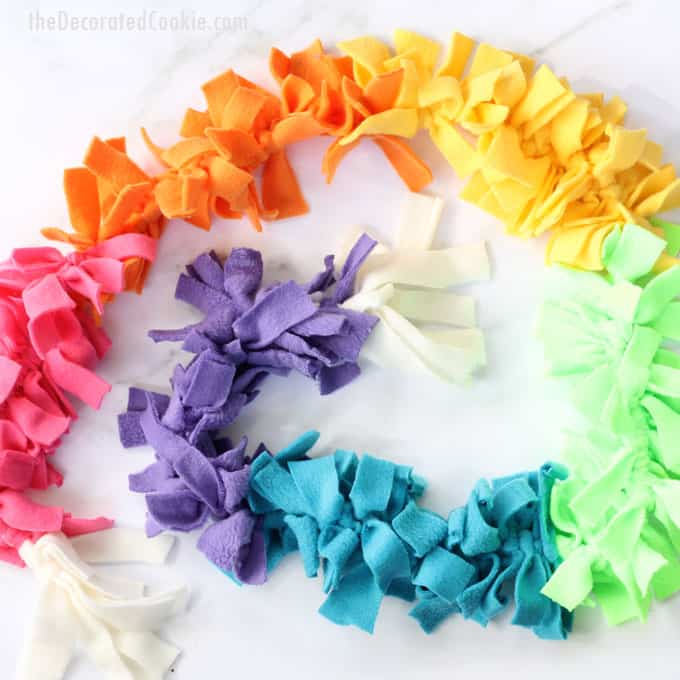
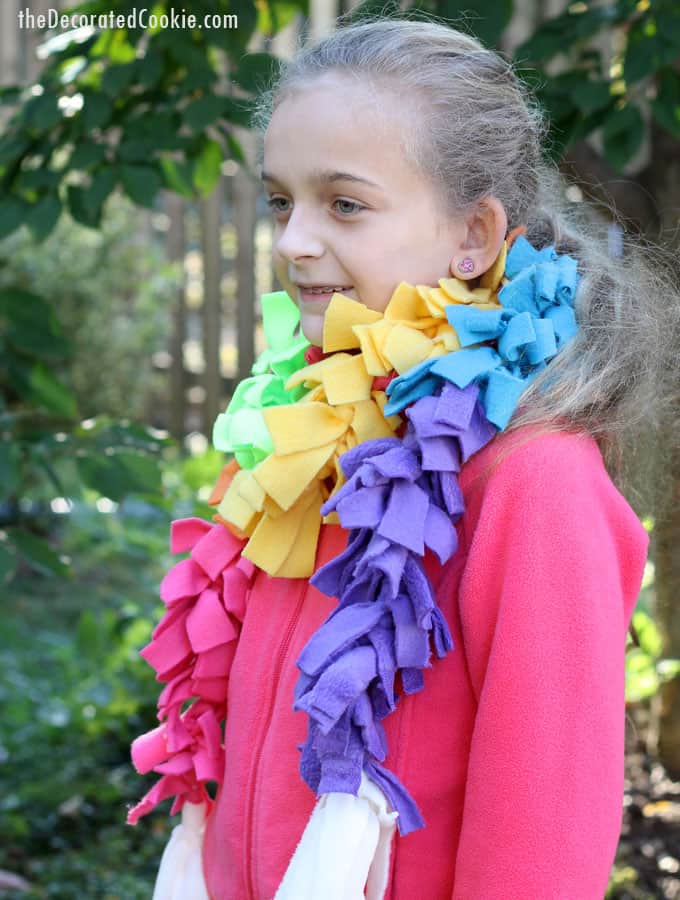
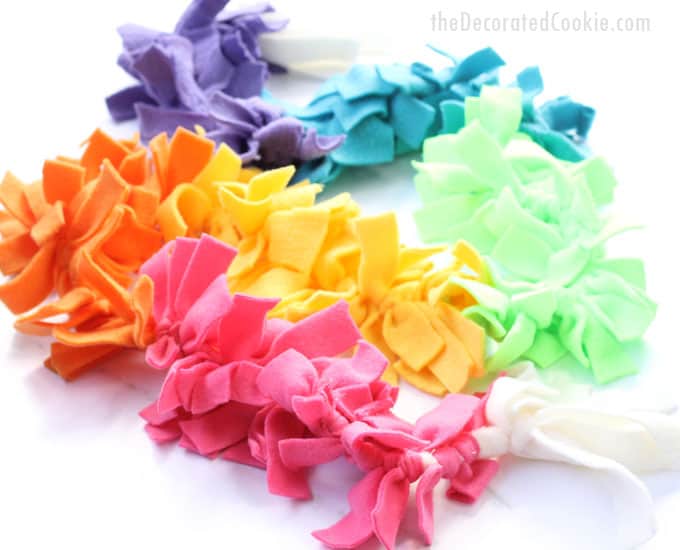
This no-sew rainbow knotted fleece scarf is the perfect homemade holiday gift kids can make.
You just need to know how to use scissors and how to tie knots. Printable instructions and video how-tos included.
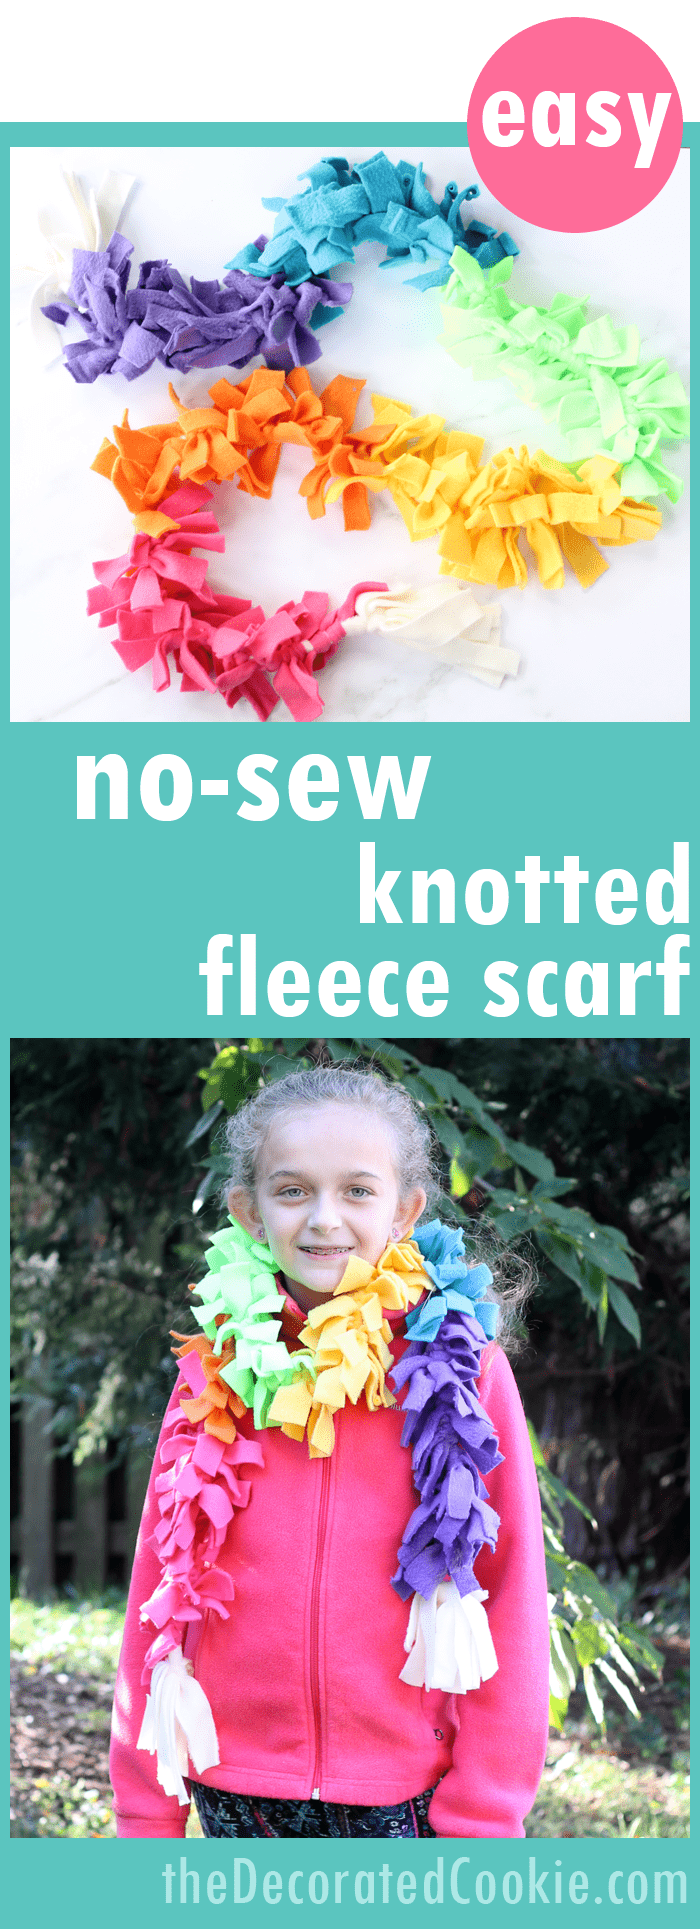
no-sew knotted fleece scarf
My first no-sew rainbow fleece scarf was so popular (maybe my most popular post ever because it seriously is so awesome–not so humble–and a perfect homemade gift kids can make), that I’m back with round two!
Just like the first, this no-sew rainbow knotted fleece scarf is easy to make (if a bit time-consuming). You just need to cut out pieces of fleece and tie knots.
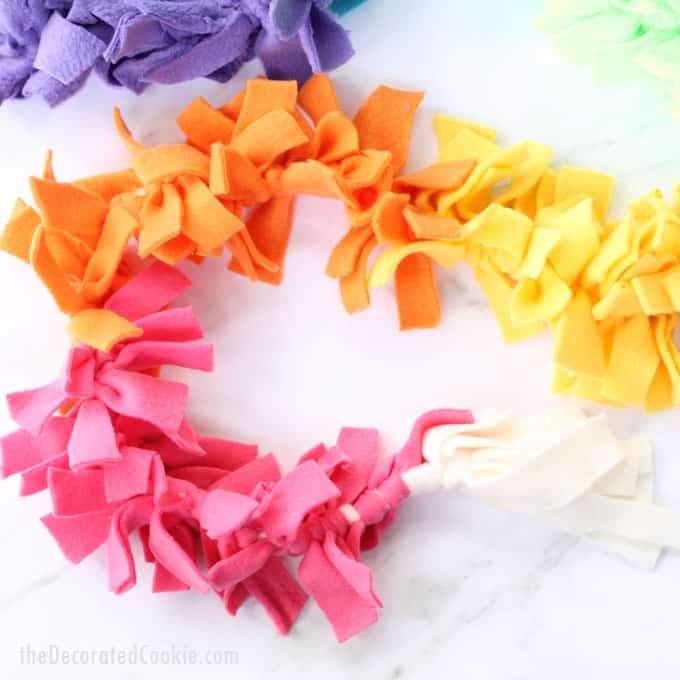
I purchase fleece by the yard at Jo-Ann’s Fabric. They seem to always have half-off fleece. Note that here I use a simple fringe for the ends of the scarf, but if you’d like to add fleece pom-poms, check out the other scarf instructions.
See all the how-tos below. And just for you, I made a handy PRINTABLE with INSTRUCTIONS.
how to make a no-sew rainbow knotted fleece scarf
you will need:
- fleece by the yard (see below for how much you need)*
- scissors
- binder clips
- ruler
- disappearing fabric pen (optional, I did not use one)
how much fleece to I need?
The amount of fleece you need will depend on the length of each bolt and how many colors you choose.
To make a rainbow, you’ll should be able to get away with either a quarter or eighth of a yard of each color.
If you are using all 6 colors of the rainbow plus white and the bolt is long (62-inches), go for an eighth of a yard.
If the bolt is significantly shorter, go for a quarter of a yard. To play it safe and allow for waste, I just got a quarter of a yard of each color.
step one: cut all your strips of fleece
Have all your strips of fleece ready.
If you want to be precise, you can use a disappearing fabric marker and straight-edge ruler. I was NOT precise, and just held the ruler up to get my lengths and then cut willy-nilly with my scissors. You will need:
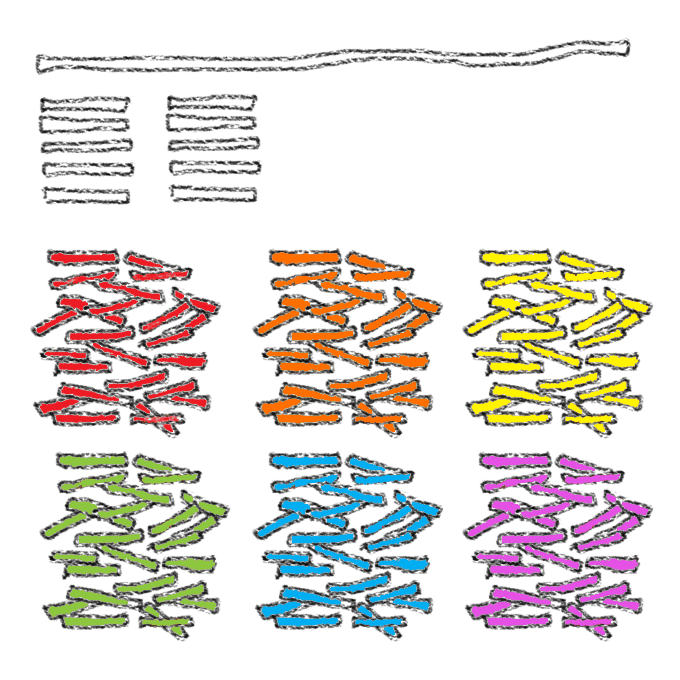
- 1 strip of white, 62-inch by 1-inch (use the edge of the bolt, if the bolt is under 62-inches, cut two strips and tie them together at the ends)
- 10 strips of white, 8-inch by 3/4-inch each
- about 25 strips of 6-inch by 1-inch fleece EACH of six colors (red, orange, yellow, green, blue, and purple), or 150 strips total
NOTES:
The 62-inch white strip (which I just took from the edge of my 62-inch bolt) is roughly the length your scarf will be. For a longer or shorter scarf, adjust the length of this strip. Note you will then need more or less of the strips of colored fleece.
The 25 strips of each color is an ESTIMATE! Your white strip may stretch and pull a bit, so you may need more or less strips. Just move your colors up and down on the white strip by sliding to make room for more little strips.
For a scarf with less width, cut each of the colored strips a bit shorter.
step two: prepare the base with white fleece
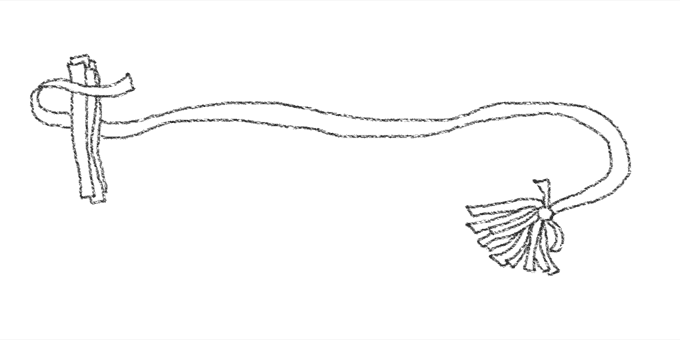
Stack five of the smaller white fleece strips.
Tie the end of the long (62-inch) white strip around the middle of the stack, tying with a double knot. Do the same on the other end. (TIP: If you like, leave the other end untied until the end so you can adjust the length if you don’t cut enough of the colored strips.)
Use a binder clip to secure one end of the scarf to a book or heavy object.
step three: tie the knots!
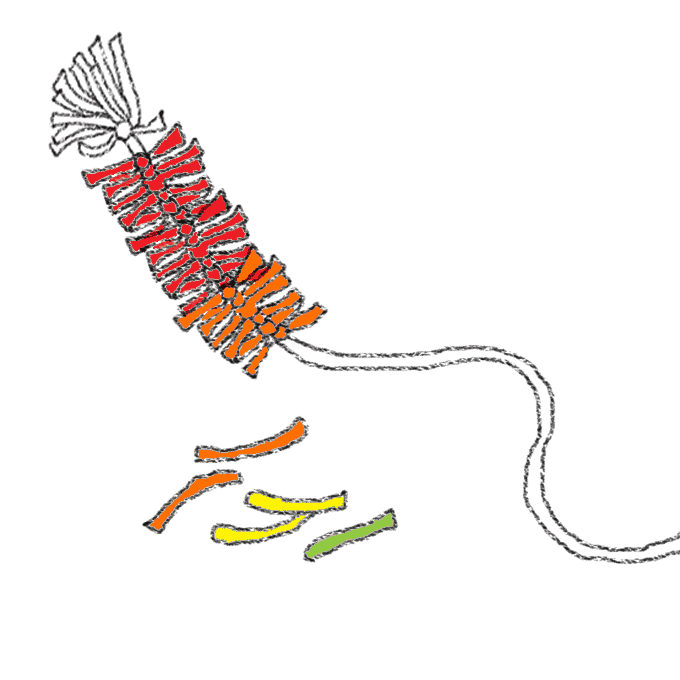
Next, use the little strips of colored fleece, starting at one end, and tie single knots at the center of each strip to fill the whole white strip.
As you add a little strip, slide the knot up to cover the white strip beneath. You should need roughly 25 little strips of each of the six colors. This is an estimate. If you need more, slide the strips around and insert them as needed to fill the scarf.
Want to keep the how-tos handy? Here are some PRINTABLE INSTRUCTIONS. (The printable is in color, but you don’t need a color printer. You can still figure out the how-tos in black and white.)



Leave a Reply