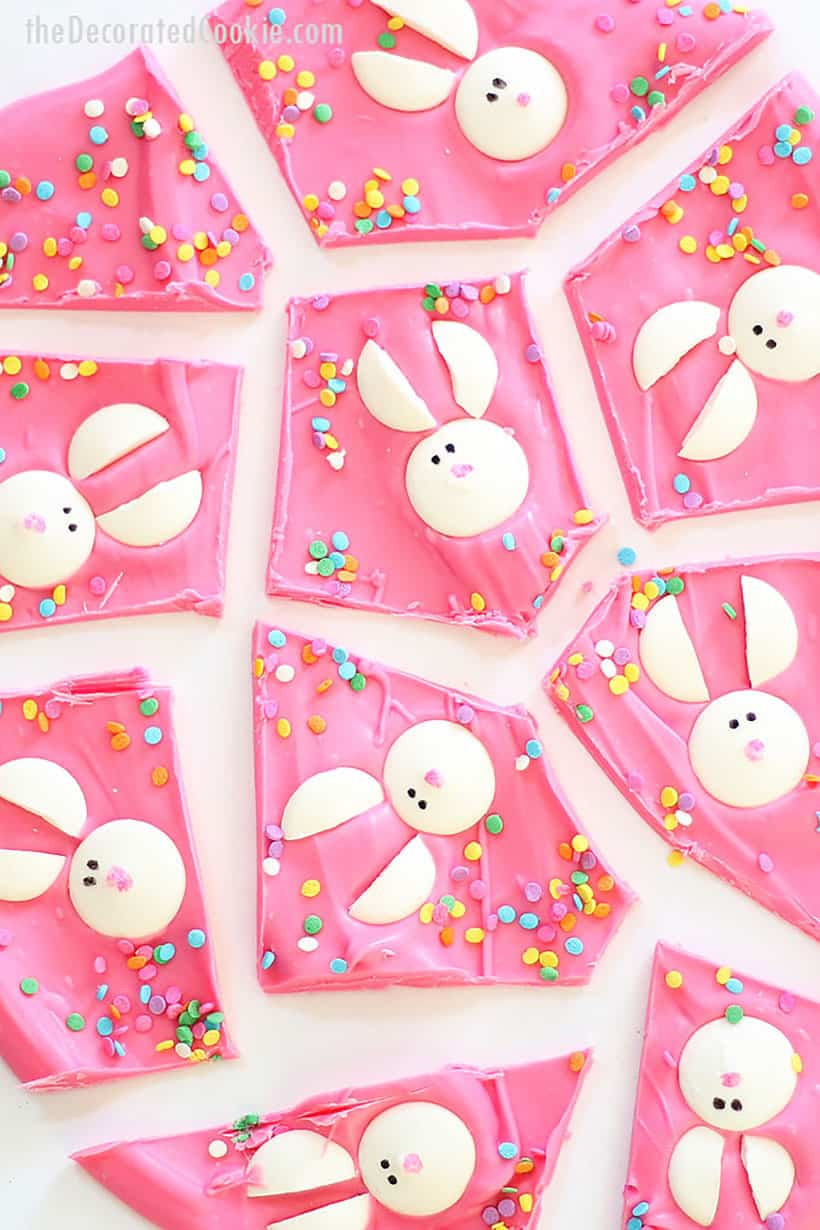
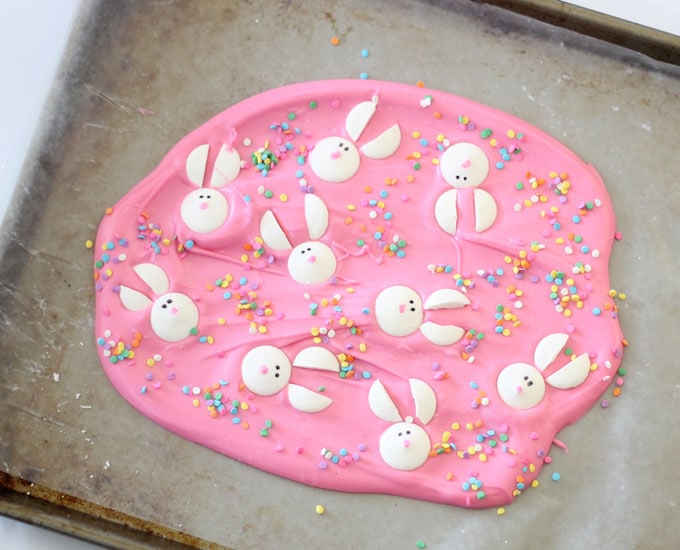
This cute Easter bunny bark takes minutes to make.
Easter bunny bark
Easter bunny bark! First we had the snowman chocolate bark, then the love bug chocolate bark, and now I’m back with Easter bunny bark.
Here are the reasons why you need to make some chocolate bark: It’s easy, it takes minutes, it’s cute, and it takes up a lot of space in gift packages because it’s so awkwardly shaped. (Hence, you can make less batches.) And did I mention it’s cute?
Easter food ideas
Need more Easter food craft ideas? Check out my Pinterest board.
Easter bunny bark video
Video how-tos, with full written instructions (with lots of tips!) below.
how to make Easter bunny bark
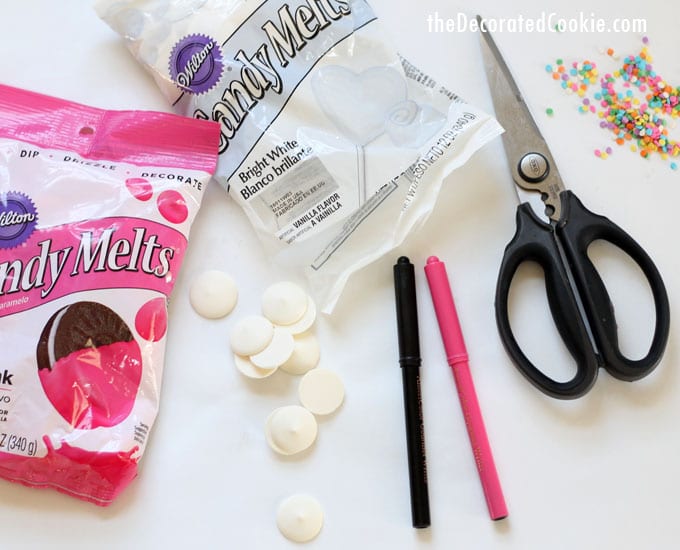
you will need:*
12-ounce bag of bright pink candy melts
bag of bright white candy melts
black and pink food writers
mini confetti sprinkles
*Find the above in the craft store, or click the links for affiliate products.
what to do:
Prepare the bunnies first. Draw dots for the nose and eyes on white candy melts with the edible writers. You’ll need about ten. Then, use scissors to snip white candy melts into ears. You’ll get a good bit of breakage, but you should get one ear per candy melt. You’ll need about twenty ears. Set aside.
Line a baking tray with wax paper. Pour the pink candy melts in a bowl. Melt in the microwave for 90 seconds at 70 percent power. Stir and continue to heat at 30 second intervals until the candy melts start to melt. Stir well, using the residual heat to fully melt the candy melts. Scrape the melts onto the baking tray and spread evenly. You will fill only about half of the tray.
Immediately press your bunny faces and ears into the chocolate and sprinkle with the sprinkles. Let the candy set a bit (about 15 minutes) and score lines with a knife. Let the candy full set another 30 to 60 minutes and carefully break apart.
A few notes on making Easter chocolate bark:
- If you prefer the taste of chocolate over candy melts, you may use milk, semi-sweet or white chocolate in place of the pink candy melts. However, it will take longer to set. If you plan on coloring the white chocolate pink, use pink candy color, not regular food coloring.
- Food writers don’t work well on candy melts because the fats resist regular food coloring (see note above). But I find the Americolor Gourmet Writers work well here, especially as you are only drawing eyes and a dot for a nose. That’s also why I didn’t add whiskers.
- This batch only makes 9 to 10 pieces. You may double the batch.
- Score lines in the bark while it’s setting (about 15 minutes in, more if using chocolate instead of candy melts) for cleaner breaking.
Easter bunny chocolate bark
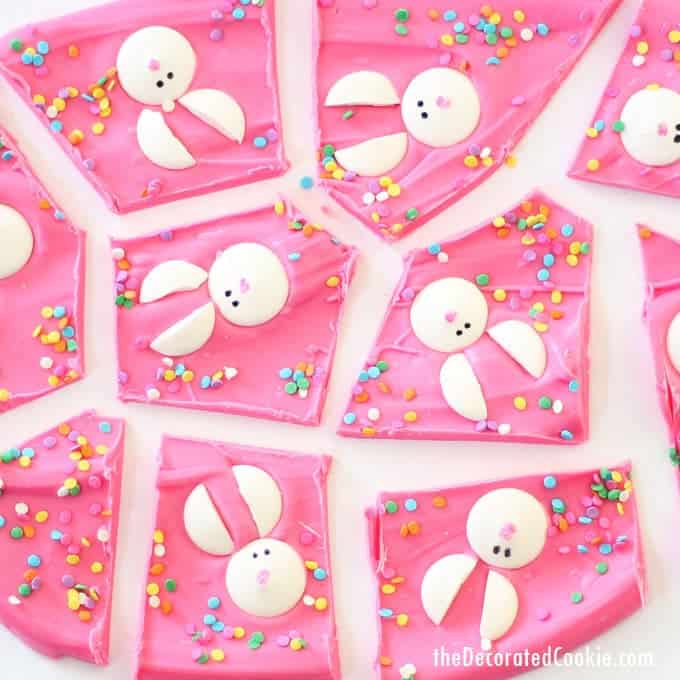
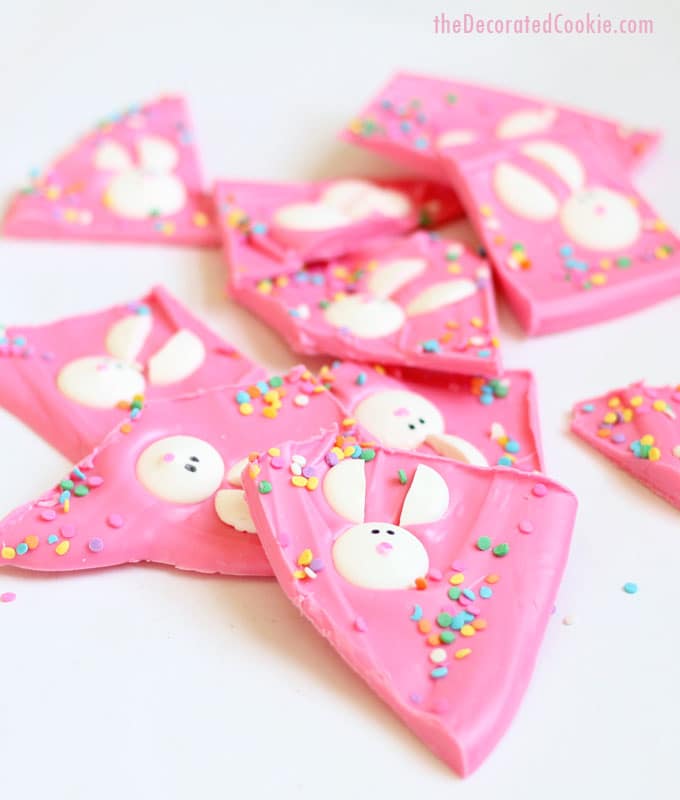
Chocolate Easter bunny bark is a fun food treat idea for Easter. Pink chocolate topped with candy melt bunnies. Video how-tos included.
Ingredients
- 12-ounce bag of bright pink candy melts
- bag of bright white candy melts
- black and pink food writers
- mini confetti sprinkles
Instructions
Prepare the bunnies first. Draw dots for the nose and eyes on white candy melts with the edible writers. You'll need about ten. Then, use scissors to snip white candy melts into ears. You'll get a good bit of breakage, but you should get one ear per candy melt. You'll need about twenty ears. Set aside.
Line a baking tray with wax paper. Pour the pink candy melts in a bowl. Melt in the microwave for 90 seconds at 70 percent power. Stir and continue to heat at 30 second intervals until the candy melts start to melt. Stir well, using the residual heat to fully melt the candy melts. Scrape the melts onto the baking tray and spread evenly. You will fill only about half of the tray.
Immediately press your bunny faces and ears into the chocolate and sprinkle with the sprinkles. Let the candy set a bit (about 15 minutes) and score lines with a knife. Let the candy full set another 30 to 60 minutes and carefully break apart.
Notes
- If you prefer the taste of chocolate over candy melts, you may use milk, semi-sweet or white chocolate in place of the pink candy melts. However, it will take longer to set. If you plan on coloring the white chocolate pink, use pink candy color, not regular food coloring.
- Food writers don't work well on candy melts because the fats resist regular food coloring (see note above). But I find the Americolor Gourmet Writers work well here, especially as you are only drawing eyes and a dot for a nose. That's also why I didn't add whiskers.
- This batch only makes 9 to 10 pieces. You may double the batch.
- Score lines in the bark while it's setting (about 15 minutes in, more if using chocolate instead of candy melts) for cleaner breaking.
Nutrition Information:
Yield:
10Serving Size:
1Amount Per Serving: Calories: 139Total Fat: 0gSaturated Fat: 0gTrans Fat: 0gUnsaturated Fat: 0gCholesterol: 0mgSodium: 13mgCarbohydrates: 34gFiber: 0gSugar: 22gProtein: 0g



Monique says
Adorable!
meaghanmountford says
Thank you!
Tavette says
Very creative and oh-so-easy. You don’t have to make a ton of them, either, as each can be individually wrapped in a clear bag with nice ribbon..
Tavette – S. Fla.
meaghanmountford says
Great idea!! Thank you Tavette!
Linda Wiseman says
These are so adorable and a perfect treat for Easter!
meaghanmountford says
thanks so much Linda!
Maranda says
Can you use vanilla candiquick instead of candy melts for these?
meaghanmountford says
Hi Maranda, Yes! Absolutely. If you are tinting the candiquik, it’s best to use candy colors (food coloring specifically for chocolates, NOT gel paste food coloring). You should be able to find it at the craft store.
Maranda says
Thanks so much!! 🙂