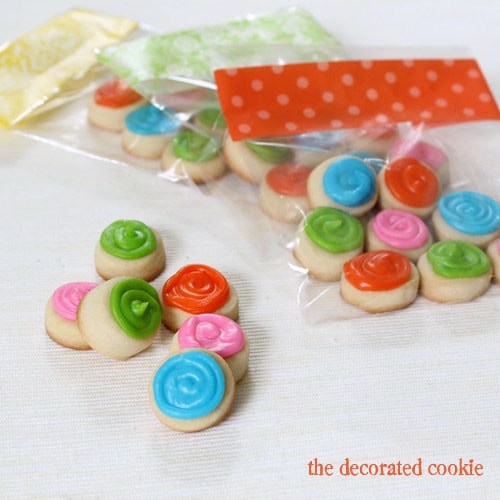
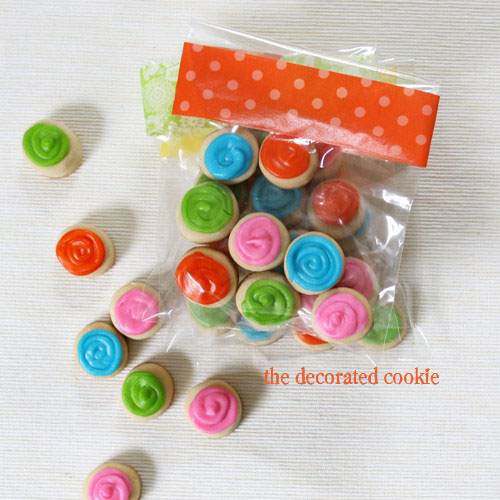
Tiny polka dot decorated cookies make great to-go cookie snack packs or party favors.
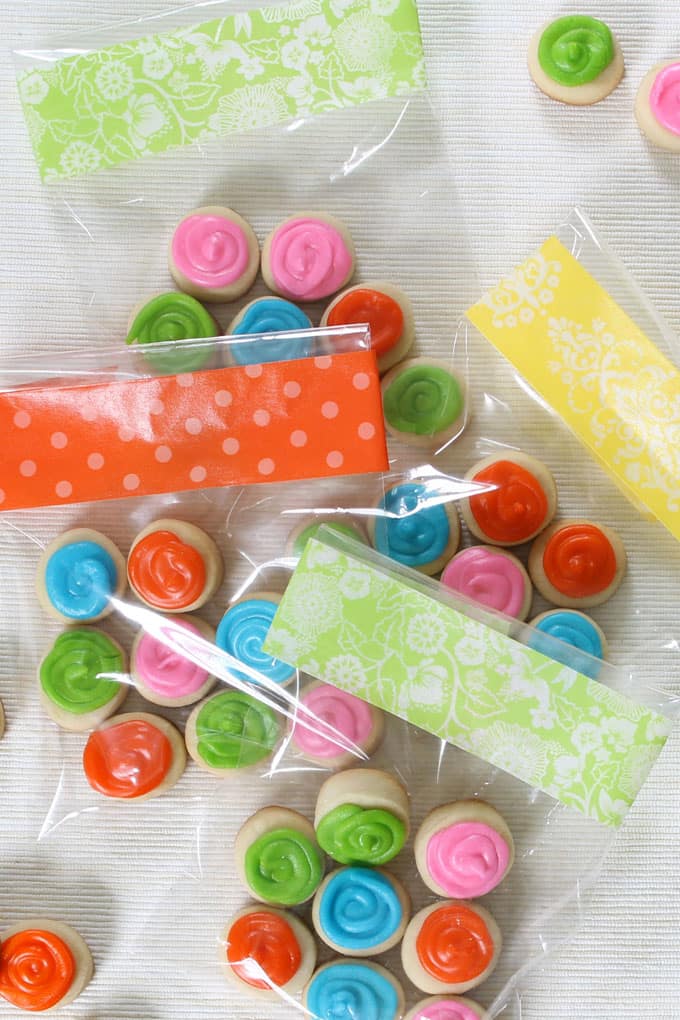
cookie snack packs
This year for my mom’s birthday, I thought I’d help her out with portion control. Now, she doesn’t need help with portion control, mind you, as she is one rockin’ foxy senior (actually, she doesn’t even look like a “senior” so I can barely type that), but she says she does. I, for one, consider a pint of ice cream portion control, as opposed to a half gallon. I figure these cookie snack packs work not just for portion control, but for convenience. Running off to tennis, mom? Pop a snack pack in your purse. Driving down to DC to babysit the grandkids? Throw a couple in the car. Going on one of your walks? Bring along a snack pack. Hmmm. I probably should have made her more.
decorated cookie ideas
I’ve made lots and lots of cookies for my mom over the past 15 years. Lots. Oh, there were the family portrait cookies. The all about mom jar of cookies. Those preppy cookies and the over-the-rim cookies. There was Peter Rabbit. And some flower cookie bites. And countless others without record.
how to make to-go cookie snack packs
(that would also work as party favors)
you will need:*
- cookie dough
- royal icing
- circle cutter
- food coloring
- disposable decorating bags
- couplers
- size “4” decorating tips
- rubber bands
- small cellophane bags
- washi tape or craft tape
*Find the circle cutter (1/2-inch used here), decorating bags, couplers and tips, and washi or craft tape at the craft store. The circle cutter may be part of a set. For the food coloring, I suggest Americolor Soft Gel Pastes. (Sky Blue, Orange, Electric Pink and Electric Green used here).
step one: bake your cookies. Prepare cookie dough according to the recipe. Roll out, cut out circles, and bake according to the directions. Let cool completely.
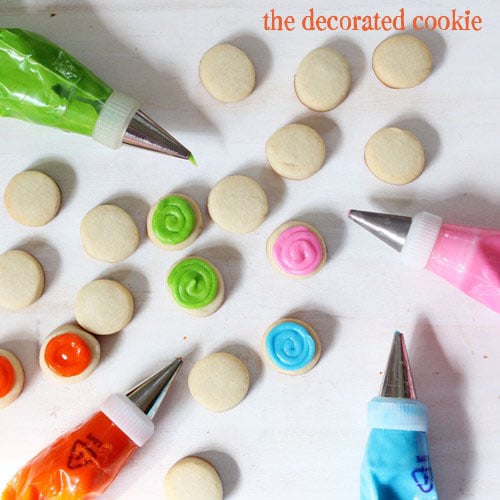
step two: prepare your icing. Prepare royal icing according to the recipe. Divide and tint preferred colors. I made blue, orange, pink and lime green. Prepare decorating bags with couplers and tips, fill with the icing and close tightly with rubber bands.
step three: decorate your cookies. Make dots on the cookies. I just piped spirals. Let the cookies dry overnight.
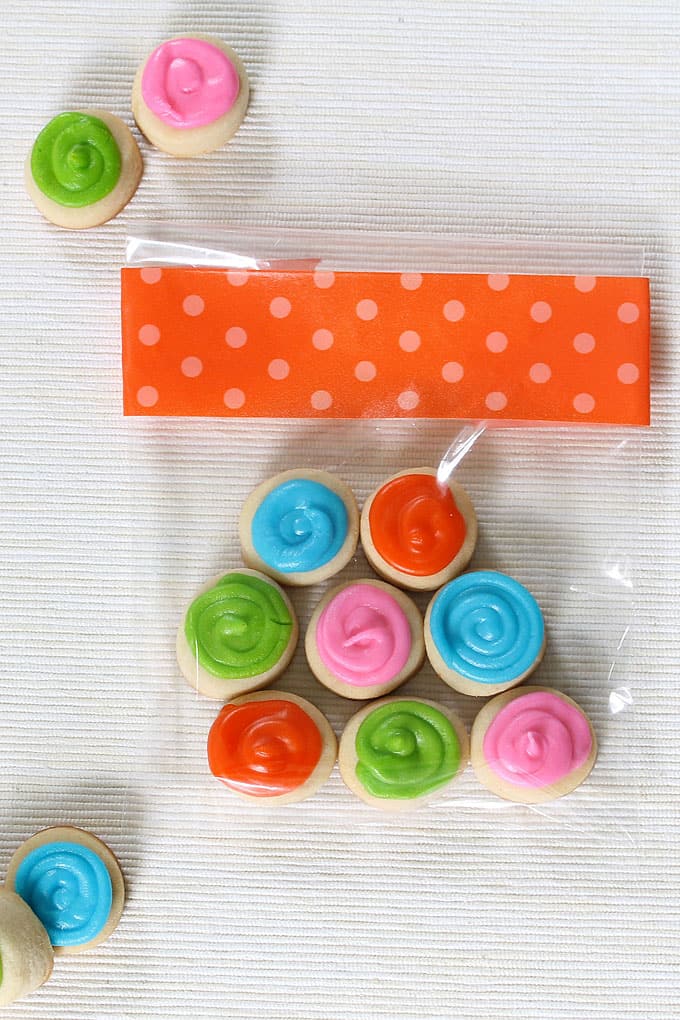
step four: package your cookies. Fill a small, cello bag with cookies (I did 8 per bag). Fold over the top and seal with a piece of washi or craft tape. TIP: If you don’t have cello bags, you could also use wax paper and tape around all the edges.
Linking to I’m Lovin’ It at https://TidyMom.net



Katrina @ In Katrina's Kitchen says
I am in all kinds of love with these!
meaghanmountford says
they love you, too, Katrina!
kaholly says
Pretty clever idea!
Brenda @ SweetSimpleStuff says
Portion control and convenience all in one! Mom should come to babysit frequently and refill her cookie supply!
Janie says
I love, love, love these for lunch boxes for the kids!
Maila says
What kind of cookie is that?
NikkiK says
This is a GREAT idea! I should make these for 2 little boys I know. The first batch of royal icing cookies I ever made included some mustaches that I took a lot of time to decorate. Both boys wolfed down 2 cookies without even noticing they were decorated or even what they were! These would be easier to make for them and I wouldn’t have to worry about all that time & energy I spent creating something they gobbled up in 3 seconds.
Thanks!