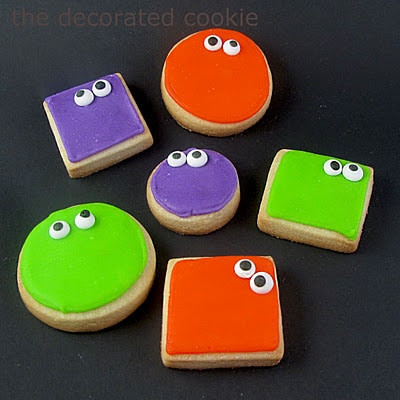
Super-simple googly-eyed monster cookies for a fun Halloween dessert idea.
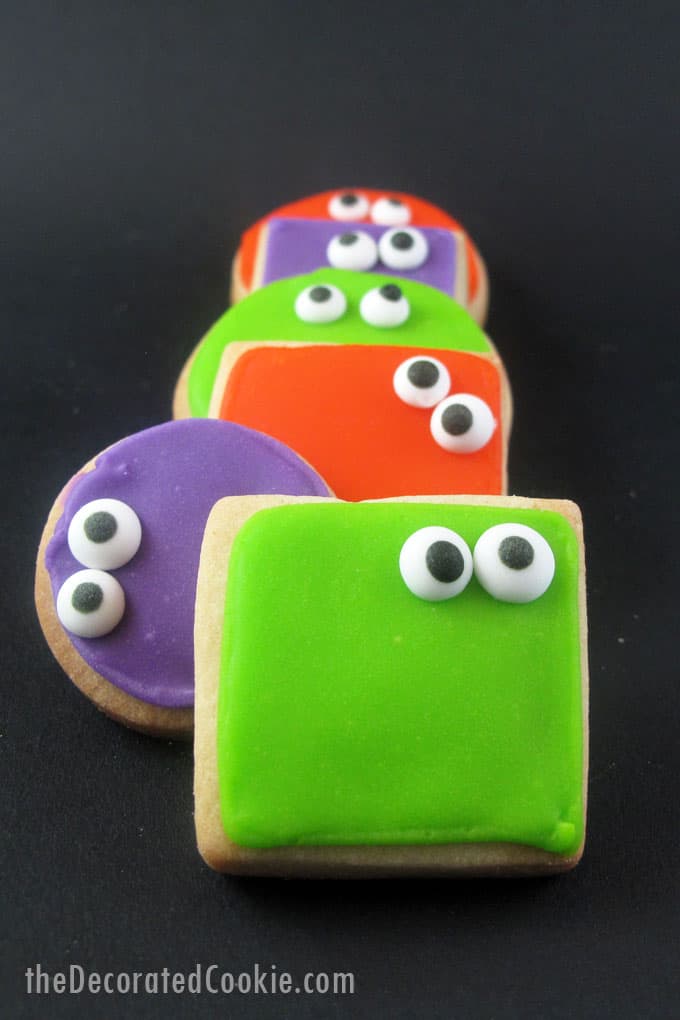
googly-eyed monster cookies
I’ve been posting so many eye-treats over at my (former) other blog, so many that I declared a “candy eye trend” this Halloween, that I figured I better get on posting something here, too. That baking aisle at Michaels is such a dangerous thing. That’s where I got these candy eyes, and I’ve been making quite a bit of use of them, like with these googly-eyed monster cookies. They couldn’t be simpler… but so spooky. (I mean, sorta.)
If you like these, you’ll love these easy monster cookie sticks. Or these easy googly-eyed cupcakes.
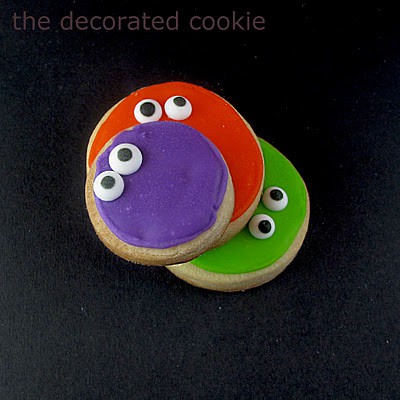
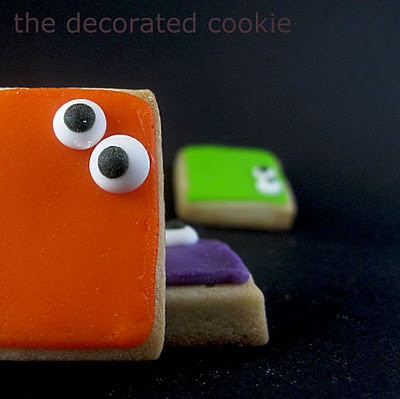
These are super-simple to make. Just some good ol’ fashioned flooded icing background.
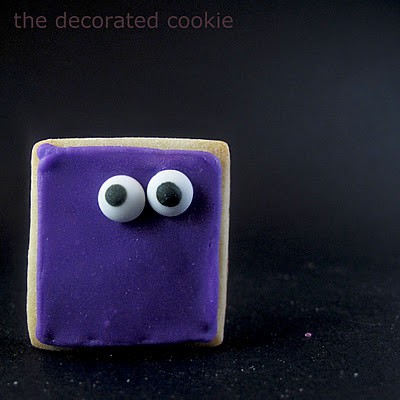
how to make monster cookies
you will need*
- cookie dough and royal icing
- cookie cutters (circle, square, whatever)
- food coloring
- decorating bags
- couplers
- size 3 decorating tips
- rubber bands
- candy eyes
- toothpicks
- light corn syrup
*Find cookie cutters, decorating bags, couplers, decorating tips, and candy eyes in the craft store. For food coloring, I prefer Americolor Soft Gel Pastes (Electric Purple, Electric Green and Orange used here). Find cookie decorating supplies HERE.
step one: bake your cookies
Roll out chilled cookie dough, cut out your cookies and bake according to the recipe. Let cool completely.
step two: prepare your icing
Prepare royal icing, divide and tint your preferred colors. I made purple, orange and lime green. Prepare decorating bags with couplers and size “3” decorating tips. Fill with your half of each of your colors and close tightly with rubber bands. Cover reserved icing.
step three: flood the backgrounds
Pipe an outline on a cookie and let set about 15 minutes. Thin the reserved icing of the same color with water, a few drops at a time, until the consistency of thick glue. (Take a spoonful and drizzle it over the bowl. The icing should disappear into itself in 10 seconds. When in doubt, err on the side of slightly too thick.) Fill an empty decorating bag with the thinned icing, snip 1/8 to 1/4 inch off the tip, and loosely pipe the icing to fill the cookie. Use a toothpick to encourage the icing as needed. Let set very well. A few hours at least, but overnight preferred.
step four: add your eyes
Use a toothpick to dab a dot of light corn syrup on the back of a candy eye and attach to the cookie as desired. Let dry.


Katrina {In Katrina's Kitchen} says
You know me…all about the eyes this year! Adorable and I love that my kiddos can join in on the fun!
Tina says
Funny, I never realized that Micheals had the decorator type stuff. I will need to take some time out and look.These do look like a lot of fun-I am sure kiddos in the kitchen could really get into these. Such a cute end result. Thanks for sharing.
SweetSugarBelle says
Ya beat me to one! I knew it would happen some day! I would have made it MUCH harder though! As always, Love them!
SprinkleBakes says
Those are adorable!!!!
Trish - Sweetology101 says
I adore the fact that simple is sometimes the BEST way to go. Sophia was looking at these with me and said, "Mom, those are the best we have seen – when are we making these!" Good times ahead for us!
LilaLoa says
What a FANTASTIC, simple idea!! I LOVE IT!! (And I just know my 4 year old is going to love making them!!) Thanks for sharing!
Cara @ The Boys Made Me Do It says
So cute!! Great and simple idea!!!
sweetsimplestuff says
What can I say that hasn't already been said? They are simply cute!
Please Do Not Feed The Animals. says
I LOVE these! So much fun. No idea where we might get those eyes here in Scotland but if I ever come across them, I'm making these. It will be good motivation to get over my fear of trying to do iced cookies. Thanks.Lou.
Heavenly Treats says
Great detailed steps. They look awesome!
lady edmonton chef says
My kids will surely love this one. Thanks for sharing the wonderful recipe of it.
Sue says
Simple(part of the appeal:)), but oh so cute!
JustJules says
Adorable! They remind me of the "square candies that looked round" from Charlie and the Chocolate Factory!
Julie higgins says
What a fun idea! Love the bright colors too! I'm making these for sure…thanks for sharing!