how to make weather cupcakes
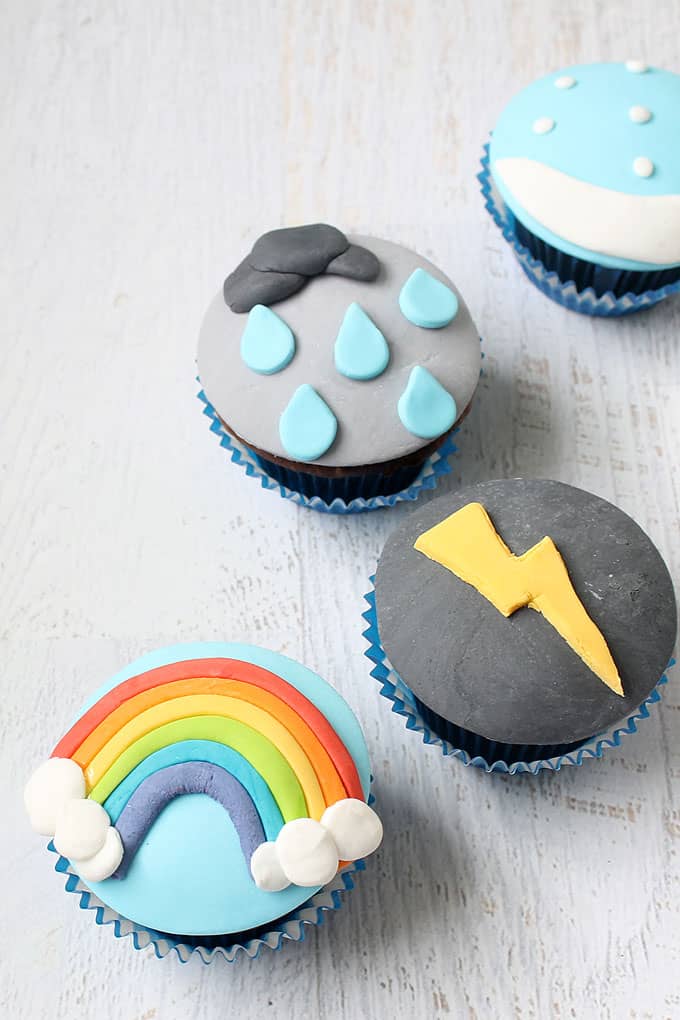
weather cupcakes
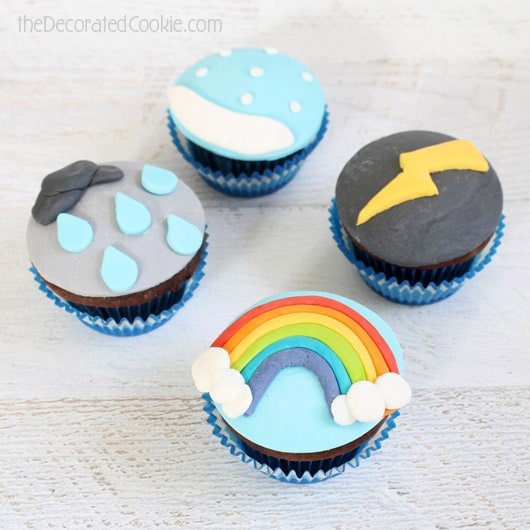
Decorate cupcakes with fondant to make these weather cupcakes, with rainbows, snow, lightning, and rain. Fun idea for a weather-themed birthday party.
Anyone who knows me knows I’m a nerd of academia. I love school. I was the kid who went to the teacher and protested that my B+ should have been an A.
I got two masters degrees because I couldn’t decide which one I wanted to do more. If I could, I’d still be in school writing long-winded papers on the theory of everything. And so, it’s understandable that I would go into cahoots with Craftsy. Craftsy is the place where people like me take lessons to learn more stuff.
Not about the theory of everything, but of my other love: Crafting.
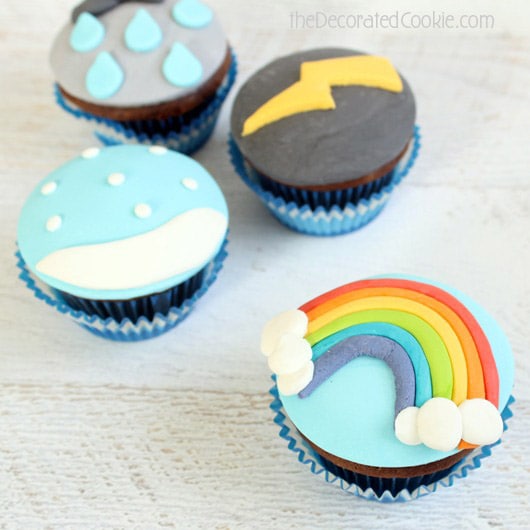
free fondant class
This post is all about how you really need to take some online classes at Craftsy. I took Craftsy’s FREE online Basic Fondant Techniques class. If you want to crack the fondant code–while maintaining a smooth, crack-free fondant surface, of course–in under 30 minutes, watch this video.
I took the FREE (yes, FREE) Fondant Mini-Class. I already have a good bit of experience with fondant. I have my own tutorials and recipes in my book. But I learned choppily. I read cookbooks and blogs, I searched for instructions on the internet, I pieced together information. The class, taught by Elisa Strauss, author of The Confetti Cakes Cookbook and Confetti Cakes for Kids, both of which already sit on my shelves, was the first time I had an efficient, comprehensive, and most importantly, visual how-to on fondant basics.
I’m glad I’m doing a lot right already (really? Go me), but there’s no match to seeing an expert at work. Every comment Ms. Strauss makes is helpful. Nothing unnecessary clutters the video, which as one under time constraints (thanks a lot two kids), I appreciate.
And while I’m impressed by how much information is offered, it was never too much to digest.
The video is divided into short lessons so you can jump around easily and pick topics that help you most. This is perfect for beginners to fondant or for those who have issues here and there with fondant.
You’ll learn fondant basics, including coloring and flavoring fondant, how to cover both a square and round cake (enormously helpful to watch this done, if you have trouble with pleat-free cakes), how to make a two-tier cake, how to craft a fondant rose and bow, how to make fondant appliqués, how to use silicone molds and mats, how to emboss and texture fondant, and how to make fondant tiles with inlay designs.
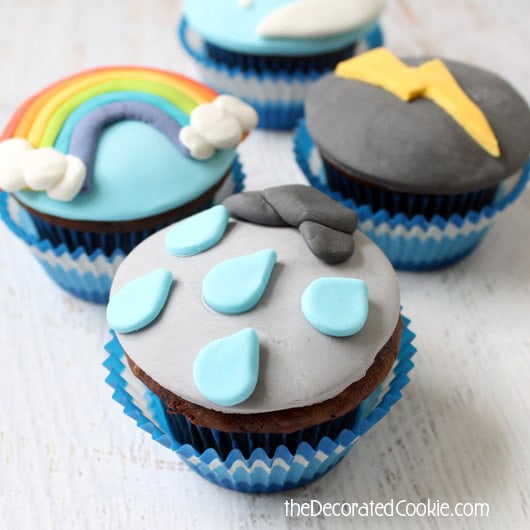
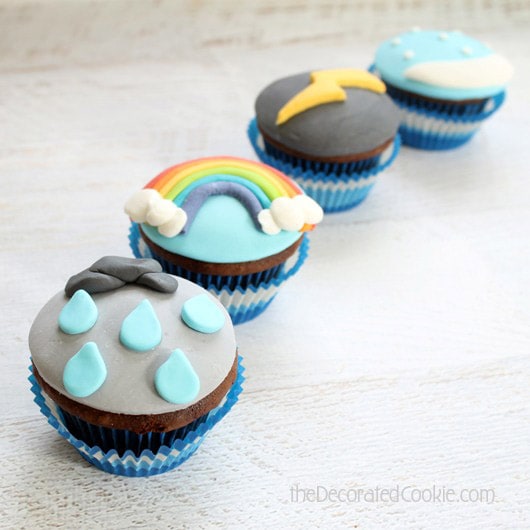
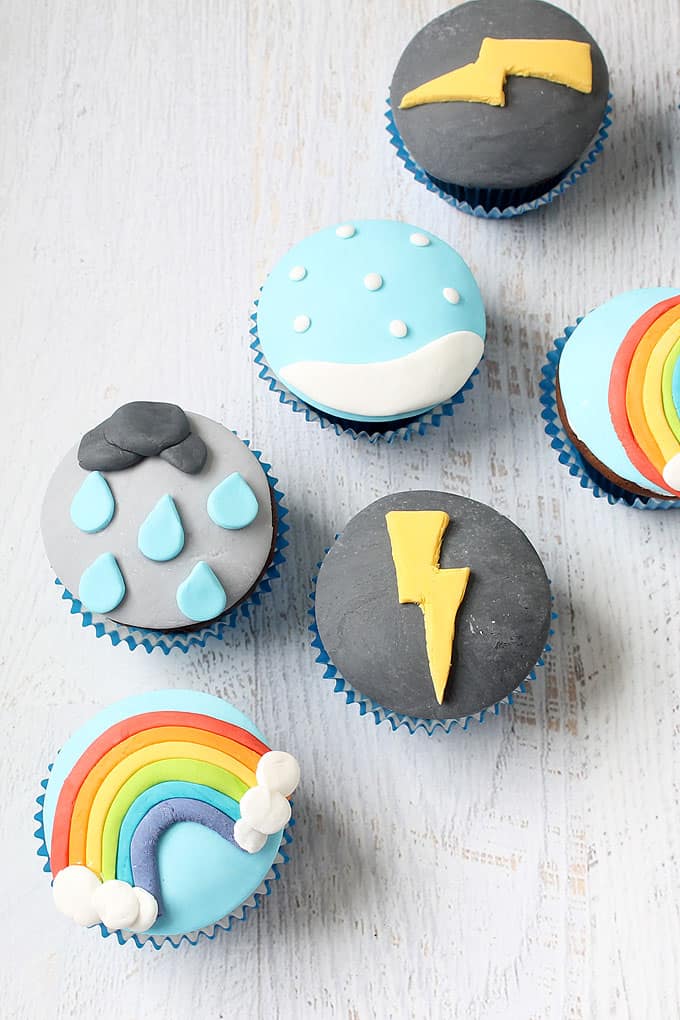
Here is what I made using the techniques in the Fondant Basics Mini-Class, Lesson 8, Fondant Appliqué.
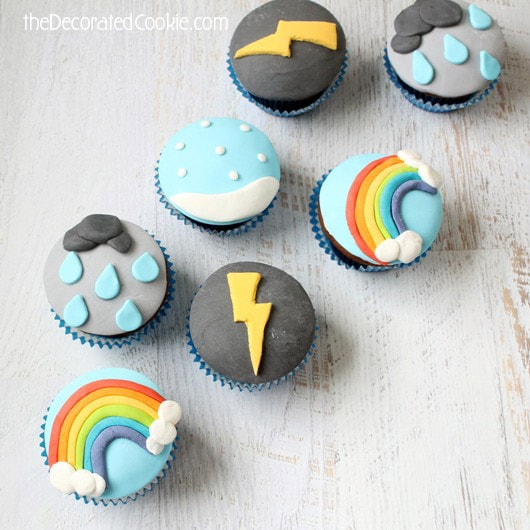
how to make weather cupcakes
First, I made cupcakes.
Use any of your favorite recipes or store-bought mix to make cupcakes. Let them cool completely.
Second, I colored the fondant.
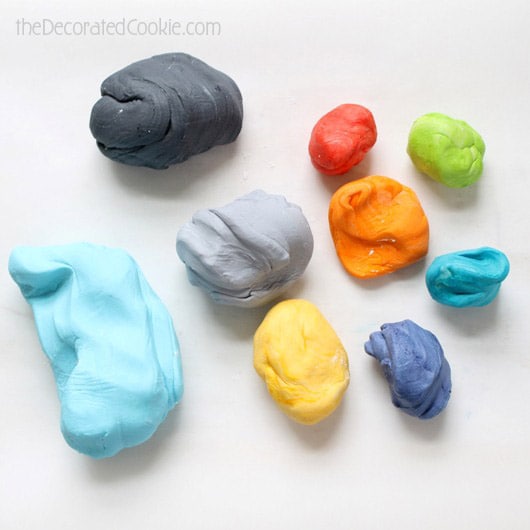
I colored the fondant by kneading my trusty Americolor Soft Gel Pastes into store-bought, white, vanilla Satin Ice fondant. Super Black, Red Red, Egg Yellow, Orange, Electric Green, Sky Blue and Regal Purple food colorings are used here to make dark gray, light gray and light blue for the background and red, yellow, orange, green, darker blue and purple for the appliqués. The fondant comes in bright white, so I didn’t need to make that color. To learn how to color fondant correctly to achieve the right shades and to avoid making a sticky (or overly dry) mess, watch Ms. Strauss in Lesson 2.
Third, I covered my cupcakes.
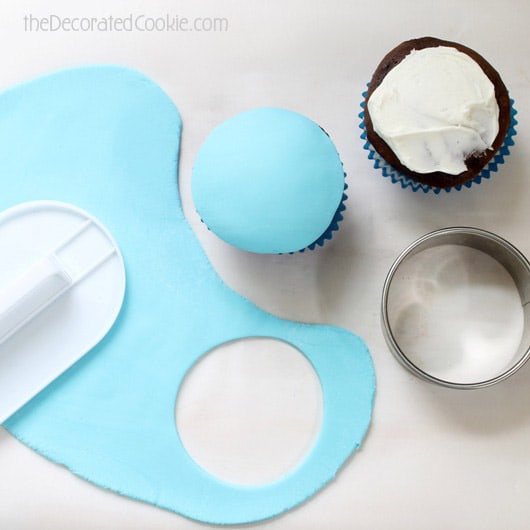
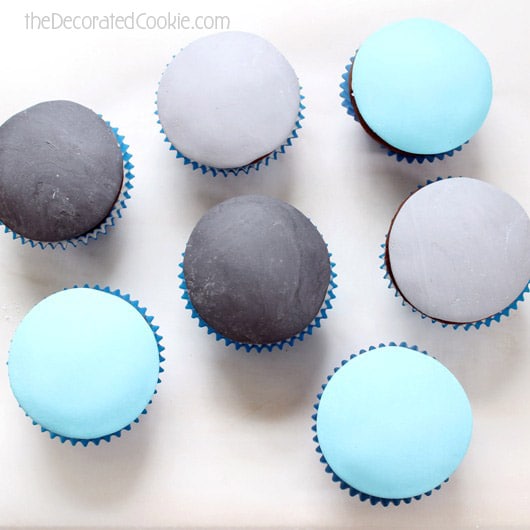
I rolled out the fondant b/w 1/8 and ¼ inch thick. Learn to roll out fondant smoothly, without cracks or imperfections, and without sticking to your rolling surface, in Lesson 3, Topic 1. Cut out circles to fit the top of the cupcakes (3-inches) using my Ateco circle set. I spread a thin layer of frosting and gently pressed the fondant circle on top. I smoothed with my smoother, but you may also use your palms. I used a light blue background for the rainbows and snow, gray for the rainy day, and dark gray for the lightning storm.
Fourth, I made my Appliqués.
Watch Lesson 8 for how-tos on handling the fondant, keeping it pliable and how to best adhere the fondant appliqués to the fondant cupcakes or cake while maintaining the integrity of the fondant pieces. Below, I’ll give you some tips on how I made each appliqué. It’s best to watch the video first, then use the specific instructions here. I used tools from my Wilton Gum Paste kit, but you may use a sharp knife and pizza roller if you prefer.
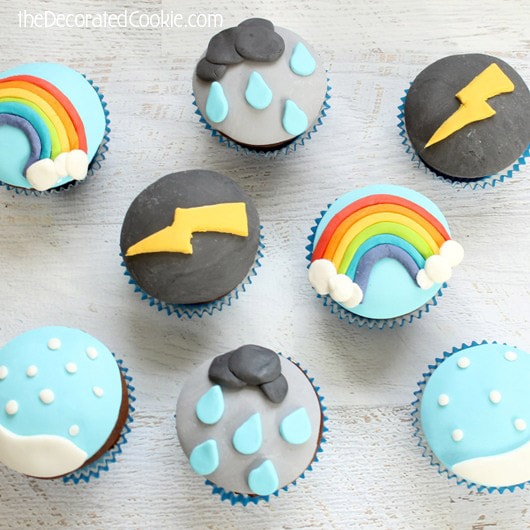
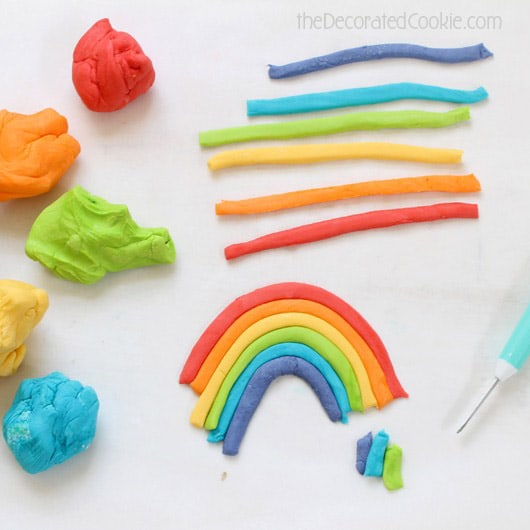
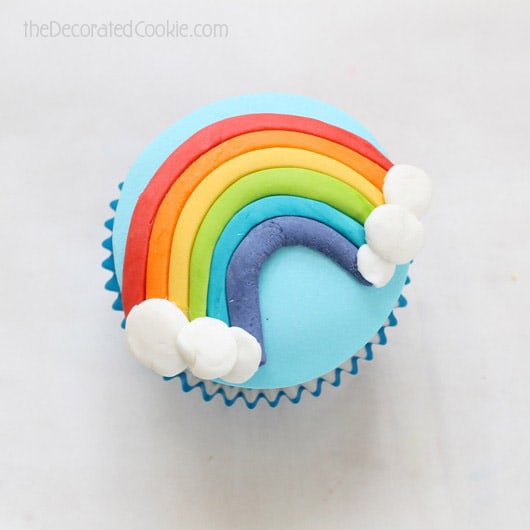
To make the rainbow, roll out each color of fondant, cut strips about 4-inches by 1/4 inch of each color. Line up the colors and curve them together. Trim the edges and carefully transfer and adhere to the cupcake. Roll balls of white fondant and smush onto the rainbow’s ends to make the clouds.
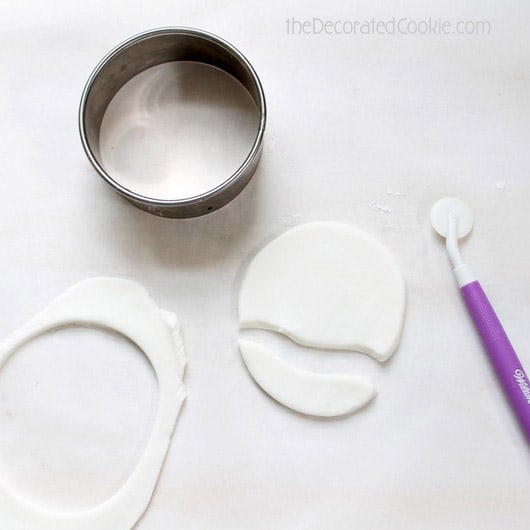
To make snow, cut out a white circle with the same cutter used to make the background circles. Use a little roller (you can use a sharp knife or pizza cutter) to cut off the bottom with a little wave and adhere to the bottom of the cupcake’s fondant circle. Then, roll teeny tiny balls of white fondant and smush them on the top for the snow.
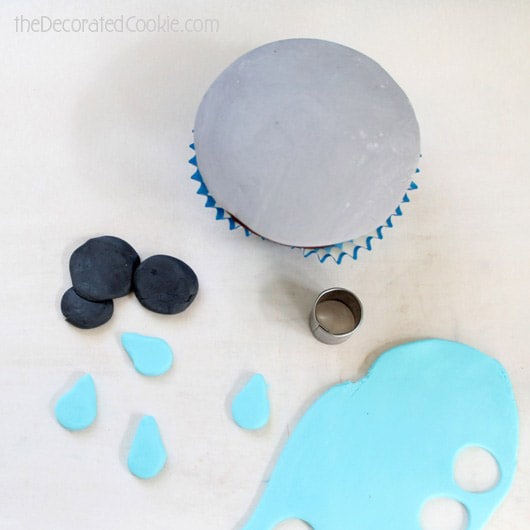
To make the rain, roll balls of dark gray and smush them on the cupcake for the clouds. Then cut out tiny circles of blue with a 1/2-inch circle cutter and pinch the top to make a raindrop shape. Adhere to the cupcake.
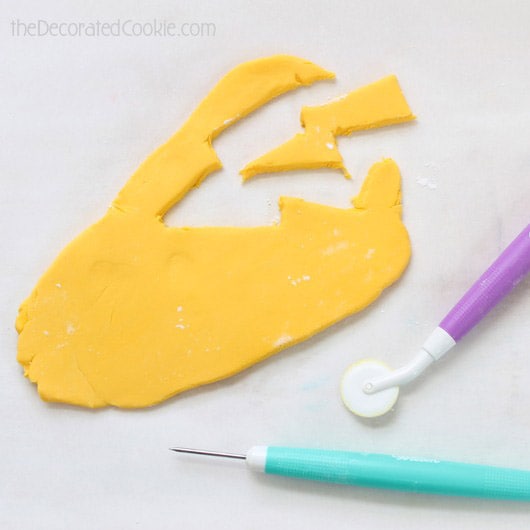
To make the lightning, roll out yellow fondant and used a roller tool (or sharp knife) to cut out the lightning shape. Adhere to the cupcake.
Disclaimer: This is a sponsored post and Craftsy has paid for its placement. But as always, I’ll never, ever promote anything I don’t think is awesome or truly helpful to you.

mirtilla says
carinissimi!!!
Karen @ Sugartown Sweets says
I’m convinced! I already love fondant..and a class from an expert sounds perfect. I’m just not that great with royal icing and fondant is so much more fun. Love your cute little cupcakes.
meaghanmountford says
Thanks Karen! The class is great. It’s only half an hour, and you can skip sections that you don’t need, so definitely worth the time!!
Amanda says
Hey girlfriend! Shared this 🙂 https://www.facebook.com/CraftsbyAmanda/photos/pb.323548680216.-2207520000.1395952982./10153979773015217/?type=3&theater
meaghanmountford says
woohoo, thank you so much Amanda!!
ColleenB. ~ Texas says
how cute and so clever