rock candy cookies
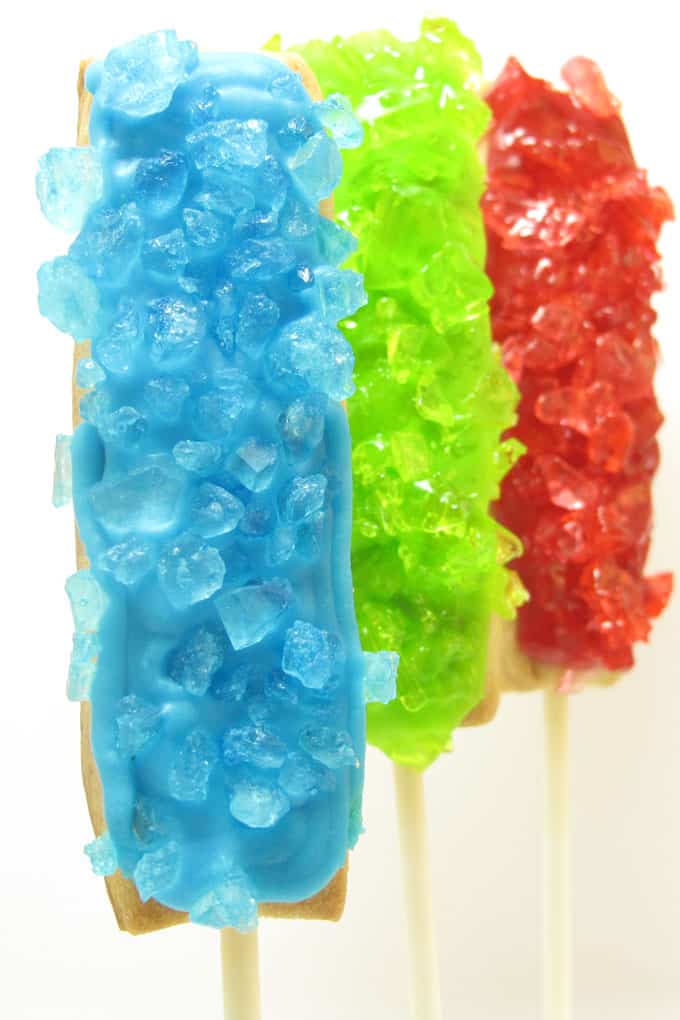
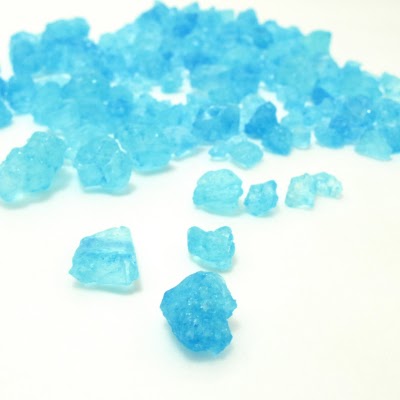
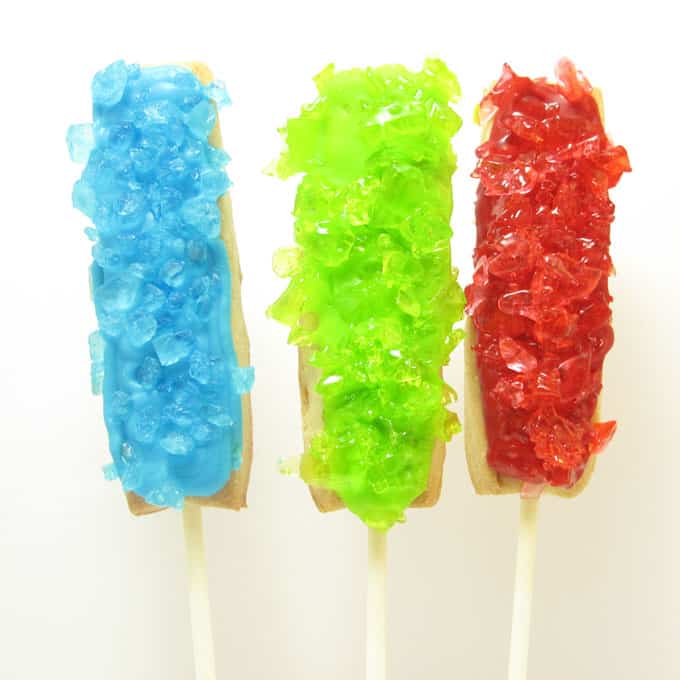
During my trip to NYC last week, of course I had to make a stop at the famed NY Cake on West 22nd Street. And I somehow resisted skipping through the narrow aisles crowded with shoppers and a ridiculous amount of cake and cookie accoutrement. Given my limited suitcase space from my Martha swag, I could only buy a few tiny, little things. Among them, this blue rock candy. So what shall I make with blue rock candy? Blue rock candy cookies, of course. And as I only bought blue, I had to make my own “rock candy” candy in some other colors by crushing hard candy. The candy pieces from the latter were not nearly as perfect as the purchased kind, but that worked just fine for the rock candy effect here, I think.
how to make rock candy cookies
you will need:*
cut out cookie dough AND royal icing
frosting colors
frosting bags
couplers
size “5” decorating tips
rubber bands
lollipop sticks (6-inch)
hard candies in assorted colors
Ziploc bags
hammer, rolling pin or mallet
dough scraper or knife
*Of course you could save some steps if you buy the pre-crushed rock candy. If not, I used Jolly Ranchers hard candy (about 4 pieces per cookie). For the food coloring, choose colors to coordinate with the colors of candy you choose. I use Americolor soft gel pastes for food coloring , Red Red, Sky Blue and Electric Green. Find bags, couplers, tips, and lollipop sticks at the craft store. For tips on finding cookie decorating supplies, click here.
step one: bake your cookies
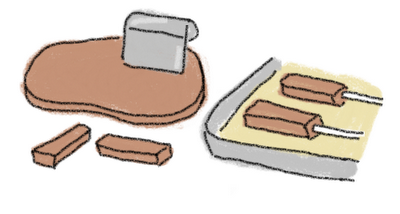
Roll out chilled cookie dough according to recipe. Roll thickly enough to accommodate sticks, about 3/8 inch. Cut out sticks about 3/4 inch wide by 3 1/2 inch long. This is easily done with a dough scraper, but you may use a knife, too. Place on a parchment paper-lined baking tray, carefully insert lollipop sticks into short end of the sticks about half way into the cookie. The stick should fit securely in the cookie. Bake and let cool.
step two: prepare your frosting
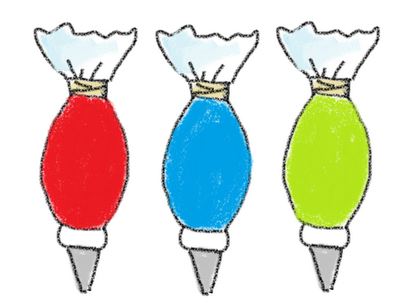
Prepare frosting according to recipe and tint your preferred colors to match the colors of your hard candy. I made red, blue and lime green. Prepare frosting bags fitted with couplers and size “5” decorating tips. Fill with frosting and close bags tightly with rubber bands.
step three: prepare your rock candy coating
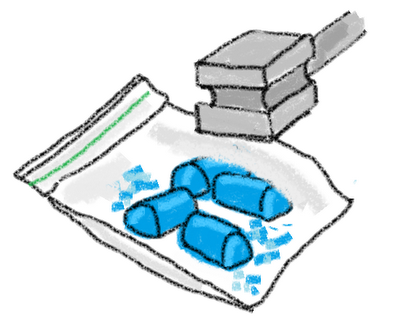
Unwrap and place hard candies of the same color in a Ziploc bag. You’ll need about 4 candies per cookie, depending on how large the candies are. Seal the bag. Use a hammer, mallet or rolling pin to bang on the candy to crush it (I placed a cutting board underneath so I wouldn’t break anything, but be careful not to harm the surface beneath. Might’ve been a good idea to have done this outside.) Set aside.
step four: decorate your cookies
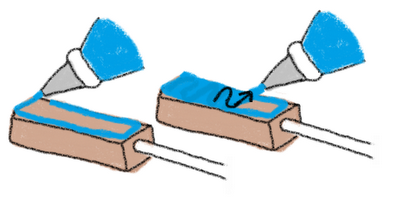
Work with one cookie at a time. Take a frosting bag, pipe to outline the rectangle shape, then pipe back and forth in a zig zag motion to completely fill the rectangle with frosting.
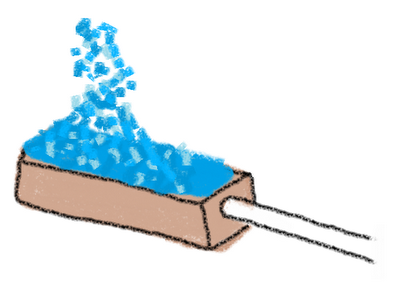
Immediately coat the frosting with the matching color of crushed candy. Turn over to remove excess. Let dry overnight. Repeat with remaining colors.



♥peachkins♥ says
super cute!The Peach Kitchenpeach and thingsblowing peachkisses
Lucky Life says
You are A-mazing!! Love your creativity!! I am now following…
A Few of My Favorite Things says
So fabulous!
mnemonique says
these rocks look like some kind of jewellery! Lovely! Have a great cookie weekend!
Kristan says
What an awesome idea!! I love it!!
Mimi says
Fun cookies.Mimi
pointyebt says
Cute, although I'm not sure what rock candy is. :)Do you have any recipes for 'soft' cookies at all? They're what we call 'american style' over here, because where I live 'cookie' means the soft ones and everything else that's crunchy is called a biscuit. 😀 I need a nice recipe for a competition but I don't know how to make them stay soft and chewy.
apparentlyjessy says
Love how these look, such bright colours, and I bet once you bite into these you have a good time crunching away!
B. Nightingale says
Totally love your blog, and those illustrations are great at showing how it's done 🙂 Can't wait for more ideas.
Chef Bee says
These look so festive. I love this idea. Plan B
Missy says
I love your blog… I learn so much! missyhttps://throughanindielens.blogspot.com/
bridget {bake at 350} says
What a great idea!!! You do the most clever things with cookies!
naomi says
So darn cute and clever! I love these.