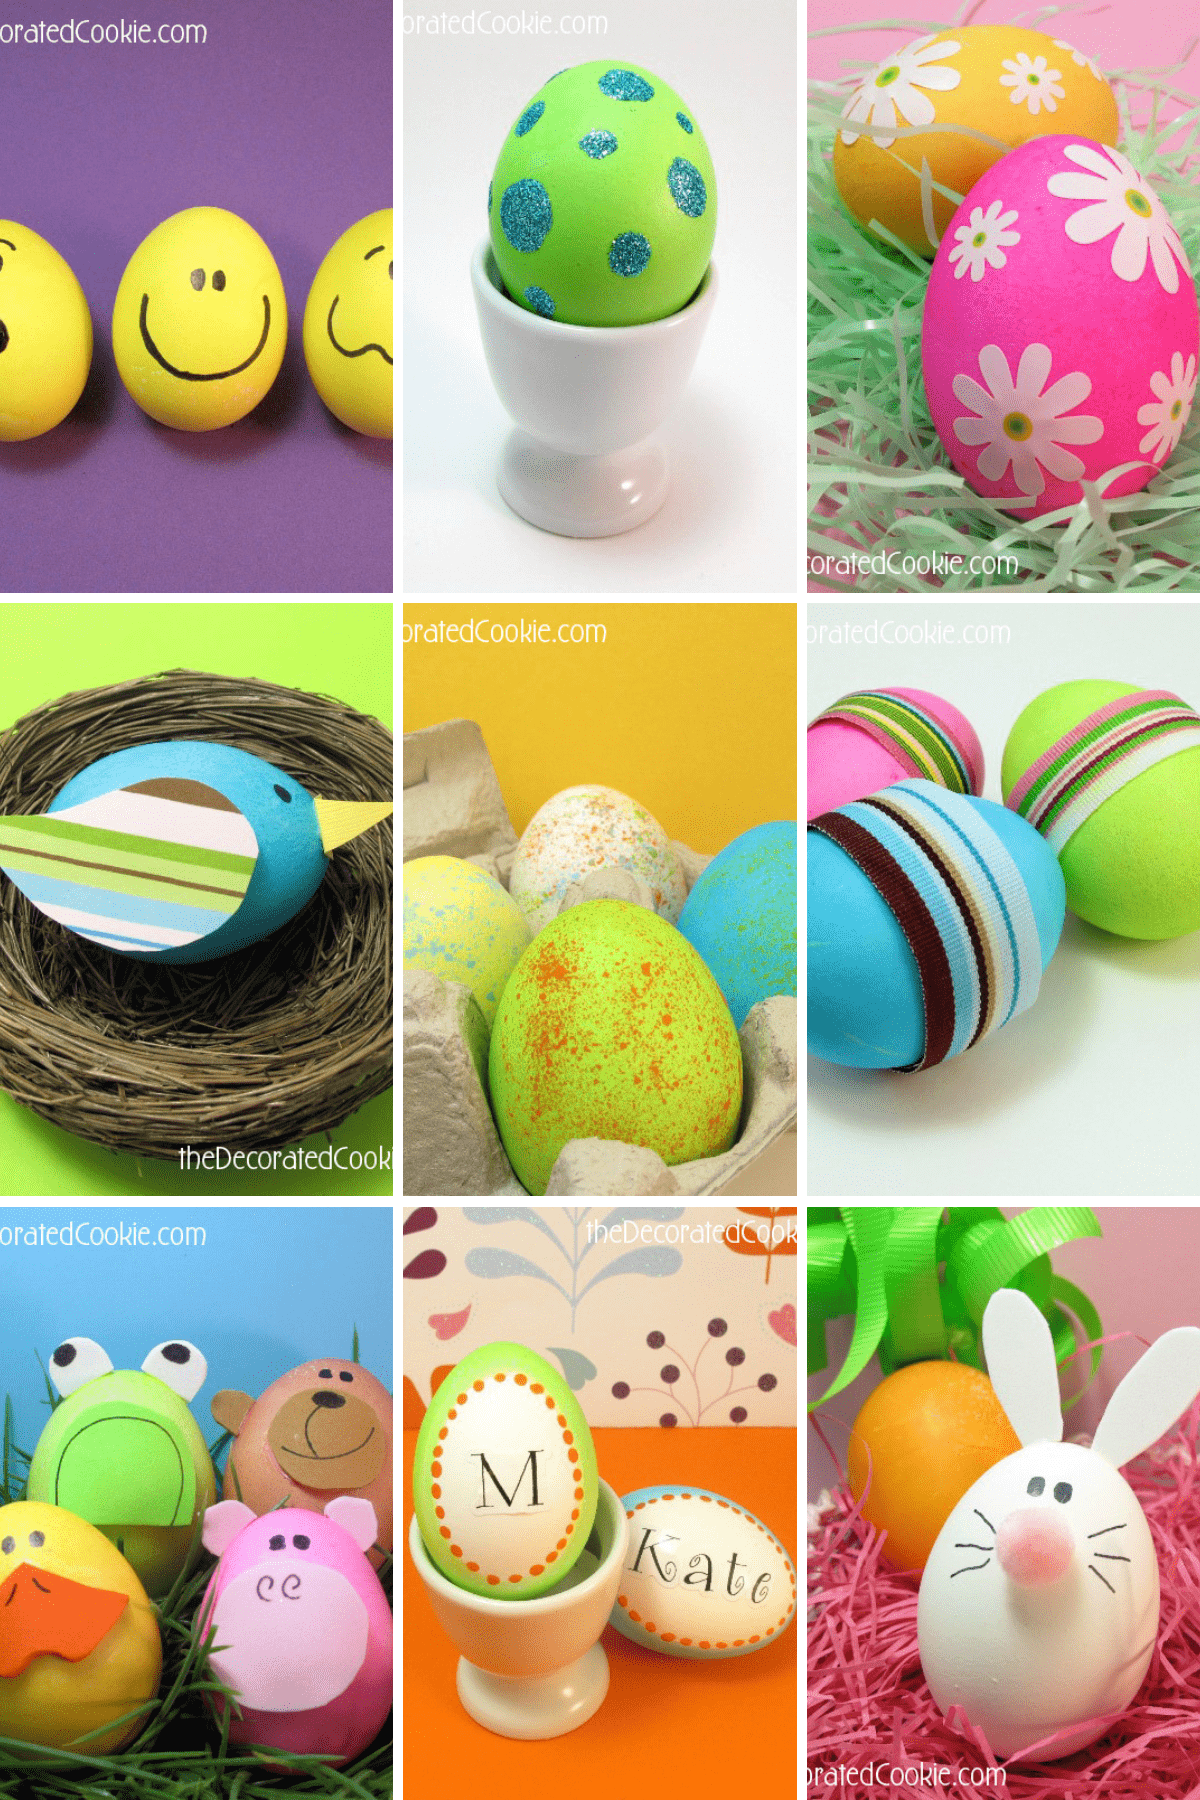
A roundup of Easter egg decorating ideas.
I created these Easter egg decorating ideas FIVE years ago for Reader’s Digest. Five years. In blog years, that’s like twenty.
And yet, I still feel like the old fogy blogger who has no clue how this whole interwebs thing works.
But I’ve seen these egg ideas floating around, and they have moved locations on the Reader’s Digest site, so I’m going to repost them below so they are all in one place for you. They are all pretty easy and kid-friendly.
If you need more ideas for Easter, check out all my fun food ideas for Easter. For another fun Easter egg decorating idea, check out these ice cream cone Easter eggs.
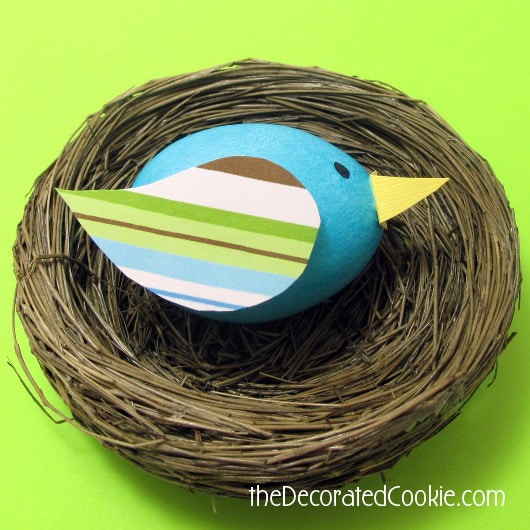
Bluebird Easter egg:
To make a bluebird, dye the bird blue and dry completely.
Then, cut out a wing from patterned paper and glue to one side. Cut out a triangle from yellow paper, fold the flat end and glue to the top.
Draw an eye with a black Sharpie. Rest in a nest or bed of grass.
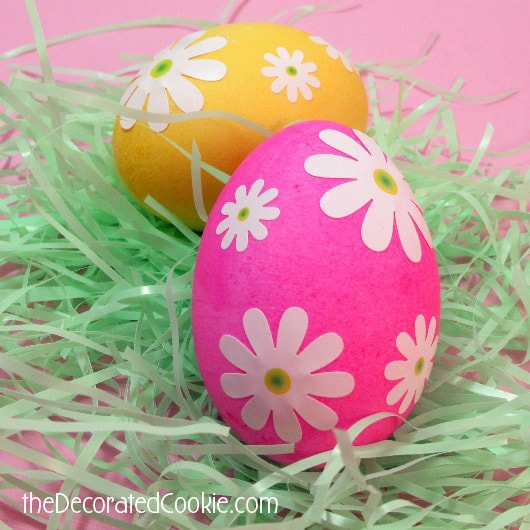
Daisy sticker eggs:
EASIEST eggs ever! Dye your eggs any color you like and let dry completely. Stick daisy stickers (found at the craft store) on the eggs.
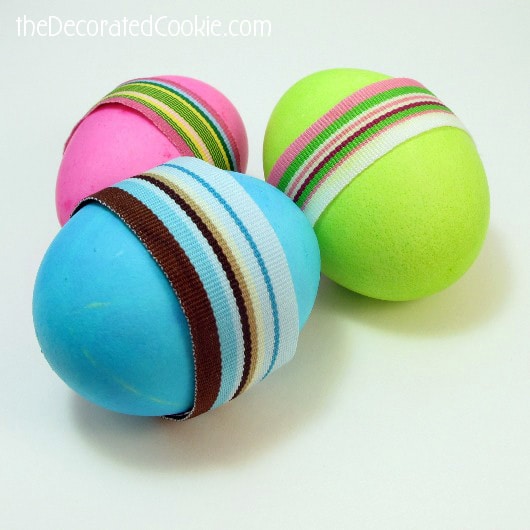
Preppy eggs:
Dye eggs any color you like and let dry completely. Glue a piece of grosgrain ribbon around the center of the egg.
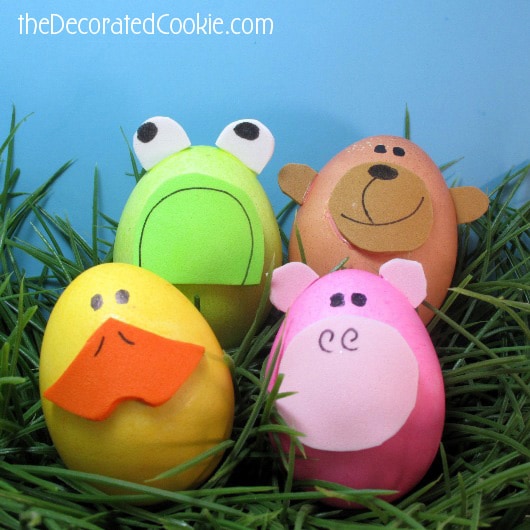
Animal eggs:
Dye the eggs the animal’s color (yellow for duck, pink for pig, brown for monkey, green for frog).
Make the attachments with foam paper from the craft store.
For the duck, cut out the beak shape from orange foam and draw the lines with marker. Adhere with glue to the egg. Draw the eyes with marker.
For the pig, cut out the ears and a circle from pink foam paper. Draw swirls on the circle and adhere to the egg with glue. Adhere the ears. And draw eyes with the marker.
For the monkey, cut out a brown circle and two small brown semicircles. Draw the nose and mouth on the circle and adhere to the egg with glue. Adhere the ears with glue. Draw the eyes with a marker.
For the frog, cut out a green semi-circle and draw the frown with marker. Cut out two small white semi circles and draw dots. Adhere to the egg with glue.
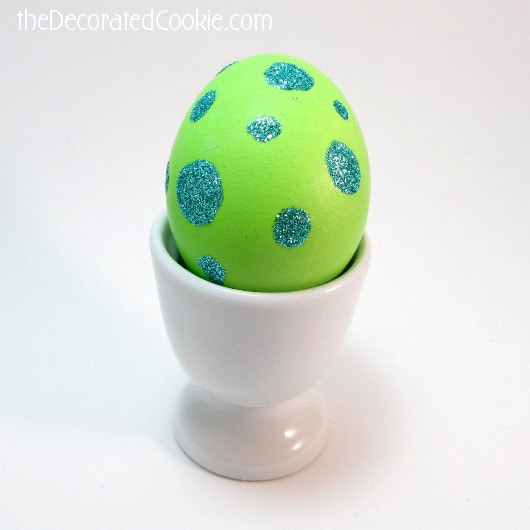
Bling dot eggs:
Dye the eggs your preferred colors and let dry completely. Work with one egg at a time.
Squeeze different size dots of glue on the egg (the different sizes lets you not worry about being uniform). Hold the egg over a plate and pour glitter over the egg. Shake off the excess.
Let the glue dry completely and use a dry brush to wipe off any stray glitter.
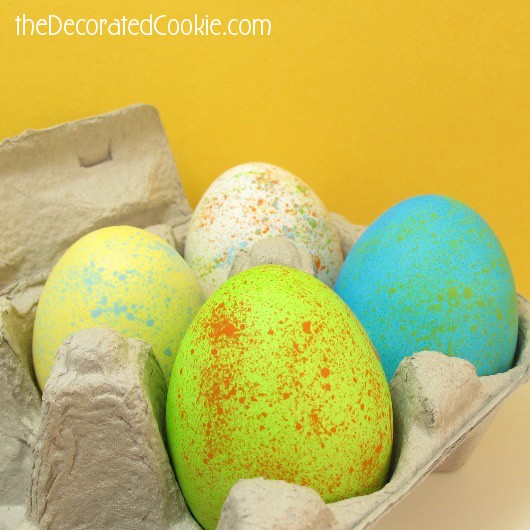
Speckled paint eggs:
Dye eggs any color (or, don’t dye at all!) and let dry.
Dip an old toothbrush into craft paint. Hold the toothbrush over the egg and run your thumb over the toothbrush bristles to spray paint on the egg. Be sure to work over wax paper to protect the surface beneath! This will get a bit messy.
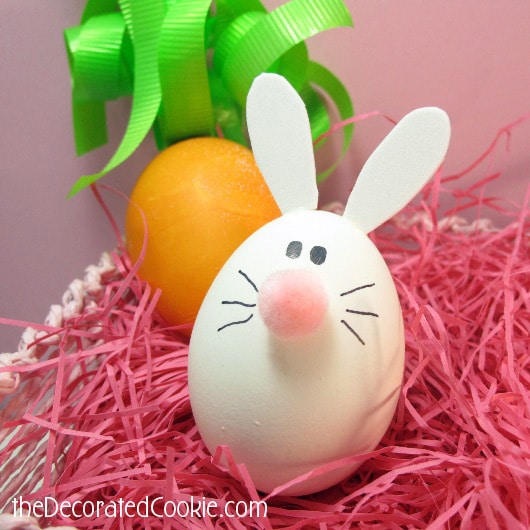
Bunny and carrot eggs:
For the bunny, glue a pink pom-pom on a clean egg.
Cut out ear shapes from white foam or card stock, dab flat ends of ears with glue, and adhere to the top of the egg. When dry, draw eyes and whiskers on the egg with a black marker.
For carrot, dye egg orange and let dry completely.
Cut 5 pieces of ribbon, each about 10 inches long. Stack the ribbon pieces, fold in half, and staple at the fold. With scissors, curl ribbons.
Fold a small tab in the ribbon at the point where you stapled. Dab glue on the tab and adhere to the top of the wider end of the egg. Use invisible tape to hold the ribbon in place until the glue dries.
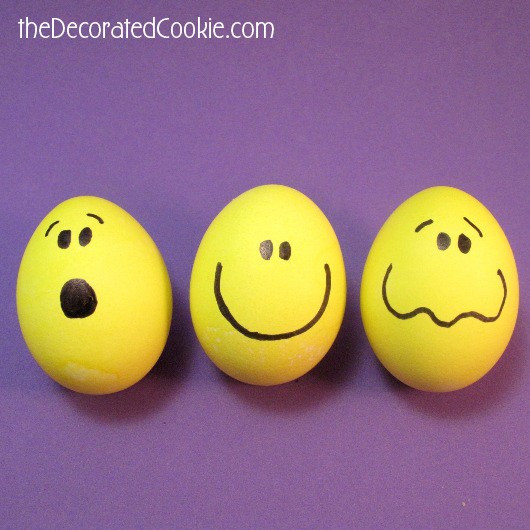
Egg faces:
Dye eggs yellow and let dry completely. Use a black Sharpie to draw faces. That’s it!
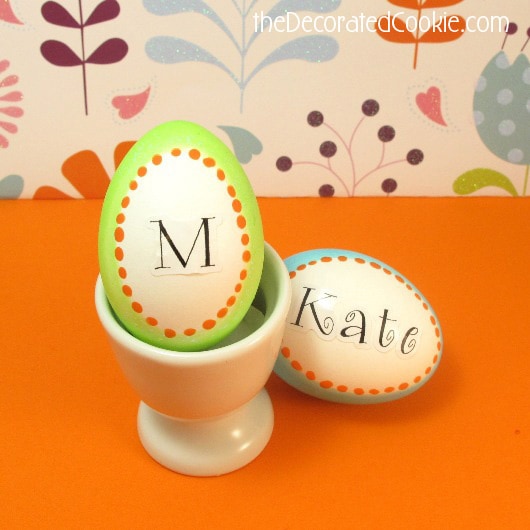
Placecard eggs:
Rest an egg sideways on an egg holder and dip in dye bath of desired color, but hold the egg so the top third of the egg stays above the dye bath and remains white.
Let dry completely. Dip the end of a small paintbrush into craft paint and dab on the egg to create dots around the white oval. Use letter stickers to spell a name or to add an initial.
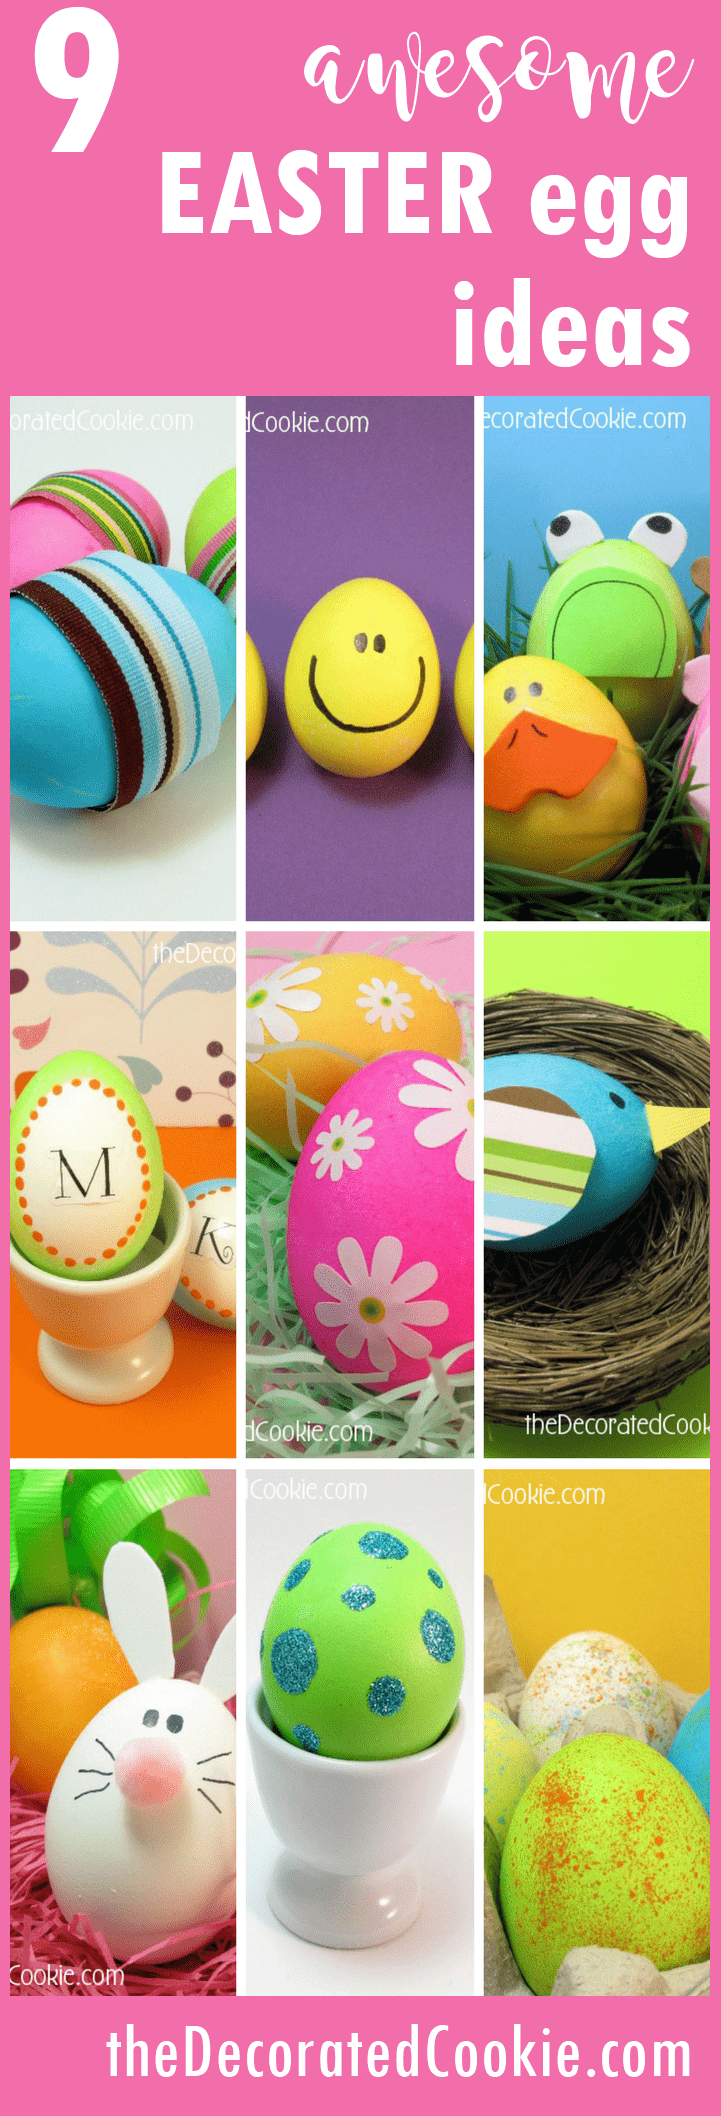
PIN FOR LATER:


Lisa Knight says
Beautiful ideas and I’m thrilled I happened across your page!! Thank You!
Sincerely,
Lisa Knight
meaghanmountford says
Thank you so much Lisa!