lollipop cookie pops
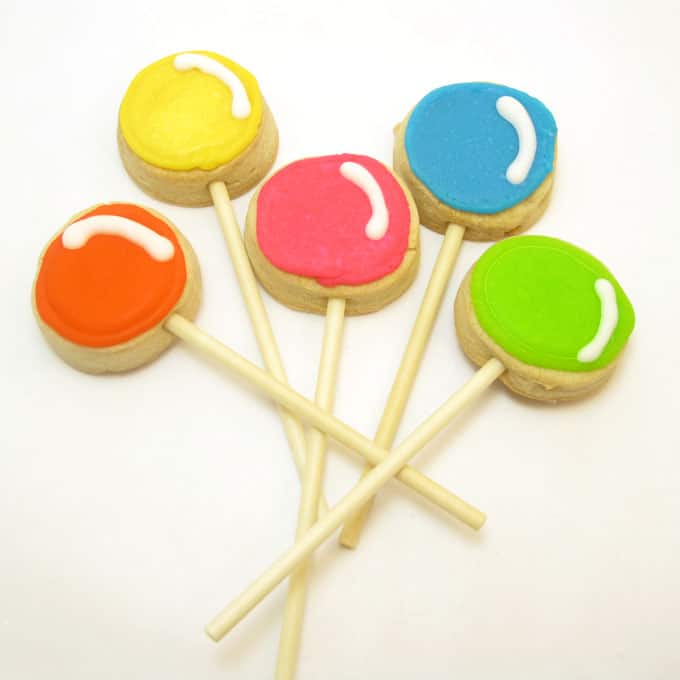
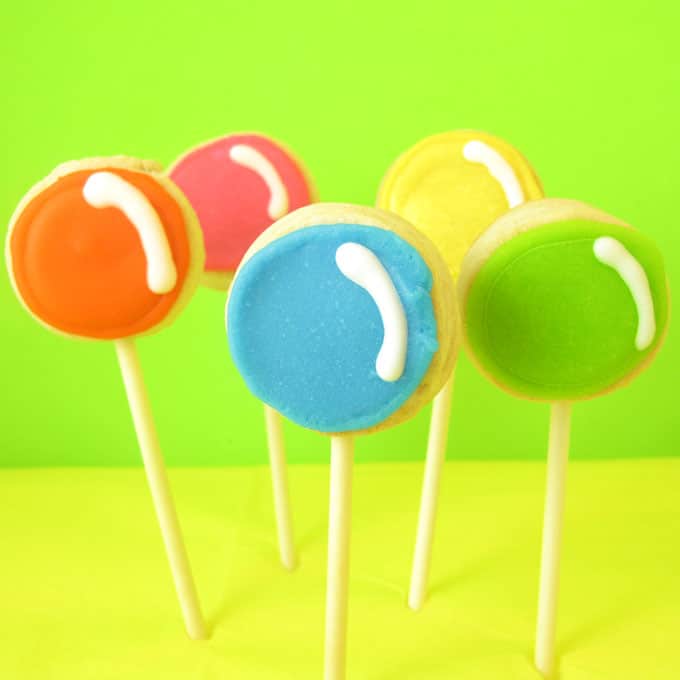
I don’t know why I didn’t think of it before. I’ve been making cookie pops for over a decade. I’ve put candy cookies on a stick. Popsicle cookies on a stick. But, slapping head, what about simple lollipop cookie pops. As in, true to size lollipop cookie pops. (That is, bite-size, think Dum Dums.) So cute. So easy to make.
Anyone remember the time before ATMs? (Back in NJ, the first ATMs were called MACs, by the way.) My mom used to go through the bank drive through window, stick the checks and deposit slips in a glass tube that was suctioned up into another dimension. We kids in the back seat would try and make ourselves obvious to the teller inside, so the returning tube would have some Dum Dums in it.
how to make lollipop cookies
you will need:*
cut out cookie dough AND royal icing
1 1/4-inch circle fondant or cookie cutter
lollipop sticks (4-inch)
frosting colors
disposable frosting bags
couplers
decorating tips (sizes “3” and “4”)
rubber bands
waxed tissue paper (optional)
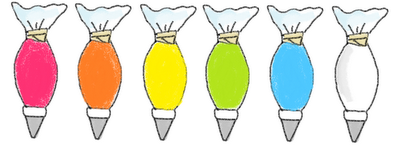
*Find lollipop sticks, the cutter (this may be part of a set, choose any size small circle), frosting bags, couplers, tips, ribbon and tissue paper at the craft store. For frosting colors I use Americolor Soft Gel Pastes. Choose any colors you like, I chose Electric Pink. Orange, Egg Yellow, Electric Green, Sky Blue and Bright White. You’ll need one frosting bag, coupler, rubber band and size “4” tipfor each color, and one frosting bag, coupler, rubber band and size “3” tip for the white frosting. You’ll need extra, empty frosting bags, too. For tips on finding cookie decorating supplies, click here.
step one: bake your cookies
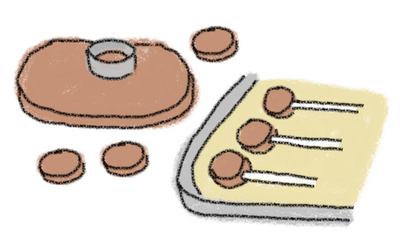
Roll out your chilled dough according to the recipe thick enough to accommodate lollipop sticks, about 3/8 inch. Cut out circles and carefully insert lollipop stick. Place on parchment paper-lined baking tray and bake according to recipe. Let cool.
step two: prepare your frosting
Prepare preferred frosting colors, about 3/4 to 1 cup each, depending on how many cookies you bake (I chose hot pink, orange, yellow, lime green and blue) and also prepare white frosting (you must add white frosting color to make white frosting, don’t use the untinted). Prepare frosting bags with size “4” tips and couplers and fill with about half of each color of frosting. Tie closed tightly with a rubber band. Reserve remaining frosting colors and cover. Prepare a frosting bag with a size “3” tip and coupler and fill with white frosting (no need to reserve any). Tie closed tightly with a rubber band.
step three: decorate your cookies
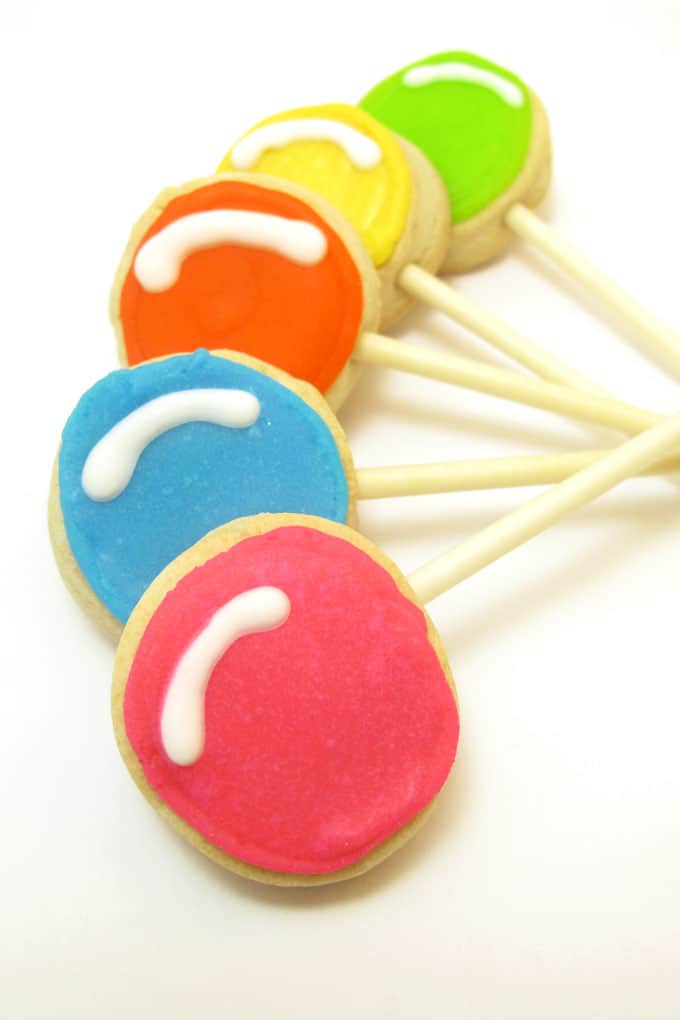
Outline a cookie with a color of frosting. Let set about 20 minutes. Thin reserved frosting by stirring in drops of water until the consistency of thick blue. Using a small spoon or an empty frosting bag with about 1/8 inch snipped from the end, loosely pipe or spoon thinned frosting on cookie, letting frosting flood to edges and encouraging as needed with a toothpick. Let set well, at least a couple hours. Pipe a highlight with white on top. Let dry overnight.
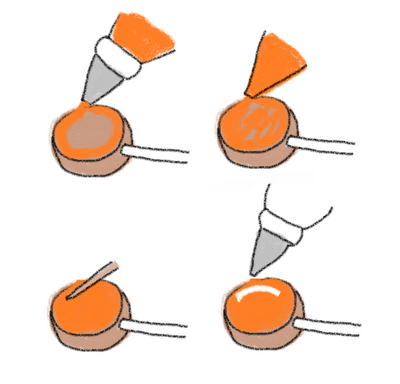
step four: wrap your cookies
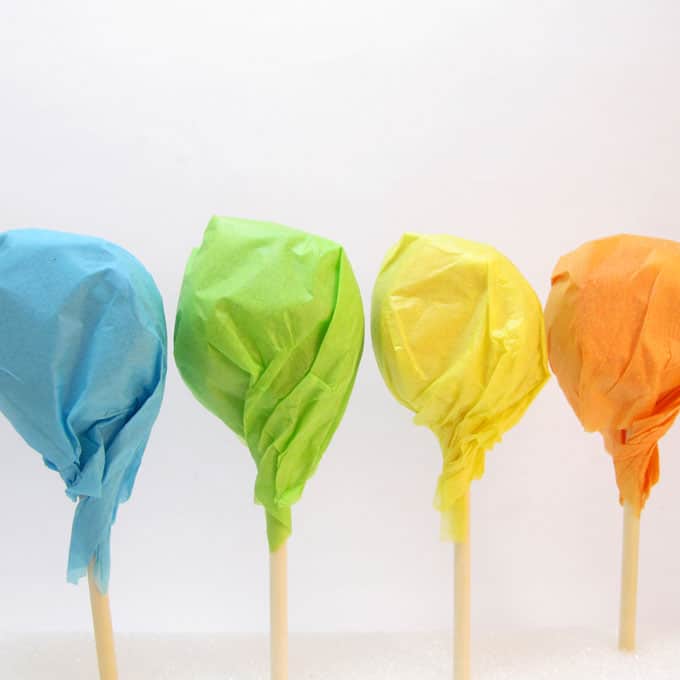
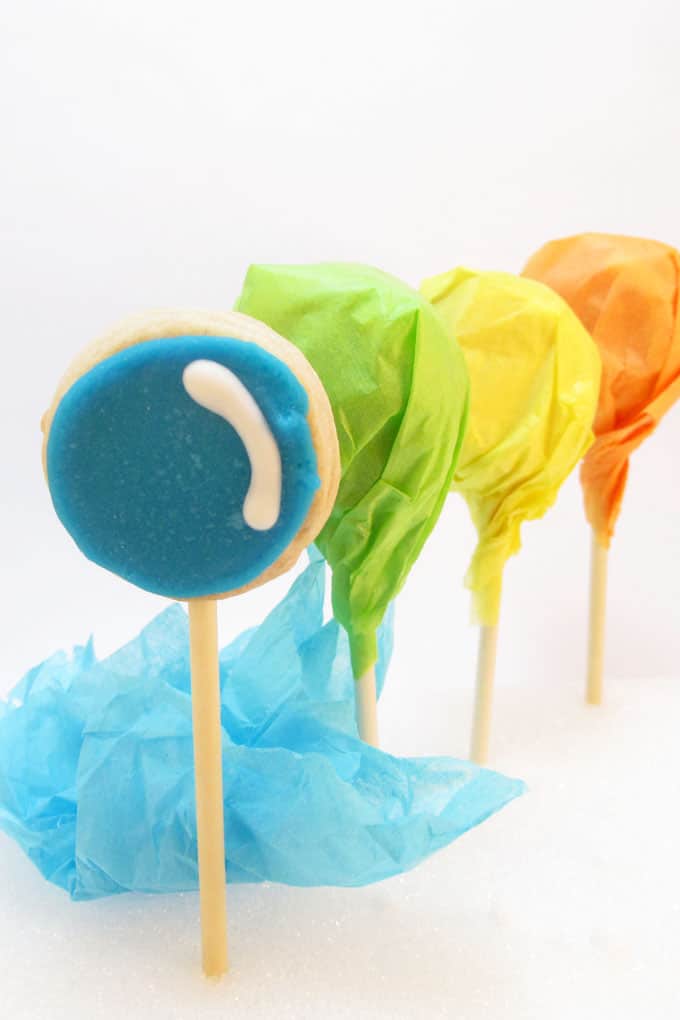
If desired, cut a square (about 5 by 5 inches) of tissue paper that is waxed on one side and wrap around pop, dum dum style.




maria elena says
bonitas galletas!!bss.
maria elena says
bonitas galletas!!bss.
maria elena says
bonitas galletas!!bss.
maria elena says
bonitas galletas!!bss.
Abby says
Adorable!! I bought your book last week and I just want to thank you for putting together such a fine book! I've learned so much!
Etta says
Beautiful idea, My kids will love it!!KissesEtta
Mimi says
Such a cute idea. Great for kids of all ages.Mimi
Lora Joy says
OH MY!! I love this one!!! I might I have to this as a party favor! I love how you wrapped it!
Lorraine says
You have the greatest ideas! I love these. I definitely have to try them. When you write "cupcake wrappers" do you simply mean like a cupcake liner that you use to bake the cupcakes in? Thanks so much.
Chic Cookies says
Thanks everyone! Thanks, Abby, so great to hear! Lorraine, oops! That "cupcake wrapper" was a mistake. Glad you caught it, I just edited. At first, I thought I could wrap with cupcake liners, but they were too small, so I used the tissue paper, which worked SO much better (more like Dum Dums). I forgot to change "cupcake liner" to "tissue paper."
Carolyn Jung says
These are adorable! Would be great for party favors for kids OR adults! 😉
Stef says
Totally adorable!! Great idea!
simplehungrybroke.com says
i LOVE your blog. love the layout, and colors! it's so fun
Joyce says
Wow! These look beautiful and I love your illustrations to go with the directions!
Sue says
SO adorable!
Ally says
I absolutely love your blog! You make everything so simple and easy to follow…not to mention your cookies are fantastic!Have you posted the photos of Fiddme yet?
Tia says
These are so cute! I've never heard of waxed tissue paper. Where do you get it?
Chic Cookies says
Love such great feedback! Keeps me going! Tia, I think mine was just from Michaels. I don't believe it was labeled as "waxed", but if you feel one side, it's kind of shiny and smooth, glassine-like.
Victoria A. says
Very cute, and simple.I really like how you took the extra step and wrapped them up, very authentic lolly looks.
Beth says
These are so cute, everyone in our family loves them. I saw that they made it on to "tastespotting" website! Bravo!