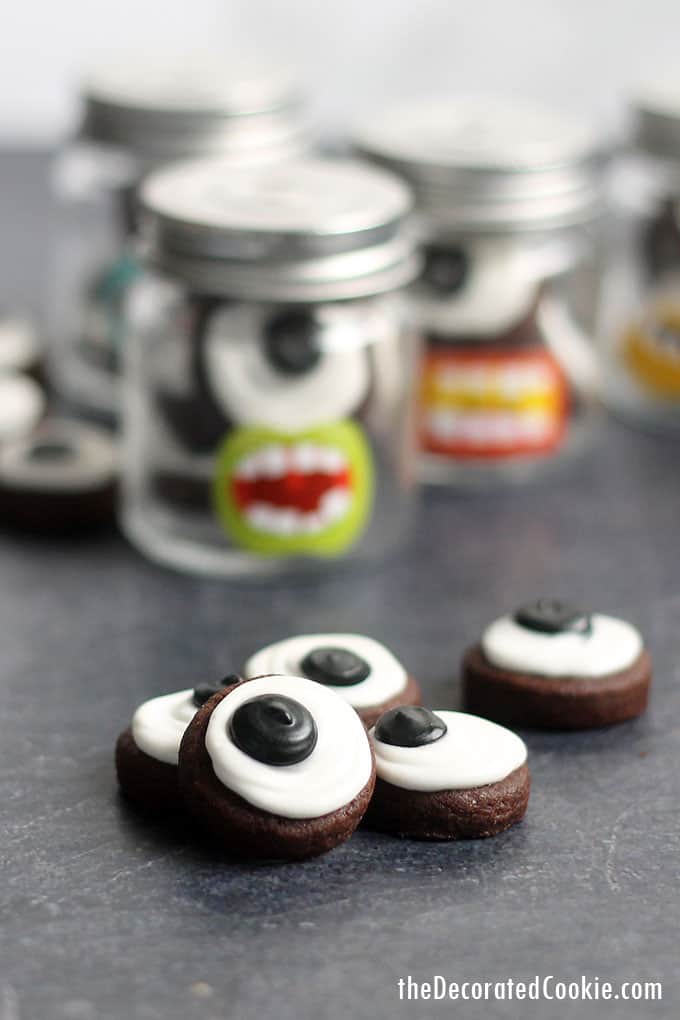
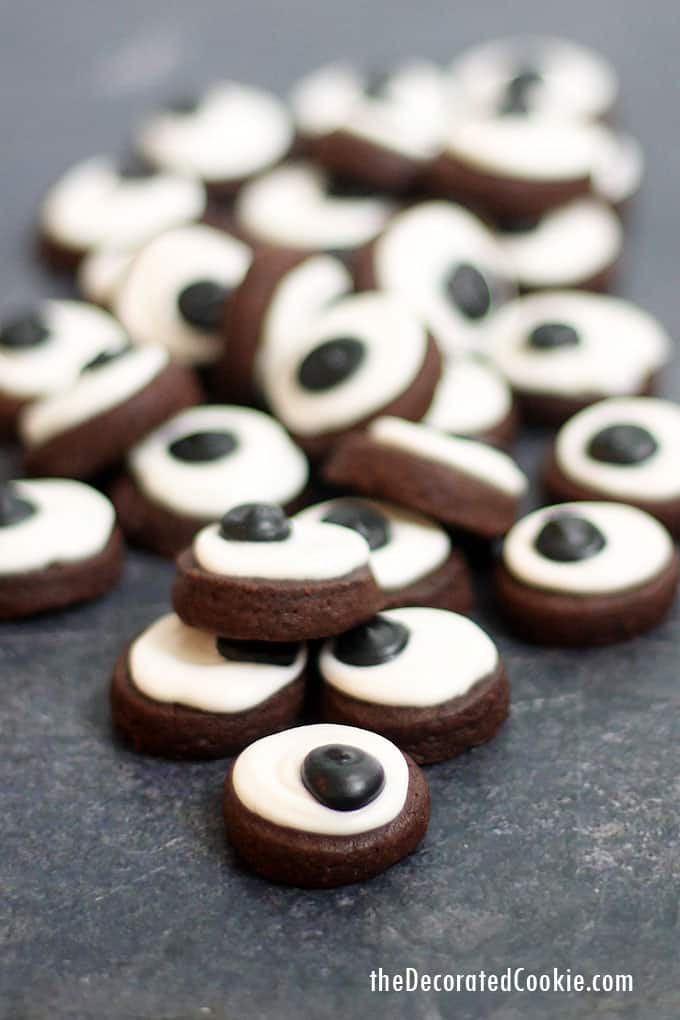
These tiny, bite-size eyeball cookies for Halloween are so easy to make and are sure to be a hit at your Halloween party (or monster party).
eyeball cookies with video
“Cute,” tiny, bite-size eyeball cookies are a perfect Halloween treat. They are easy to make, even for beginning cookie decorators. You can also package them and serve them any way you like.
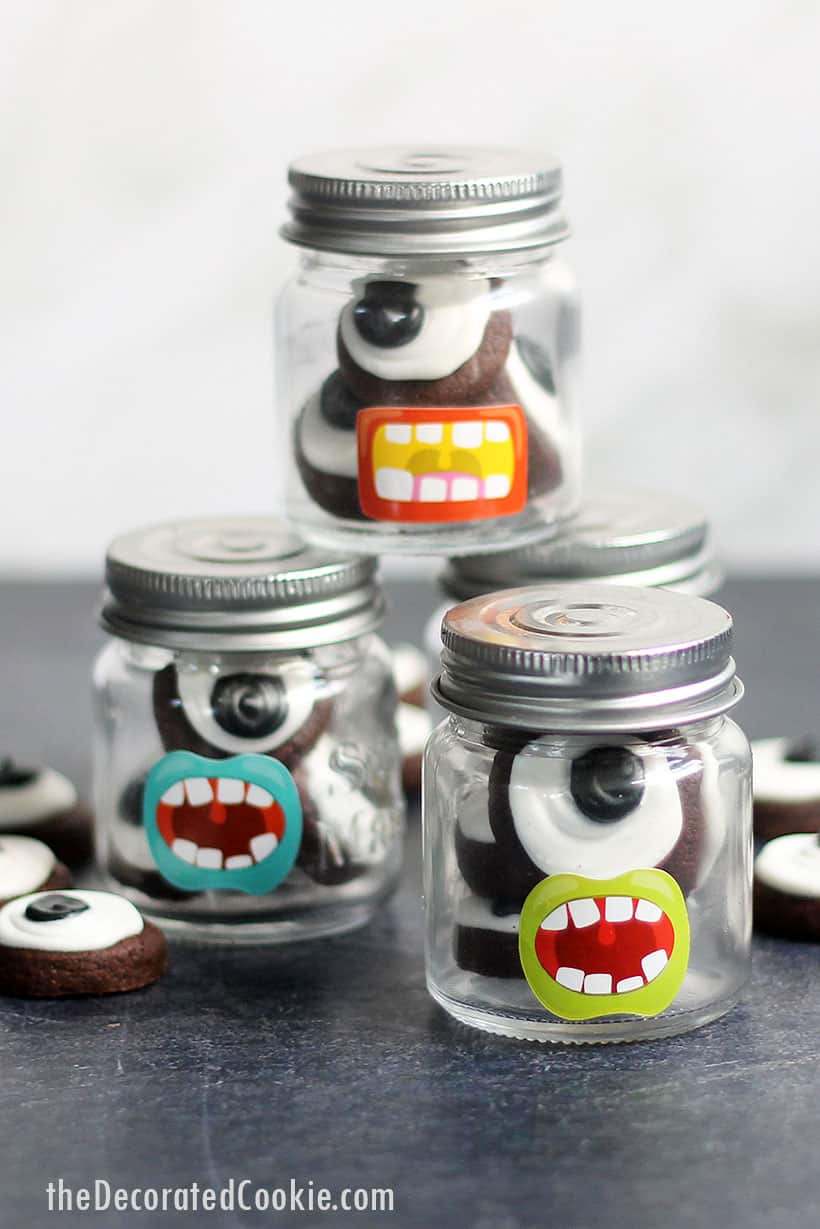
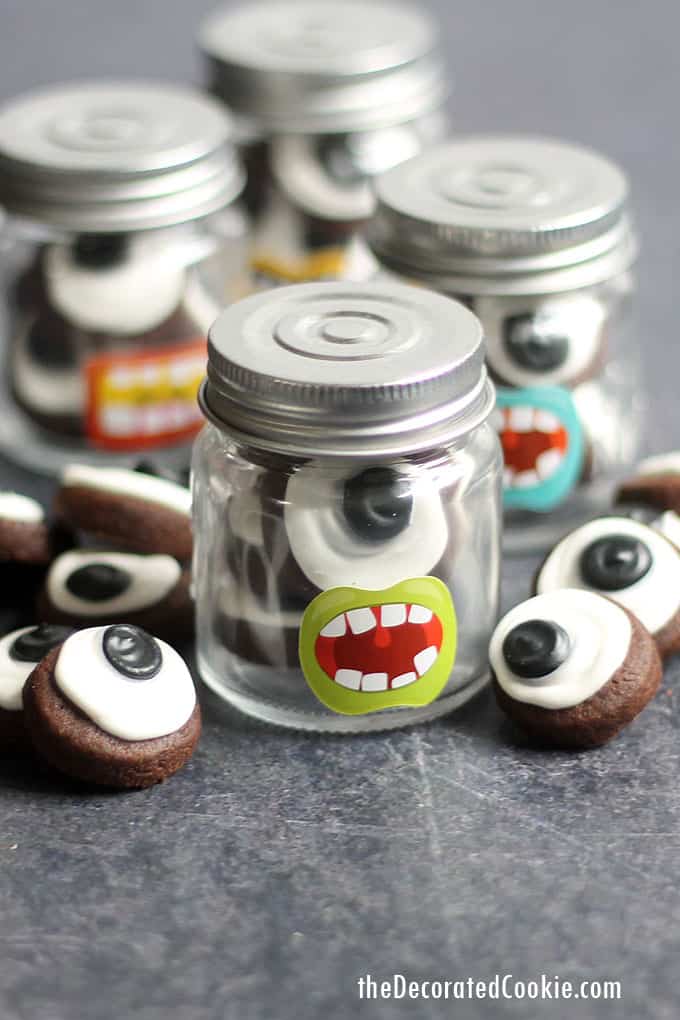
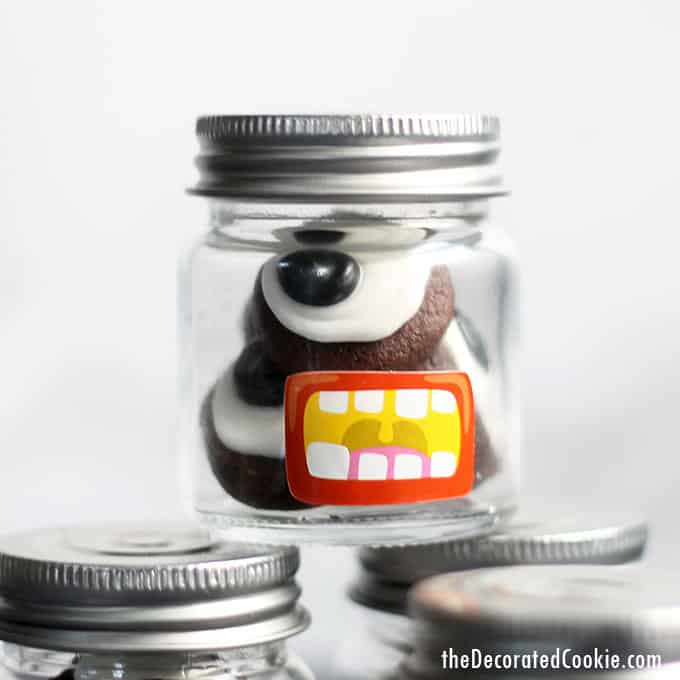
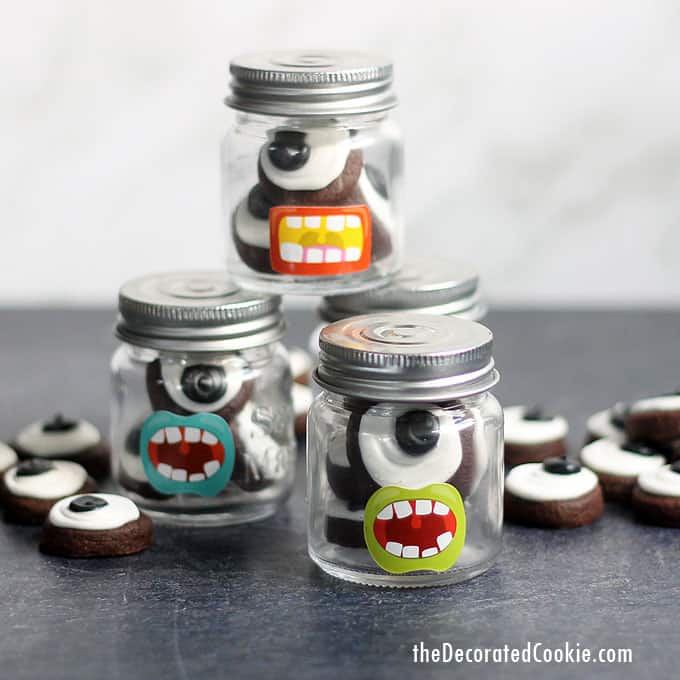
Shown here are eyeball cookies packaged in tiny mason jars with mouth stickers.
packaging ideas for eyeball cookies
- Fill mini jars or half-pint mason jars with eyeball cookies and add some mouth stickers. These would be great for Halloween OR monster party favors. (I fit about 5 mini cookies in the mini jars.)
- Package the mini cookies in cellophane bags with ribbon and attach a spooky Halloween tag for party favors.
- Serve on your Halloween party dessert table in a bowl for easy treat-snacking. (Way better than a bowl of candy corn!)
- Top cupcakes with colorful frosting and add several cookie “eyes,” similar to these eyeball cupcakes.
- Decorate a cake with smooth white, purple, or orange frosting and add a bunch of cookie eyes.
easy Halloween party food ideas
Need more Halloween fun food ideas? Check out some of these.
- These zombie marshmallows are super-easy to make.
- This Halloween s’mores dip needs only two ingredients.
- Decorate store-bought Rice Krispie Treats for Halloween.
- Frankenstein chocolate bark is a cute and fun party food idea.
how to make eyeball Halloween cookies
you will need:*
- chocolate cut-out cookie dough
- royal icing
- 1-inch circle cookie cutter
- food coloring (black and white)
- 2 disposable decorating bags
- 2 couplers
- 2 decorating tips (size 3)
*You can use any cut-out cookie dough recipe you like, including the sugar cookies or vegan sugar cookies. Find the above supplies in the craft store, or click for amazon affiliate links. You may be able to find small cookie cutters in the baking section of the craft store without purchasing the large set. For food coloring, I suggest Americolor Soft Gel Pastes. These may not be available in the craft store, but they are available in specialty stores or online (or use your preferred food coloring.)
Tips on basic cookie decorating how-tos.
step one: prepare your cookies
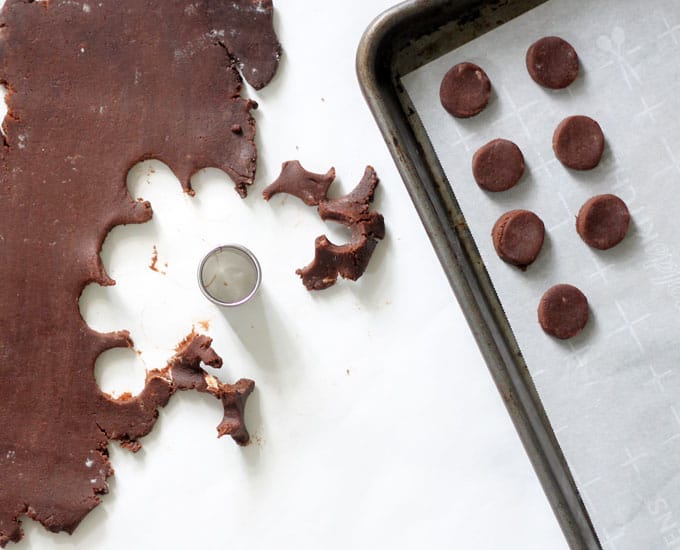
Prepare the chocolate cookie dough according to the recipe. Chill for an hour or two, roll out on a lightly floured surface to 1/4-inch thickness, and cut out lots of circles. Place on a parchment paper-lined baking tray and bake at 375 degrees F until edges are crisped, about 10 to 12 minutes. Let cool completely.
step two: prepare your icing
Prepare royal icing according to the recipe, divide, and tint black and white. (I usually work with one cup of icing at a time.) Prepare decorating bags with couplers and tips, fill with the icing, and close tightly with rubber bands.
step three: decorate your cookies
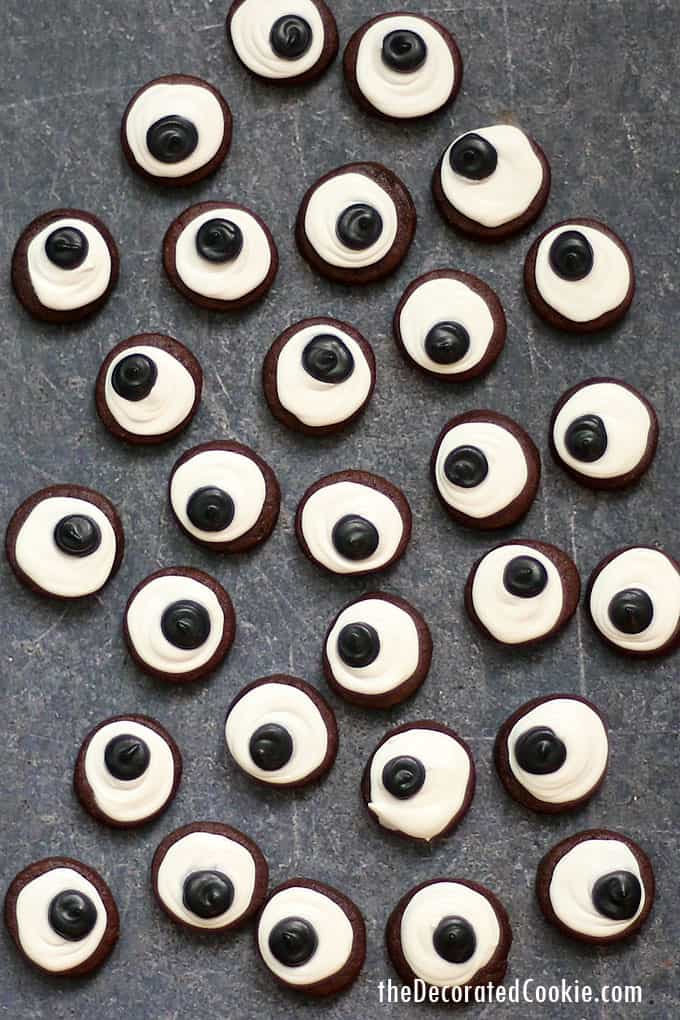
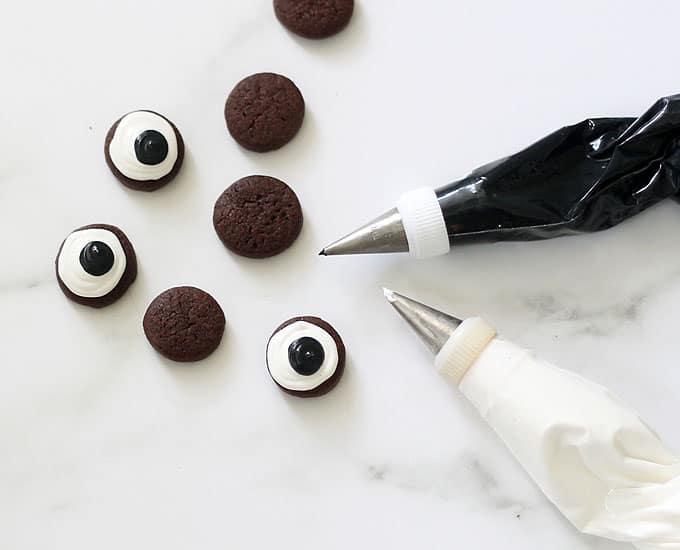
Pipe a white outline on a cookie and pipe to fill the circle. Pipe a black dot on top. I worked with about ten mini cookies at a time, first filling in the white backgrounds, then going back to add the black dot. Let the cookies dry very well, preferably overnight!
step four: package your cookies
See the ideas above to package your eyeball cookies for Halloween or a monster party.
eyeball cookies for Halloween
These eyeball cookies for Halloween are easy to make and perfect for snacking or for party favors.
Materials
- chocolate cut-out cookie dough
- royal icing
- 1-inch circle cookie cutter
- food coloring (black and white)
- 2 disposable decorating bags
- 2 couplers
Instructions
Prepare the chocolate cookie dough according to the recipe. Chill for an hour or two, roll out on a lightly floured surface to 1/4-inch thickness, and cut out lots of circles. Place on a parchment paper-lined baking tray and bake at 375 degrees F until edges are crisped, about 10 to 12 minutes. Let cool completely.
Prepare royal icing according to the recipe, divide, and tint black and white. (I usually work with one cup of icing at a time.) Prepare decorating bags with couplers and tips, fill with the icing, and close tightly with rubber bands.
Pipe a white outline on a cookie and pipe to fill the circle. Pipe a black dot on top. I worked with about ten mini cookies at a time, first filling in the white backgrounds, then going back to add the black dot. Let the cookies dry very well, preferably overnight!



Leave a Reply