Jordache jeans cookies
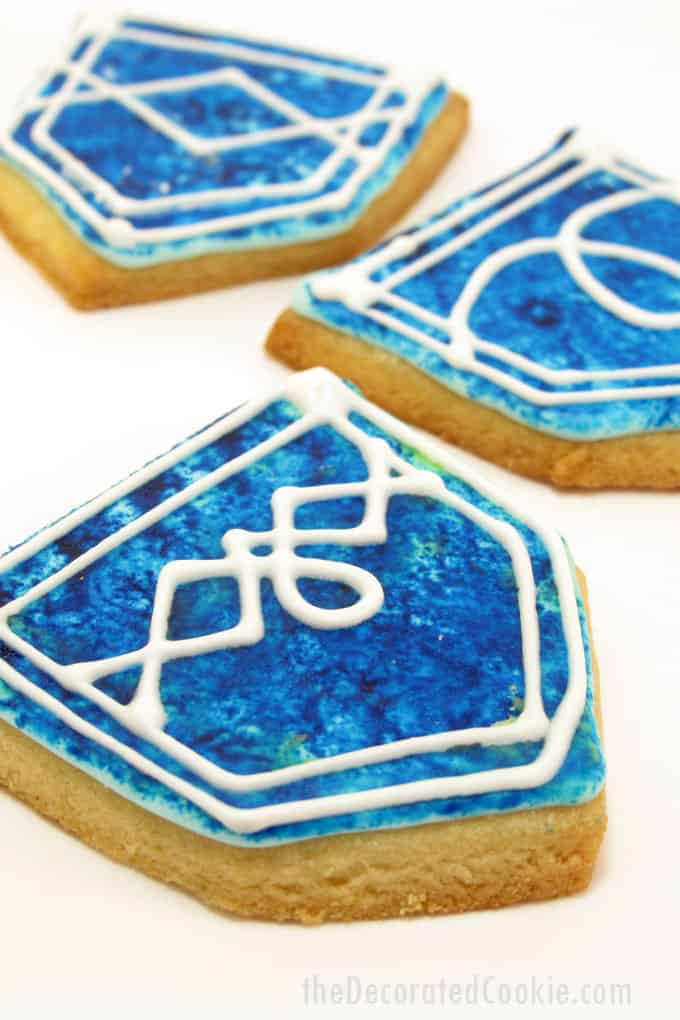
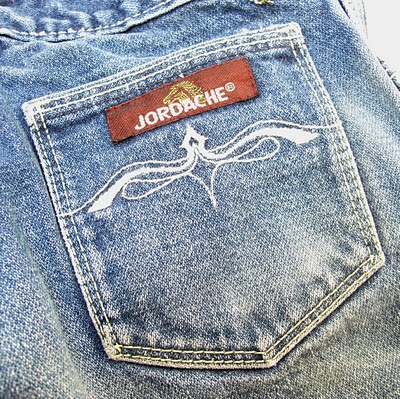
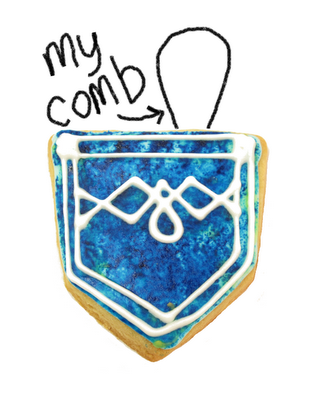
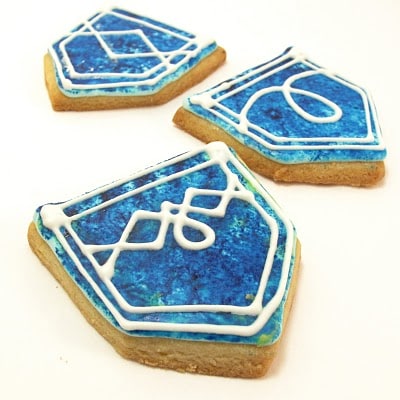
I already mentioned the vintage chicken I swiped from my mom on my last visit home. Well… that’s not all I took. When cleaning out the attic, my mom found these! Not one, but two pairs of my 8th grade Jordache jeans collection. That means these very jeans you see here are from the holy year of 1985. Wow. So naturally, I made some Jordache jeans cookies. So I guess these jeans cookies could also be a “how to sponge paint on cookies” tutorial, too.
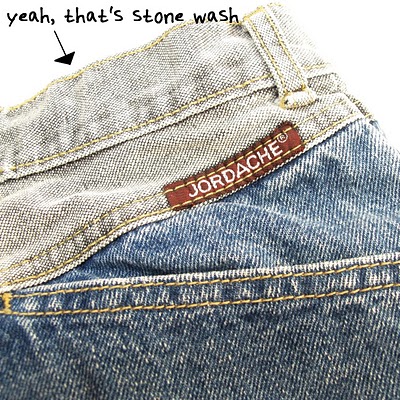
So, all you preteens and teens of the ’80s, remember how very very important the pocket stitching was? Standing in the store pondering which, o’ which, to choose? Yellow stitching? White stitching? And the endless variety of designs that stretched across those back pockets? Preteens and teens of today may never know how novel this concept was, for it’s a given that modern jeans have this stitching. But not in 1985. Oh. Jordache, with the high waist and tapered leg, how I’ve missed thee. Too bad I can’t fit one leg into you now.
how to make mini jean pocket cookies
you will need*
cut out cookie dough AND royal icing
food coloring (royal blue, yellow and/or white)
2 1/4 inch square cutter
knife or dough scraper
2 to 3 disposable frosting bags
2 to 3 couplers
2 to 3 decorating tips (sizes “4” and “2”)
rubber bands
palette (a plastic egg carton works great)
clean sponge
*You can use any size square cutter, they don’t have to be mini. For food coloring, I suggest Americolor Soft Gel Pastes. For tips on finding cookie decorating supplies, click here. For basic cookie decorating instructions, click HERE.
step one: bake your cookies
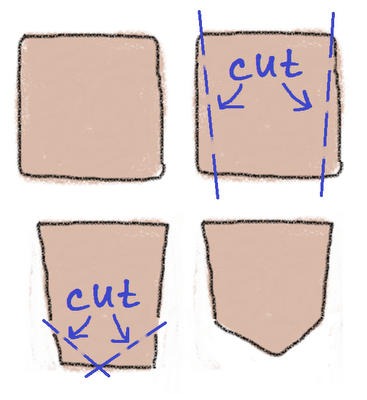
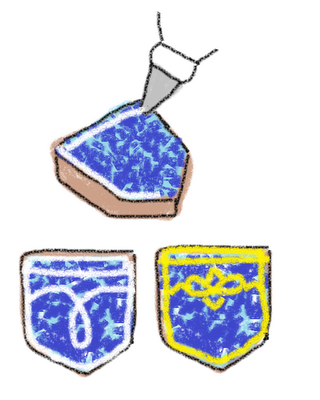
Roll out cookie dough and cut squares. With a dough scraper or a knife, cut each square as shown to make a pocket shape. Bake according to recipe and let cool.
step two: flood your cookies
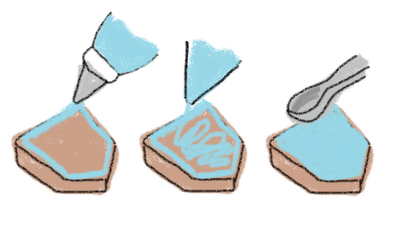
Take about a cup or more (always good to have extra so you don’t need to make two batches) of frosting and tint light blue. Prepare a frosting bag with a coupler and size “4” tip and fill with about half of the blue frosting. Tie frosting bag closed tightly with a rubber band. Cover reserved frosting. Pipe an outline on the pocket. Let set about 20 minutes. Thin reserved frosting with water, a few drops at a time, until the consistency of thick glue. Using a small spoon, squeeze bottle or an empty frosting bag with about 1/8″ of the corner snipped off, spoon or loosely pipe frosting on the cookie. Let the frosting flood to the edges, using a small knife or back of a spoon to encourage as needed. Let set well, a few hours or overnight.
step three: sponge your cookies
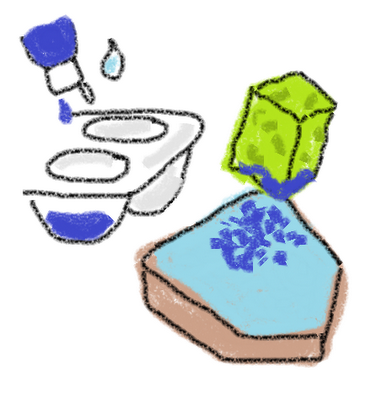
Pour about five drops of blue frosting color onto your palette (you may need to add more if you run out, but I work with a little at a time). Add a drop or two of water and mix. Dip your sponge into the mixture and dab on a paper towel. Press sponge over the light blue icing until the cookie is totally covered. Let dry about 20 minutes.
step four: pipe your stitching
Mix yellow and/or white (oh, the dilemma!) frosting and prepare a frosting bag or bags with a size “2” tip. Fill with frosting and tie closed tightly with a rubber band. Pipe stitching and pocket designs on cookies. I tried to use a broken line to mimic stitching, but found the solid line looked better. On larger cookies, the broken line might’ve worked.




Sue Sparks says
One of the cutest cookies I've seen in a long time! Great post:)
Kim @ The Celebration Shoppe says
You are hilarious! I so remember those days and wow does it seem like a hundred years ago… 😉
Jennifer says
I LOVE these! I have been wanting to “sponge paint” on cookies for awhile but was concerned if sponges were “food safe”. Is there a particular sponge you recommend?
meaghanmountford says
Hi Jennifer, Thanks! I think I used a natural sea sponge for these, but I think any sponge bought for kitchen use would work–assuming it’s food friendly–as long as there are no chemicals added.