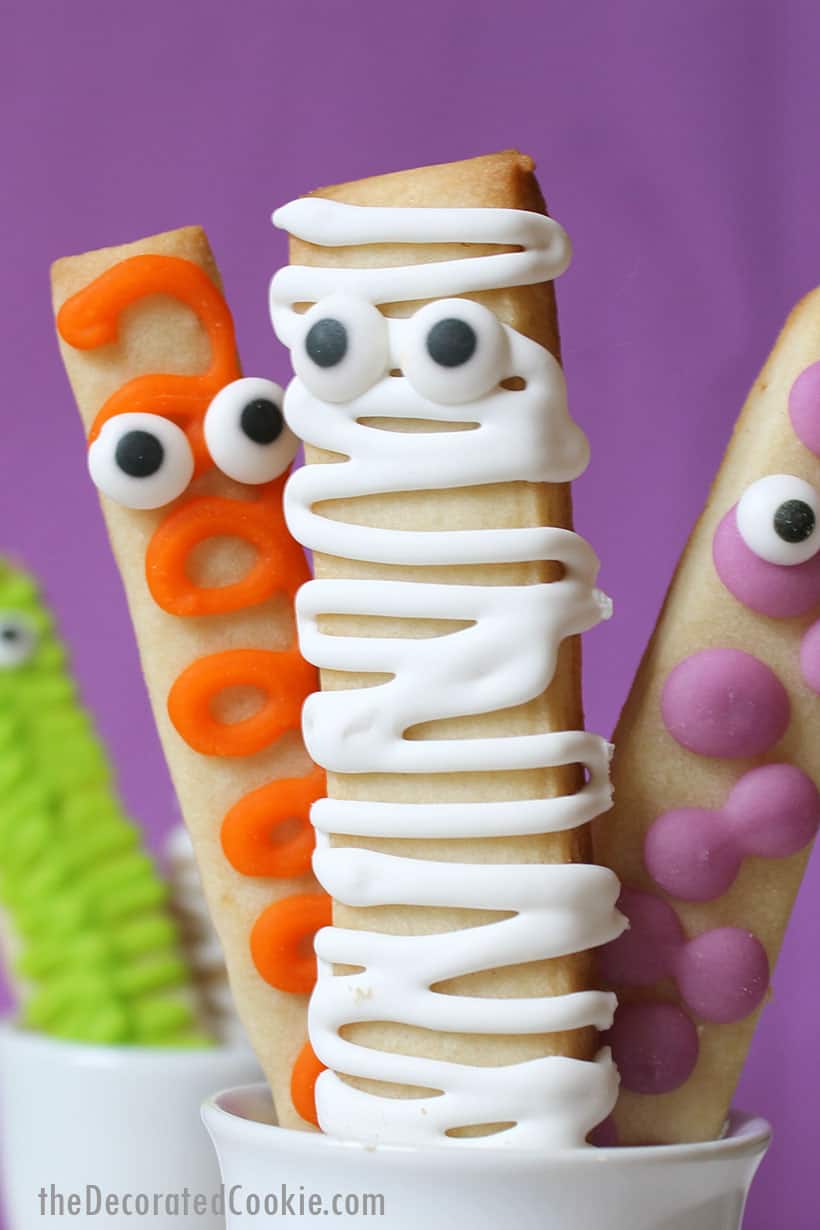
Simple monster cookie sticks for Halloween! No cookie cutter needed.
monster cookie sticks
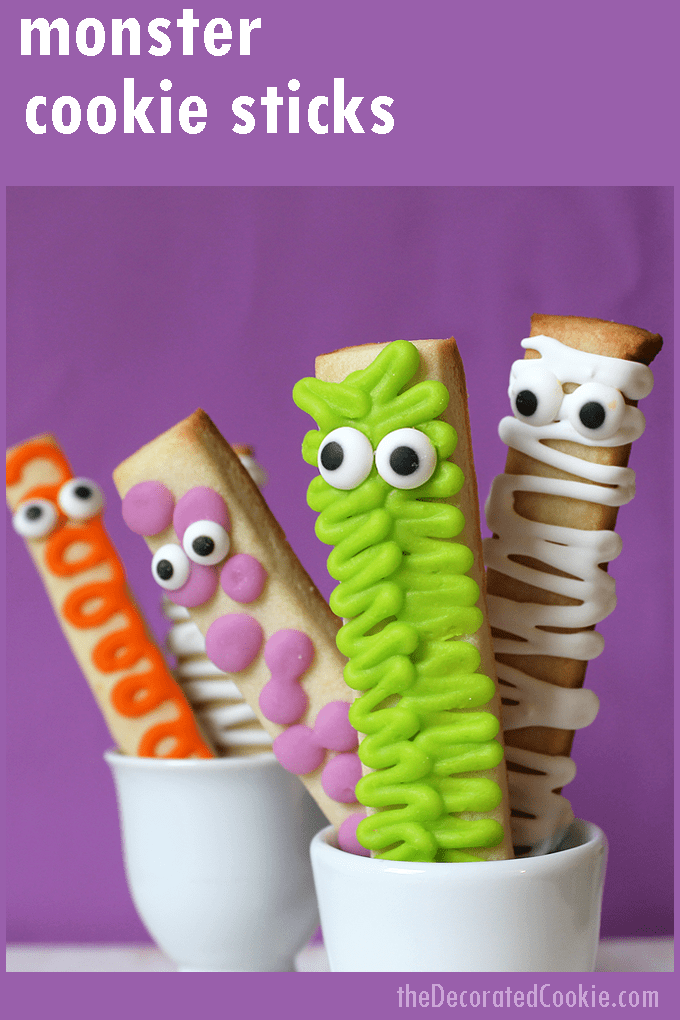
I’ve been very into cookie sticks of late. Which is a terribly odd sentence to type, I realize. I’ve always been into candy eyes for Halloween. Stick some eyes on just about anything and it becomes an instant monster. And so the merging of cookie sticks and candy eyes was inevitable, at least in my mind if no other. And so, monster cookie sticks for Halloween.
watch this video to see how to make monster cookie sticks
easy cookie decorating
You don’t need any special cookie cutter to cut these out, and they are so simple to decorate. The beauty of monsters, too, is that you can just squeeze the icing around all over the place and it doesn’t matter. Errors can’t be seen on monsters. They just look purposeful and make your monster more interesting. And that’s what makes these ideal for kids to decorate, too.
And boy are these monster cookie sticks cute. That’s the other benefit of candy eyes. Eyes are so creepy, but candy eyes make stuff cute. I’m very aware of this eye anomaly, by the way.
how to make monster cookie sticks
you will need:*
- cookie dough
- royal icing
- dough scraper or knife
- food coloring
- disposable decorating bags
- couplers
- rubber bands
- size 3, 4 and 5 decorating tips
- candy eyes
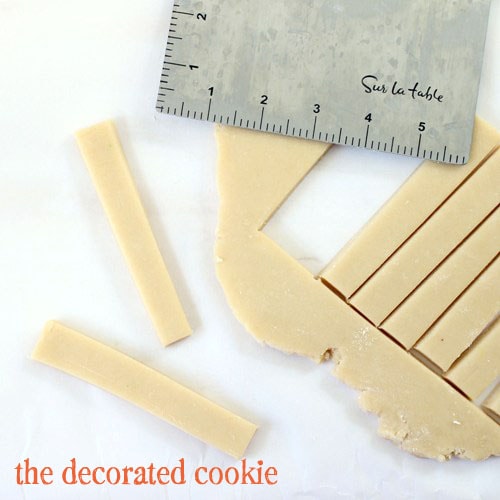
*Find the decorating bags, couplers, tips and candy eyes in the craft store. For food coloring, I suggest Americolor Soft Gel Pastes, available in specialty stores and online (Electric Green, Electric Purple, Bright White and Orange used here). This is the dough scraper I use from Sur la Table. You can also use a knife, but this tool makes cutting sticks super easy and consistent, especially with the handy ruler.
BASIC COOKIE DECORATING INSTRUCTIONS
step one: make your cookie sticks
Prepare the cookie dough according to the recipe, chill for a couple hours, roll out 1/4-inch thick and use the dough scraper or knife to cut out sticks. My sticks are about 4 1/2 inches long by 1/2 inch wide. Place the sticks on a baking tray lined with parchment paper and bake according to the recipe. Let cool completely.
step two: prepare your royal icing
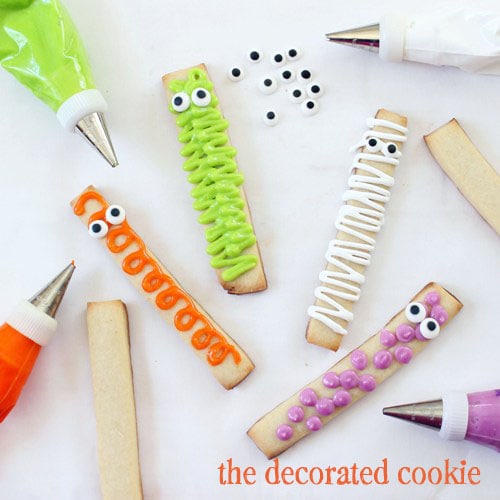
Prepare royal icing according to the recipe. Divide the icing and tint your preferred colors. I made white, purple, slime green and orange. Prepare decorating bags with couplers and tips, fill with icing and close tightly with rubber bands.
step three: decorate your cookies
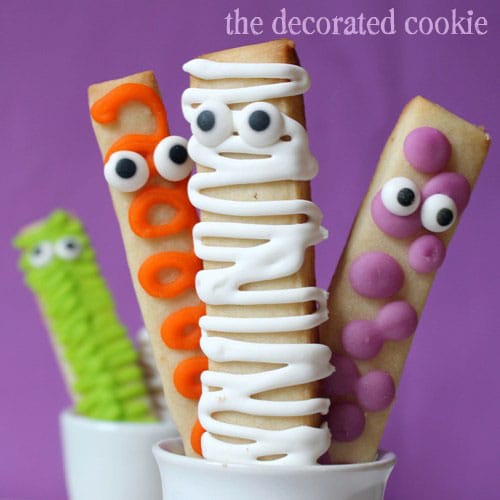
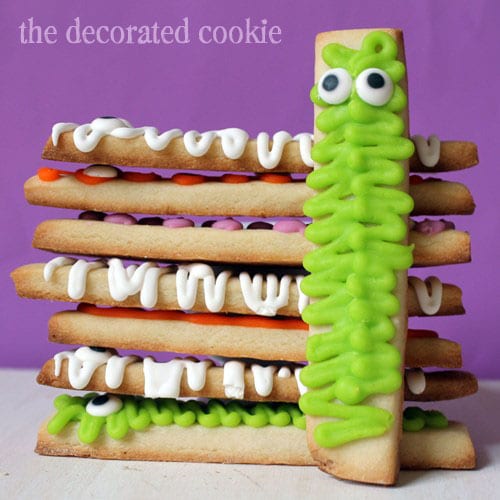
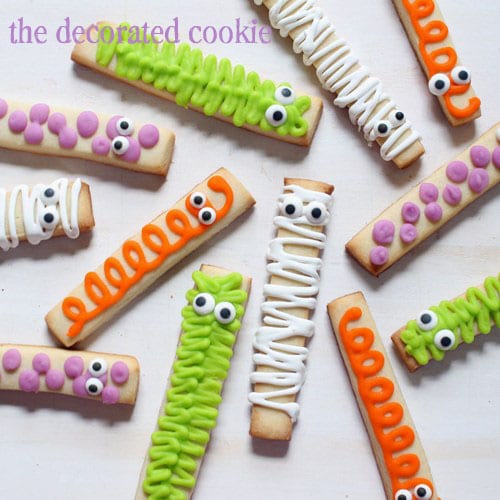
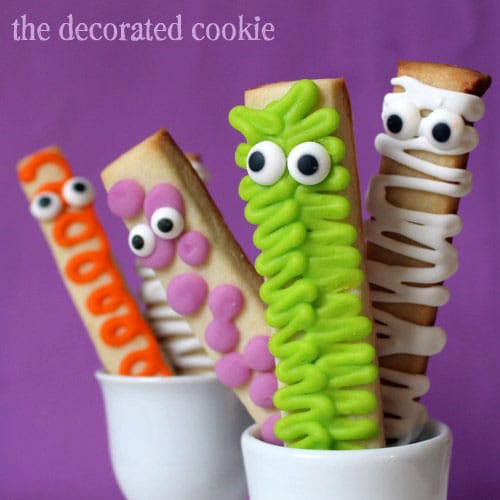
Decorate your cookies however you like, with either a size 3, 4, or 5 tip, depending on your preference. For the mummies, I just piped back and forth to make stripes. For the green, fuzzy monsters, I piped close zig zags up and down the cookie. For the purple monsters, I just piped dots. And for the orange monsters, I piped curly cues. Press two eyes into the icing. Let the cookies dry well, preferably overnight, before handling and packaging.
Basic cookie decorating instructions cheat sheet.


Lizy B says
These are my new favorites cookies! so brilliant and simple. And I love that you could make a ton in a jiffy. Perfect for classroom treats!
doro K. says
very cute.
I linked to your recipe on my blog – thanks for sharing!
doro K.
rachelray says
love these!
Beth says
Made the monster cookie sticks today. I usually make detailed cookies and am completely stressed the entire time. This was fun. I loved it. They are so cute and taste great. I think I will use the stick idea for all holidays!
Thank you. It’s a winner for sure!
meaghanmountford says
Woohoo!! Yay, so glad they worked, Beth! I agree about the stick/holiday thing. I do the same :).
Jennifer@TheBluebonnetBakeShoppe says
Those are so stinkin’ cute!!!!!!!