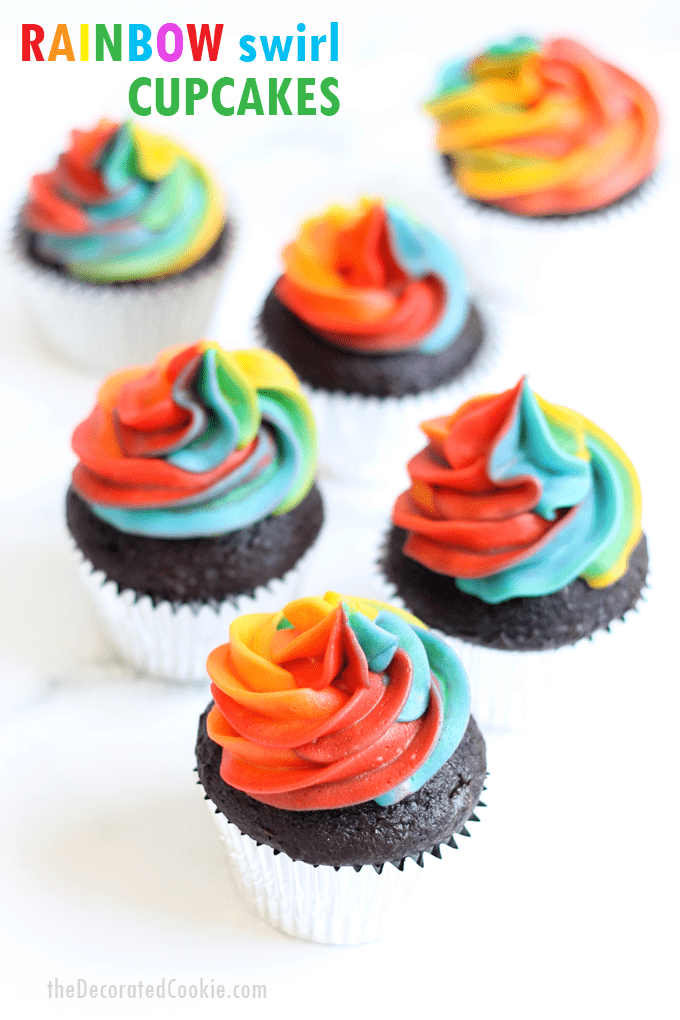
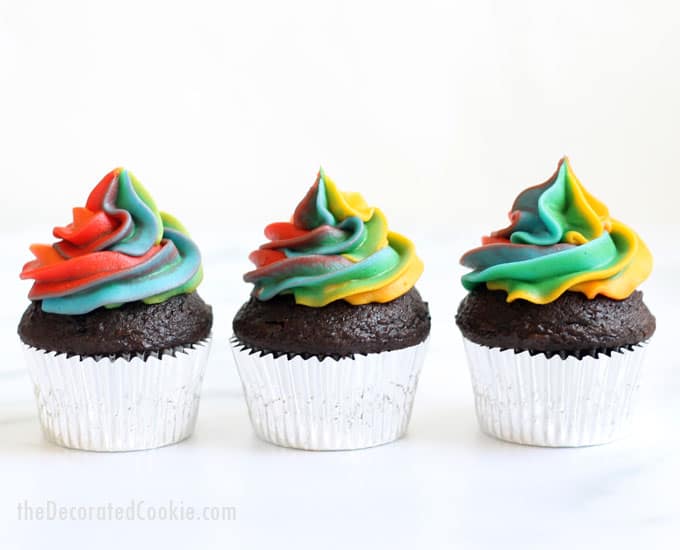
Step-by-step instructions on how to make rainbow swirl cupcakes with buttercream frosting.
rainbow cupcakes
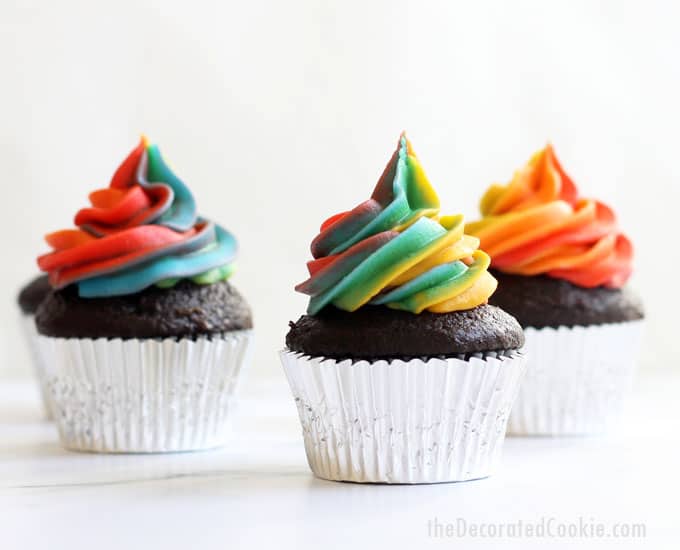
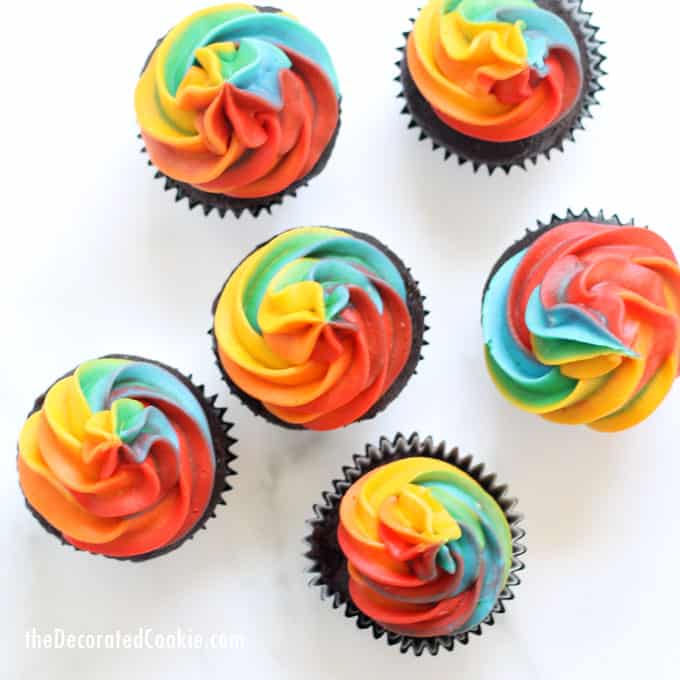
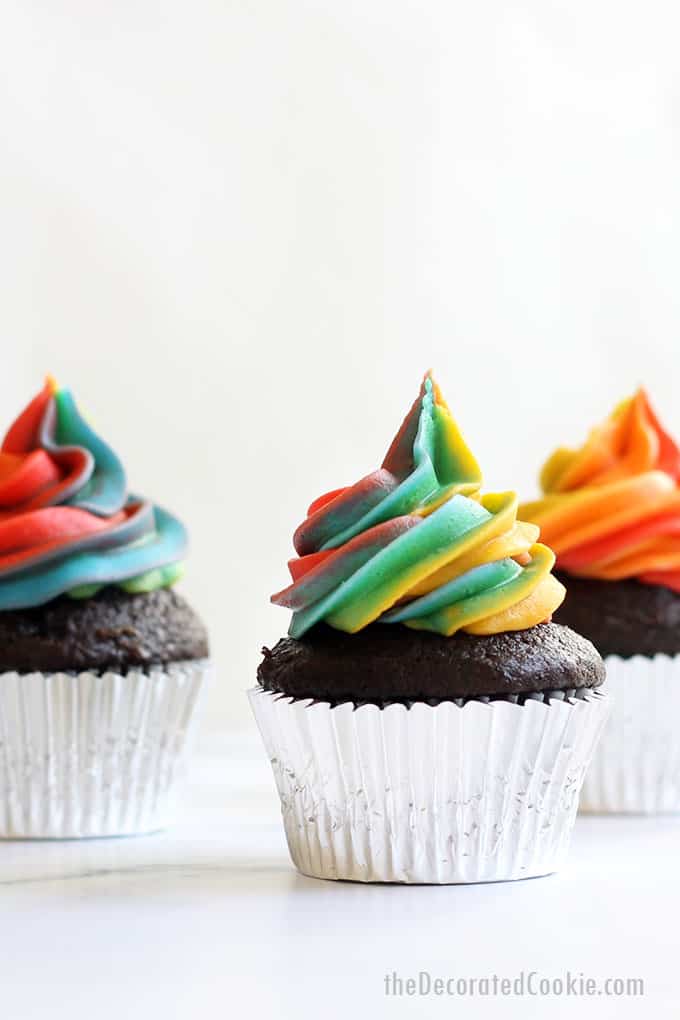
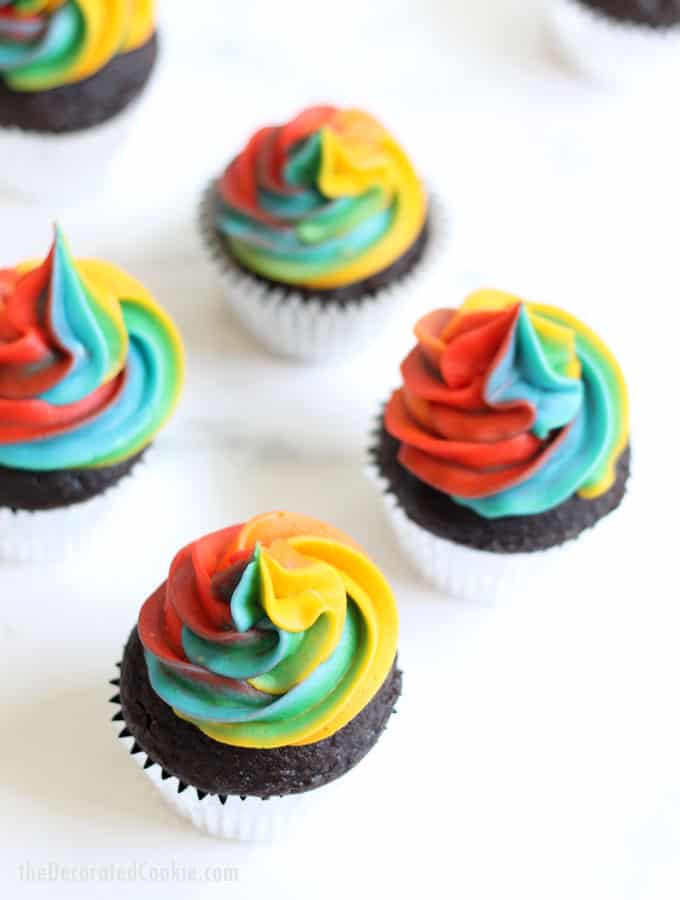
Making rainbow cupcakes is easier than you’d think, given the beautiful final result!
Why might you need rainbow swirl cupcakes? Let me count the ways: Rainbow or unicorn party, to brighten someone’s day, to brighten your day, colorful birthday parties, St. Patrick’s Day… Wednesdays?
There’s always a reason for rainbows.
Need more rainbows? Check out all of my rainbow food ideas.
what you need to make rainbow swirl cupcakes
(Most of the below can be found in the baking aisle of the craft store.)
- Cupcakes, of course. I actually prefer to make cupcakes from cake mix, but you can use any of your favorite recipes.
- Buttercream frosting. Click the link and scroll down the page until you find the world’s most perfect buttercream frosting recipe. Make sure the consistency is thick enough to hold its shape.
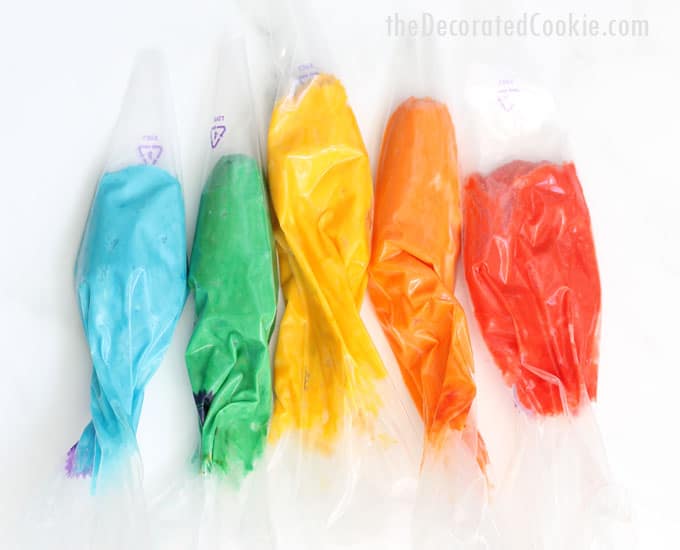
- Food coloring! I suggest no more than five colors (hence, why purple got the shaft) or the bag gets too crowded. Here, I use Super Red, Orange, Egg Yellow, Leaf Green, and Sky Blue.
- One 16-inch disposable decorating bag. This is the larger-size decorating bag that will hold all the colors. I prefer using this size when decorating cupcakes because it holds a lot more frosting than the 12-inch size I use for cookie decorating, and I don’t need to be as precise when decorating cupcakes, so the bulkier frosting works just fine.
- Size 1M decorating tip. This will go on the large decorating bag. It’s what gives you the texture in the frosting swirl.
- Plastic wrap. You will pipe all the frosting colors onto plastic wrap that will then go in the big decorating bag.
- Five 12-inch decorating bags. These smaller size decorating bags will enable you to pipe each of the frosting colors onto the decorating bag. If you like, you can also use Ziploc bags and just snip the tips.
- Scissors. For cutting stuff.
how to make rainbow swirl cupcakes
step one: make and color your frosting
Prepare your buttercream frosting according to the recipe. Divide into five portions (or however many colors you are using) and tint each portion your preferred colors.
Scoop each color into a 12-inch disposable decorating bag (you may use a ziploc bag, too) and snip about 1 to 1 1/2-inches from the tips.
step two: prepare the big frosting bag
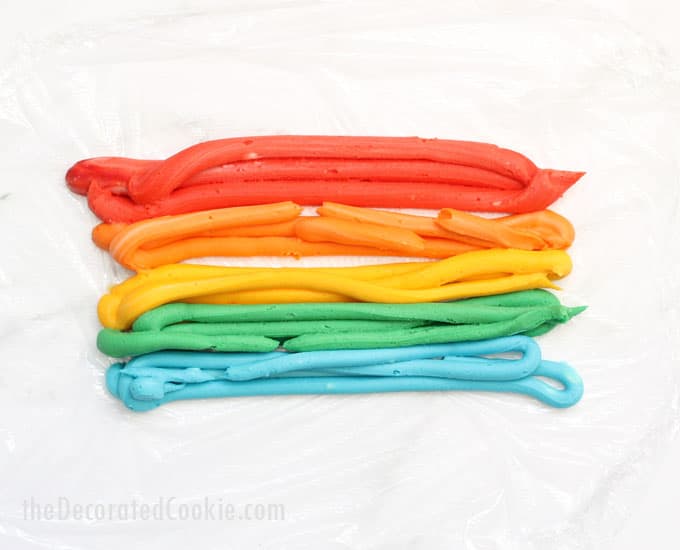
Place a rectangle of plastic wrap on the counter (about 12-inches by 10-inches). Pipe the red frosting in a line on the plastic wrap.
Pipe back and forth three or four times to make a bar of frosting about 8-inches long. Repeat with the orange frosting just under the red.
Repeat with the remaining colors. Carefully roll up the frosting to make a log. Snip the plastic wrap at the frosting end that will be going in the decorating bag first, right up to the frosting’s end.
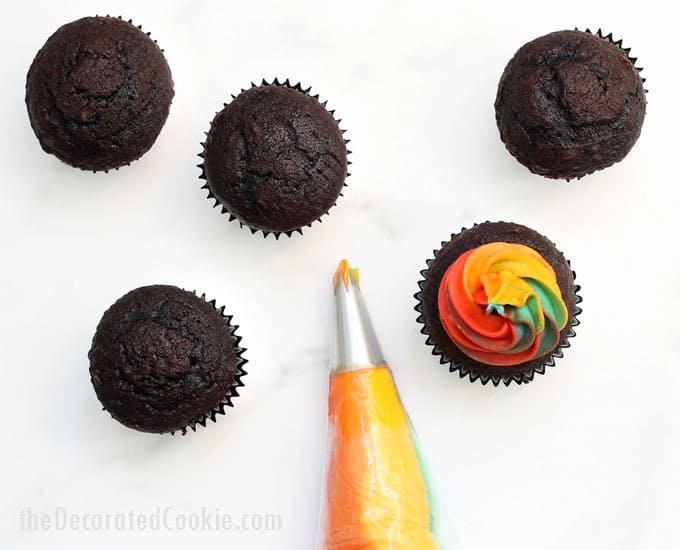
Place the 1M decorating tip inside of the 16-inch decorating bag and snip the tip so the bag sits just past the opening of the tip. Insert the rolled frosting, cut end first, into the bag and twist the top of the bag closed.
step three: pipe your cupcakes!
Before you start on the cupcakes, pipe some of the frosting out of the bag on a napkin until you see the colors blended. Then, pipe a swirl on each cupcake.
TIP: I prefer to refrigerate my cupcakes in a cupcake carrier so the frosting sets well and doesn’t move!


Laura @motherwouldknow says
This technique is simply amazing!! Did you make it up and if so did it appear to you in a dream)?