fall tree cookies
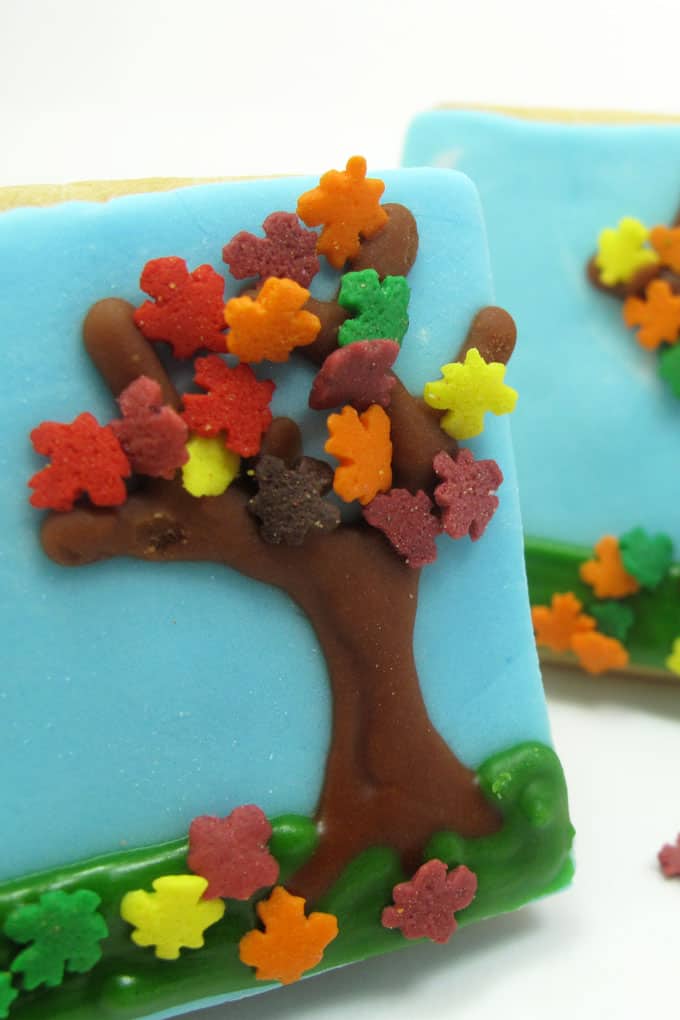
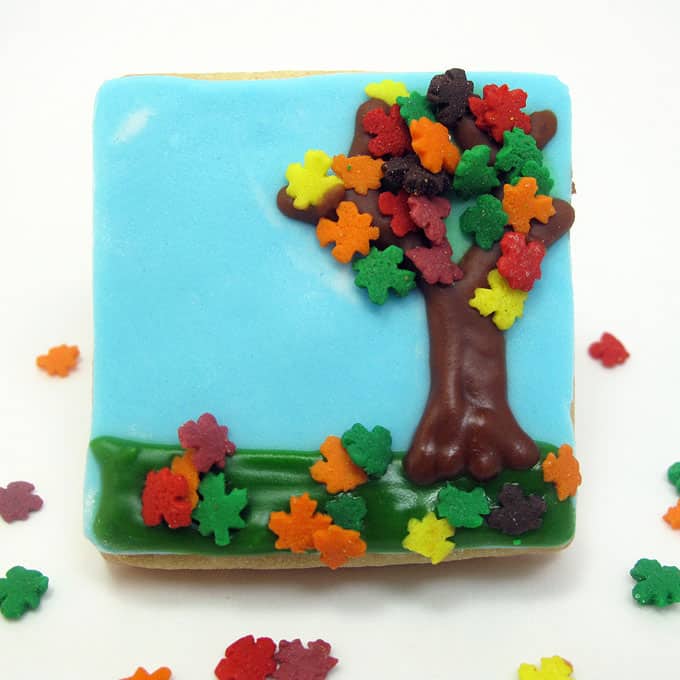
It’s still too hot for my taste here in DC, but the leaves are at least starting to fall to the ground. One good sign a chill might be ahead. I hope. Appropriately, as I stood these cookies up to photograph just one or two little leaf sprinkles fell silently to the table. Guess you had to be there, but it felt poetic at the time. Here are some Fall tree cookies for you to bring on the season.
fall treat ideas
Need more sweet ideas for fall? Decorate some mini fall flower cookies. Instead of cookies, make fall marshmallows. For more trees, try these painted tree branch cookies.

how to make Fall tree cookies
you will need:*
cut-out cookie dough and royal icing
small cookie or fondant cutter
fondant**
frosting color (blue, green and brown)
disposable frosting bags
couplers
rubber bands
decorating tips (size “3”)
leaf sprinkles
*Use any shape cutter you like. I used a 2 1/2 inch square. Find the cookie cutter, fondant (or make your own HERE), frosting bags, couplers, decorating tips and sprinkles in the craft store. For food coloring, I use Sky Blue, Leaf Green and Chocolate Brown, Americolor Soft Gel Pastes. For tips on finding cookie decorating supplies, click here.
**For the background, you can omit the fondant and just use blue royal icing. Pipe an outline then fill with a thinned icing to flood. Let it sit overnight before decorating.
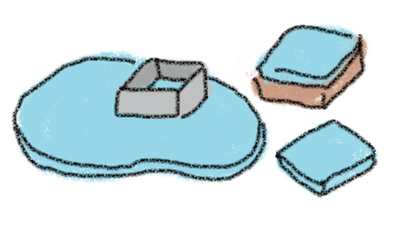
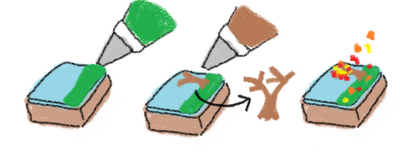
step one: bake your cookies
Roll out chilled dough, cut out shapes, and bake according to the recipe. Let cool.
step two: prepare your fondant background
Take a piece of fondant and knead a couple drops of blue coloring very well into the fondant. If fondant gets sticky from overhandling, just let sit uncovered at room temperature for 15 minutes. Roll out fondant about 1/4 inch thick between two pieces of wax paper or on a surface dusted with confectioner’s sugar. Cut out shapes with the cookie cutter and adhere to the top of the cookies with frosting.
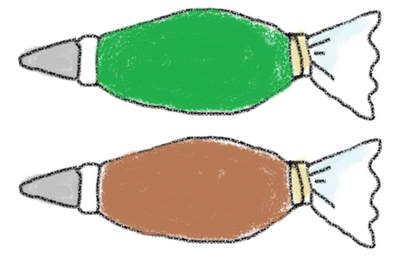
step three: prepare your frosting
Prepare frosting according to recipe and tint about a cup with brown and a cup with green. Prepare two frosting bags with couplers and size “3” decorating tips. Fill one with brown and one with green and close both tightly with rubber bands.
step four: decorate your cookies
Pipe and fill a rectangle across the bottom of the cookie for grass. Pipe a tree shape with the brown. (See below for shape). Immediately sprinkle leaves on the top part of the brown and scattered on the grass. Don’t worry about being too precise. I didn’t put each one on individually, but I did use my fingers to sprinkle rather than just shake them on so that I could keep them off the trunk.


Danielle says
Those are adorable! I can't wait to make them!
Judy@cutest-little-things says
cute, cute, cute! Judy@cutest-little-things
Paula says
these cookies are absolutely beautiful! have a nice time!Paula
BellaLovesPink says
Yup, I'm making these!
Debbie says
These are just the cutest darn cookies ever! I want to make them right now!
Sommer J says
Oh wow! These look absolutely amazing!!!
Lora says
These are the cutest Fall cookies I have ever seen.
I run for cake! says
These cookies are perfect for fall! Love the leaf sprinkles that add some texture to the cookies!
The Tubby Baker says
These are beyond cuter than cute!
Sue says
These are so cute! I have seen this in cupcake version too on your edible crafts:) I have the leaf sprinkles, now I just need to get to work!
cookies and cups says
These are soo cute! I love them!
cookies and cups says
These are soo cute! I love them!
Jessica (aka Faeanne) says
Love them! Such a great idea for the fall leaf sprinkles! I had to pin it to my cookie inspiration board. (Your cookie creations get pinned A LOT there.)
Victoria says
Just Brilliant!!
Amanda says
Too cute. They're too pretty to eat!
bridget {bake at 350} says
What an ADORABLE idea! I swear, your creativity astounds me *every* time!
Joanne says
One of those things that make me say, "why didn't I think of that?!" Very creative! Thanks for sharing!