The BEST cookie decorating recipe ever! This cut-out sugar cookie recipe has just a few ingredients, never spreads, and is crazy delicious. Pair with perfect royal icing for easy, beautiful decorated cookies. Scroll to the end for printable recipe and how-to video.
best cut-out sugar cookie recipe
You won’t get far in cookie decorating without a perfect canvas: The cut-out sugar cookie recipe. For veterans of my blog and books, you already know this recipe, so forgive the repetition of these cookie decorating recipes. But it’s buried on my recipe page, and I feel it deserves a bit of spotlight.
My favoritest ever, most super duper cut-out cookie recipe made it into both of my cookbooks (Sugarlicious) because I’ll never use another.
Not only does it taste so good that I’ve seen people at parties hide these cookies in their pockets before the stash disappeared (really, their pockets), but this recipe
- has only six ingredients
- holds the cookie cutter shape flawlessly, and
- bakes beautifully
The cookies are thick with an interesting texture, not too crunchy, not too soft. No spreading, no burned bottoms, no poofs or bubbles.
It’s freezable, roll-able, bake-able. Paired with my favoritest ever, most super duper royal icing recipe, you get decorated cookie perfection. Am I being a tad overdramatic about my cookie recipe? Nope. Not one bit.
Instead of royal icing (which uses meringue powder), you can also decorate cookies with this shortcut, easy sugar cookie icing.
Scroll to the end for a printable sugar cookie recipe AND video.
This post was originally published in September 2012 and updated in May 2019.

cookie decorating basics
And if you want to learn how to decorate cookies like a pro in less than an hour of video how-tos (and with 27 pages of printables), be sure to check out my cookie decorating for beginners course at The Sugar Academy! You can also learn cookie decorating basics HERE.

cookie decorating ideas
.Check out my whole collection of decorated cookies from this blog.
cut-out sugar cookie recipe
ingredients
- 2 sticks unsalted butter, softened (1 cup or 226 grams)
- 1 cup confectioner’s sugar (icing sugar/114 grams)
- 1 large egg
- 1 teaspoon vanilla extract
- 2 1/2 cups all-purpose flour (300 grams)
- 1/2 teaspoon salt
- Optional: 1 1/2 teaspoons of flavored extract (I highly recommend almond extract)
how to make the dough
- Briefly sift together the flour and salt in a bowl and set aside.
- In the bowl of a standing mixer with the flat beater, or in a large bowl with a handheld mixer, blend the butter and sugar together on medium speed until fluffy. Add the egg and blend well. Mix in the vanilla extract and optional flavored extract, if using. Gradually blend in the flour mixture on low speed.
- Cover the dough or transfer to a gallon-size Ziploc bag and flatten evenly. Chill the dough for about two hours.
- When chilled, work with about one-third of the batch at a time. Briefly knead the dough and roll it out 1/4-inch thick, or 3/8 inch if inserting sticks for cookie pops on a floured surface. Cut out your cookies and place one-inch apart on a good quality baking tray lined with a piece of parchment paper.
- Bake in an oven preheated to 375 degrees F for 12 to 14 minutes. Thicker or large cookies may need up to 20 minutes. Cookies are done when the edges are golden brown.
Yields: 25 to 30 cookies (2 to 4-inches), 65 to 70 mini cookies (1 to 2-inches) or about a dozen large cookies (6-inch).

tips on making cut-out sugar cookies
- You can make this dough the night before you bake with it. Just take it out of the fridge and let sit at room temperature until it’s still chilled, but pliable.
- You can also freeze this dough. After mixing, put the dough in a gallon size Freezer ziploc bag (or wrap well) and freeze. Thaw overnight or for at least a few hours in the refrigerator in the ziploc bag. If the dough is too chilled to handle, let it sit at room temperature for about 1/2 hour to 1 hour until it’s workable. Chilled is good, though, don’t let it get too mushy.
- If you’re short on time, I’ve been known to put the dough in the freezer for 30 minutes instead of chilling for 2 hours.

How long do sugar cookies last?
Cut-out sugar cookies for cookie decorating last a good bit longer than drop cookies (such as chocolate chip cookies). If you keep the cookies in an air-tight container in a cool area away from sunlight (a refrigerator isn’t necessary) they can last up to 3 weeks.
For optimal freshness, I would make and give the cookies within the first few days, however. Also note, the decorated royal icing may start to fade or the colors may bleed a bit after a week or two.
useful cookie decorating links:
How-tos on making cookie pops.
Basic cookie decorating how-tos.
Tips on supplies and where to find them.
How to build a cookie cutter collection.
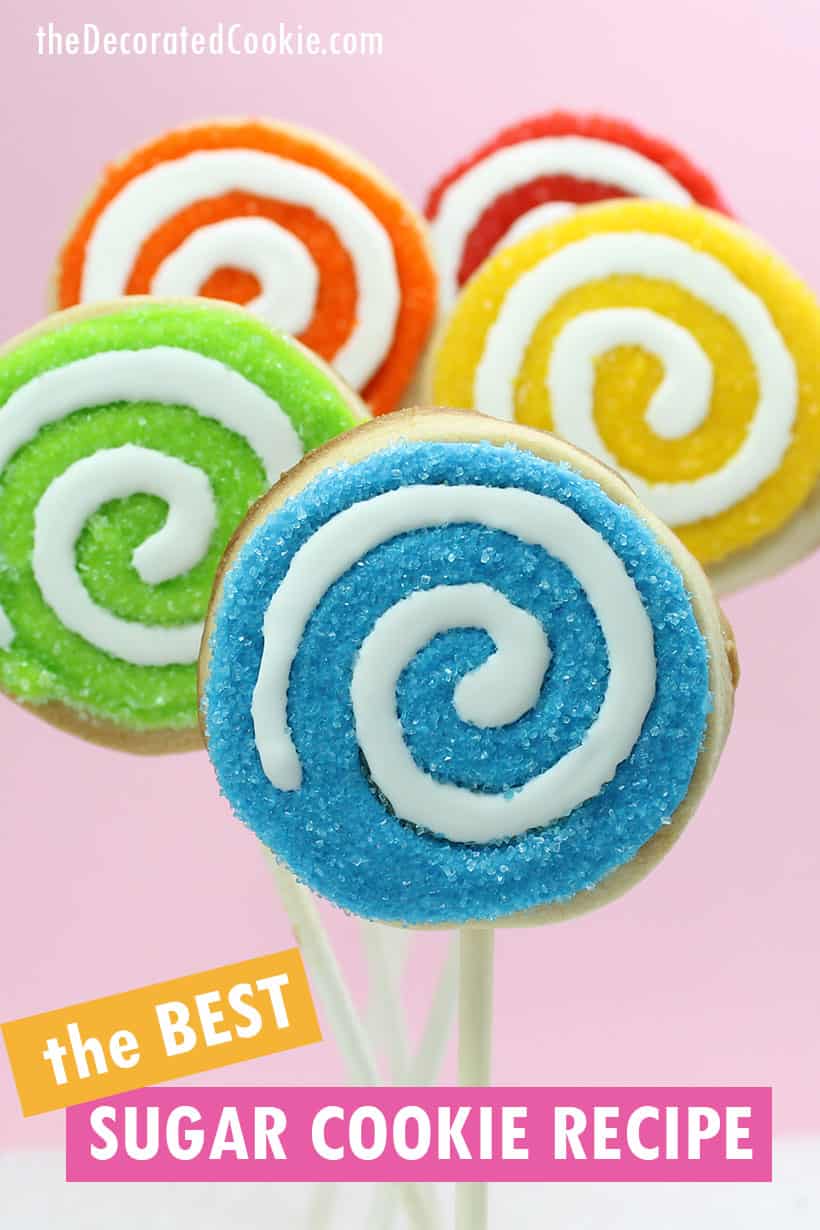
how to decorate swirl cookies
To decorate these cookies… I originally made these swirly, sparkly cookie pops way back almost three years ago, HERE. You’ll find the link to the decorated instructions in that post.
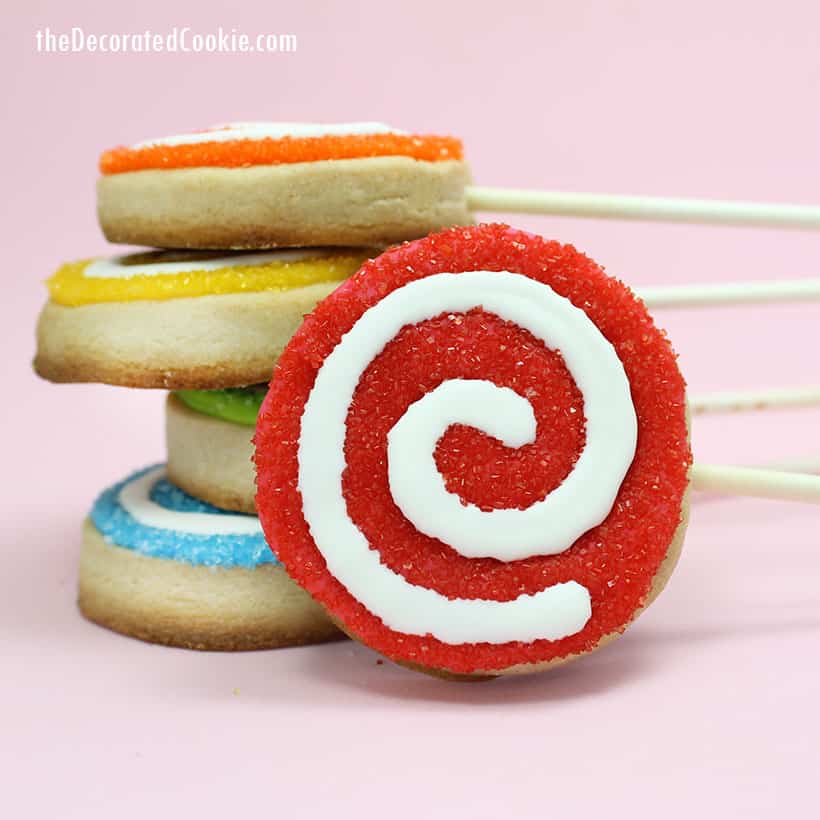
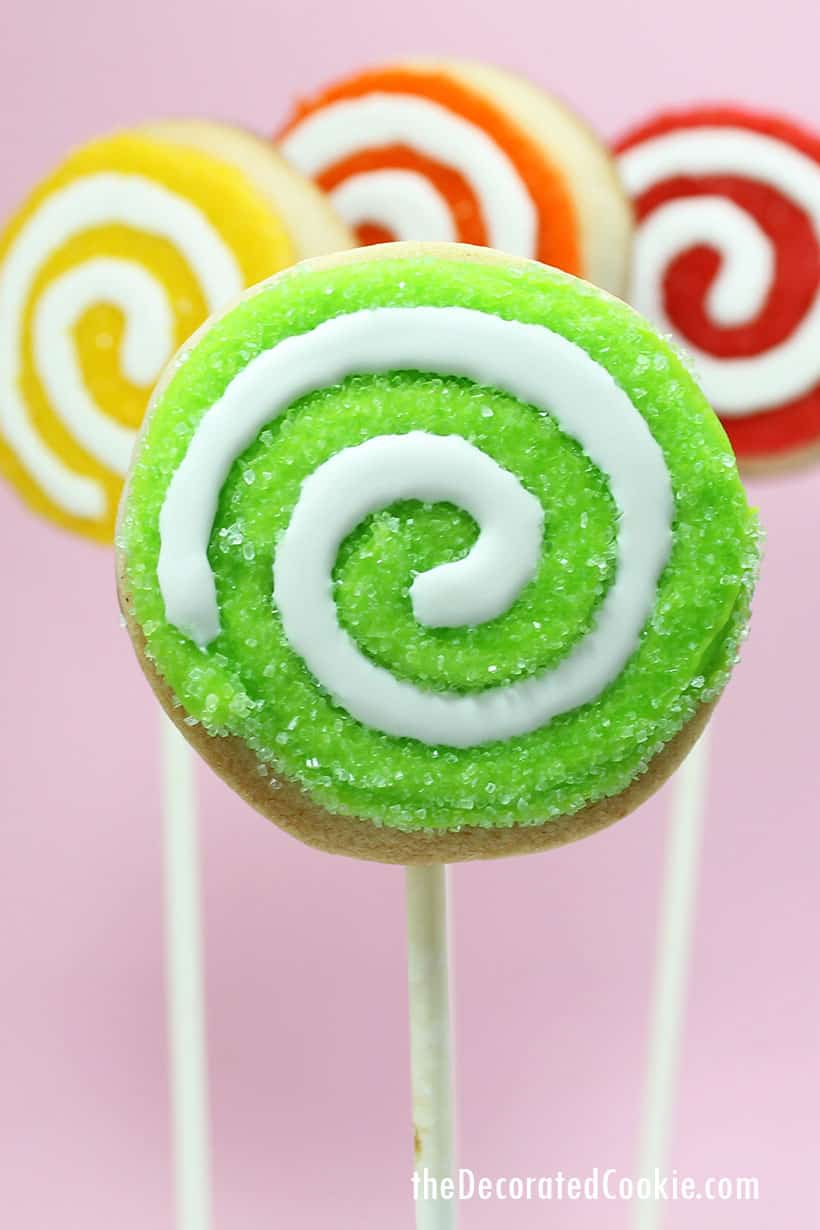
Using sprinkles makes cookie decorating so very easy, because sprinkles have the magic power of covering any mistakes. To decorate, divide your royal icing and tint your preferred colors, including white, using Americolor Soft Gel Pastes (Red Red, Orange, Egg Yellow, Electric Green and Sky Blue used here).
Then, prepare decorating bags with couplers and size “5” tips, fill with icing, and close tightly with rubber bands. Pipe a swirl on a cookie with one of the icing colors, and immediately coat with a coordinating color of sprinkles. Turn over to remove excess, then pipe a swirl of white on the cookie. Let the cookies dry overnight before handling or packaging.
sugar cookie recipe video
printable recipe for the best cut-out sugar cookie recipe
best cut-out sugar cookie recipe

The BEST cut-out sugar cookie recipe with only six ingredients. It bakes perfectly, holds its shape, is easy to make, and delicious.
Ingredients
- 2 sticks unsalted butter, softened (1 cup or 226 grams)
- 1 cup confectioner's sugar (icing sugar/114 grams)
- 1 large egg
- 1 teaspoon vanilla extract
- 2 1/2 cups all-purpose flour (320 grams)
- 1/2 teaspoon salt
- Optional: 1 1/2 teaspoons of flavored extract (I highly recommend almond extract)
Instructions
- Briefly whisk together the flour and salt in a bowl and set aside.
- In the bowl of a standing mixer with the flat beater, or in a large bowl with a handheld mixer, blend the butter and sugar together on medium speed until fluffy. Add the egg and blend well. Mix in the vanilla extract and optional flavored extract, if using. Gradually blend in the flour mixture on low speed.
- Cover the dough or transfer to a gallon-size Ziploc bag and flatten evenly. Chill the dough for about two hours.
- When chilled, work with about one-third of the batch at a time. Briefly knead the dough and roll it out 1/4-inch thick, or 3/8 inch if inserting sticks for cookie pops on a floured surface. Cut out your cookies and place one-inch apart on a good quality baking tray lined with a piece of parchment paper.
- Bake in an oven preheated to 375 degrees F for 12 to 14 minutes. Thicker or large cookies may need up to 20 minutes. Cookies are done when the edges are golden brown.
Notes
- You can make this dough the night before you bake with it. Just take it out of the fridge and let sit at room temperature until it's still chilled, but pliable.
- You can also freeze this dough. After mixing, put the dough in a gallon size Freezer ziploc bag (or wrap well) and freeze. Thaw overnight or for at least a few hours in the refrigerator in the ziploc bag. If the dough is too chilled to handle, let it sit at room temperature for about 1/2 hour to 1 hour until it’s workable. Chilled is good, though, don’t let it get too mushy.
- If you're short on time, I've been known to put the dough in the freezer for 30 minutes instead of chilling for 2 hours.
Nutrition Information:
Yield:
30Serving Size:
1 cookieAmount Per Serving: Calories: 83
baking conversions
UPDATE: Conversions for the rest of the known world!!!!
Because I’ve had some requests from those masses that live outside the US (wherein we stubbornly reject the switch to metric), I’m including some UNofficial conversions. I came up with this list ages ago based on what is printed on the ingredients’ packaging and some internet research.
2 sticks butter = 1 cup = 8 ounces = 227 g
1 cup confectioners (or icing/powdered) sugar = 128 g
1 teaspoon extract = 4.2 g = 5 mL
2 1/2 cups all purpose flour = 312 g
1 teaspoon salt = 4.2 g
4 tablespoon meringue powder = 56 g
1/2 cup water = 4 ounces = 60 mL = 113 g
6 cup confectioners sugar = 768 g
1/4 cup vegetable shortening = 56 g
1 cup granulated sugar = 200 g
2 cup flour = 240 g
1/2 cup cocoa powder = 62.5 g
1/2 teaspoon baking soda = 2.1 g
1/2 teaspoon salt = 2.1 g
375 degree F = 190 degree C


Amy Rolle says
I discovered your sugar cookie recipe a few years ago after trying so many different sugar cookie cutout recipes and not loving them. Yours has been my go to, tried and true for years. They are a dream to make and taste so good – everyone loves them. Thank you for sharing!
meaghanmountford says
That made my day, thank you SO much Amy!!! It’s my favorite too of course :).
alicia says
I have tested dozen of sugar cookie recipes and this is the only one I use. Everyone is obsessed. I use vanilla & butter flavoring and reserve the almond for the icing. I bake until they’ll almost golden but not quite. I noticed today that the printable recipe has slightly more flour than the web version… I think that extra 20 grams helps 😉 Thank you for the life changing recipe! 🤪
meaghanmountford says
Thank you so much Alicia! That made my day! I’ll check out the flour, it might be a typo, so good to know!