daisy cookie pops
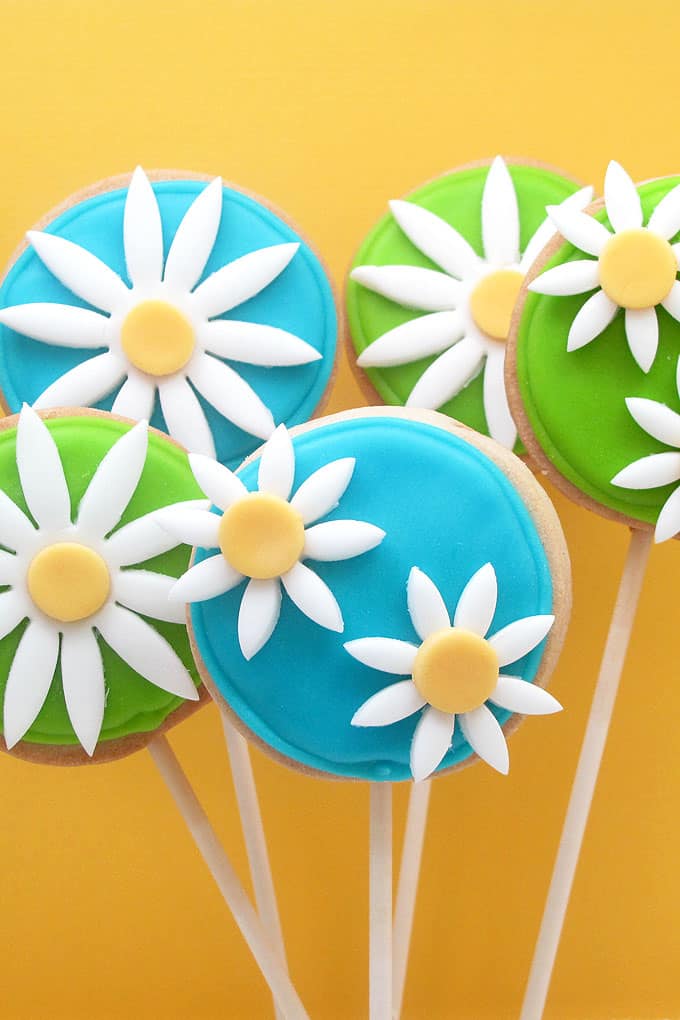
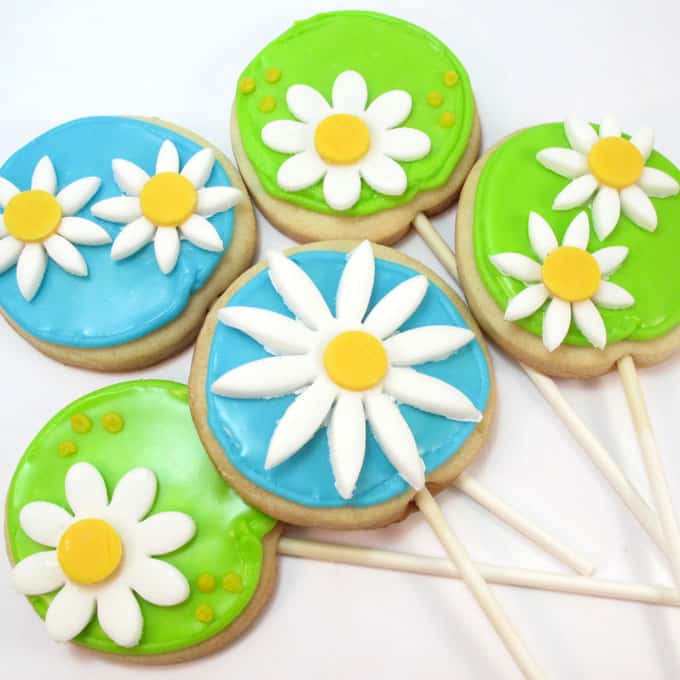
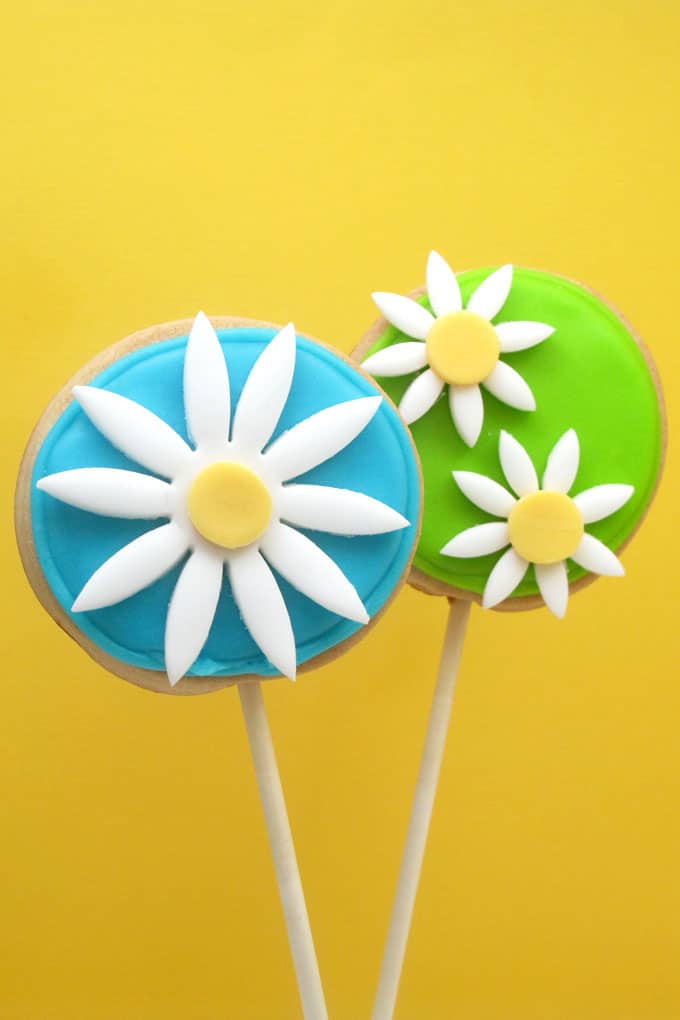
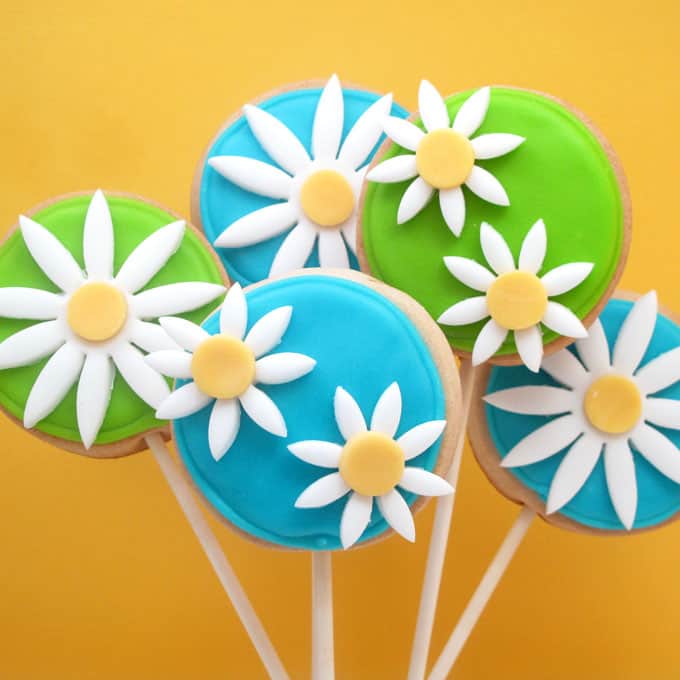
These daisy cookie pops are pretty much the same as my blue and red chocolate cookies version HERE, but instead I used my almond sugar cookie and put them on a stick.
And I used different colors. But the general concept is the same: A cookie flooded with royal icing and topped with a pretty fondant flower. This is such a simple cookie decorating idea, but makes a big impact.
how to make daisy cookie pops
you will need:*
cut out cookie dough AND royal icing
lollipop sticks (optional)
white rolled fondant or marshmallow fondant
circle cookie cutter (about 2 1/2 to 3 inches)
mini circle fondant cutter (about 1/2 inch)
small daisy fondant or cookie cutter(s)
food coloring (Sky Blue, Electric Green and Egg Yellow)
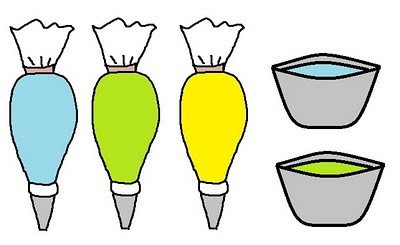
3 frosting bags
3 couplers
3 decorating tips (2 size “4”s and 1 size “3”)
3 rubber bands
wax paper
rolling pin
light corn syrup
*Find the sticks, fondant, cutters, and all of the frosting bag supplies in the craft store. For food coloring, I suggest Americolor Soft Gel Pastes. For tips on finding cookie decorating supplies, click here.
step one: bake your cookies
Roll out your chilled dough according to the recipe and cut out circles thick enough to accommodate sticks (if using, about 1/4 inch).
Place on parchment paper-lined baking tray and insert sticks about half way into cookie. Pat cookie back in place if needed. Make sure sticks don’t touch other cookies or each other. Bake according to recipe and let cool completely.
step two: prepare your daisies
Briefly knead a chunk of white fondant and roll thinly between two pieces of wax paper. (If fondant gets too sticky, let sit uncovered at room temperature about 15 minutes until easily pliable.) Cut out daisies and set aside.
Take another chunk of fondant and add yellow coloring, a drop at a time, and knead very well.
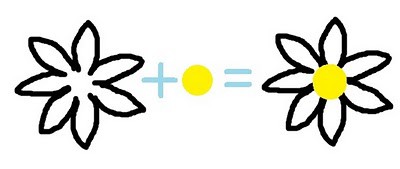
Roll thinly between two pieces of wax paper and cut out mini circles. Set aside to stiffen a couple hours. After they stiffen a bit, dab a dot of light corn syrup on back of mini circles and press onto center of white daisy. Let dry (overnight if possible).
step three: prepare your frosting
Prepare frosting. Tint about 1 or more (depending on how many cookies you want to make) cups blue (always start with one drop and add more, one at a time, to achieve desired color), 1 or more cups lime green and about 1/2 cup yellow. Prepare three frosting bags with the couplers and tips.
Fill each with about 1/2 cup of blue, green and yellow. Use the size “4” tips for the blue and green and the size “3” tip for the yellow. Reserve the remaining blue and green in covered bowls.
step four: flood your backgrounds
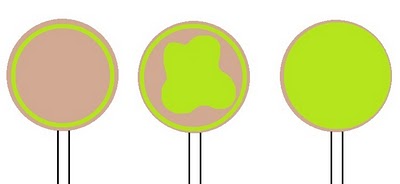
Outline a circle cookie with blue or green by piping with the frosting bag. Let set about 15 minutes.
Thin the same color reserved frosting with water, one drop at a time, until the consistency of thick glue (not tooooo thin, shouldn’t be too runny).
With a small spoon or a squeeze bottle, pour some frosting in the center of the cookie, letting frosting slowly ooze to the edges, encouraging with the back of a spoon or small knife as needed. Let cookies sit overnight to dry, if possible.
step five: assemble your cookies
Dab corn syrup on the back of a daisy and adhere to cookie. Pipe a few yellow dots for accents.




Pink Little Cake says
They are adorable, perfect for spring. I love your tutorials and your new header.
bridget {bake at 350} says
I think I might want to move to your house! Everything you do is adorable!
ediblecrafts says
Thank you! Come on over, Bridget! My 2-year old would love it.
Chic Cookies says
oops! wrong account, that comment above was from me!
Sue Sparks says
I absolutely love these with the vibrant, springy/summery colors! 🙂
Lorraine says
These look awesome. Cannot wait to see your Vegan Sandwich Cookie Recipe.
Mandy says
oh my goodness, could these be any cuter??! I'm following you now and adding you to my sidebar.-Mandywww.gourmetmomonthego.com
Cute Party Ideas says
We're crazy over your daisy creation and just linked to your site from our Daisy party page for kids. Thanks for the sweet inspiration you'll provide our readers.- Christine www.cutepartyideas.com
Graciela says
HolaGracias por compartir tus recetas, tus ideas, tus tutoriales. Estoy planeando una fiesta de cumpleaños muy especial para mi mami y el tema va a ser la primavera, estas galletas me van a servir mucho de inspiración. Espero poder mandarte una foto de mis trabajos. Gracias y saludos desde Monterrey, México.