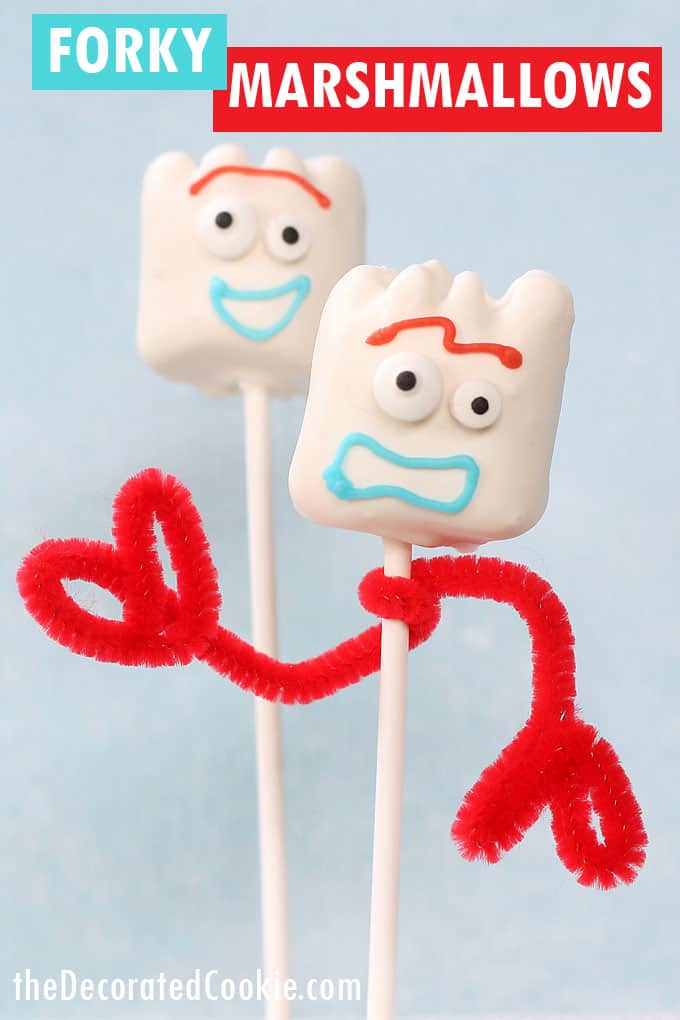
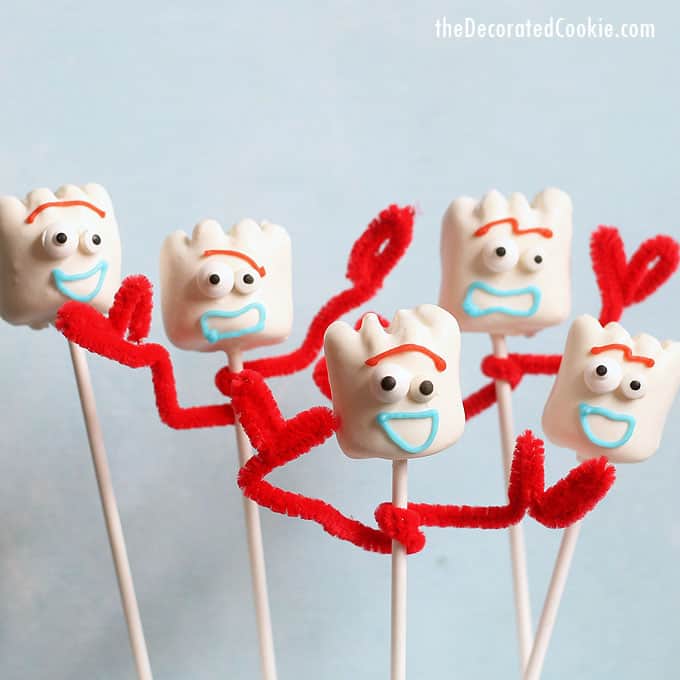
Hosting a Toy Story party and looking for fun food ideas? You have to include the new character, Forky marshmallows! (With video how-tos.)
Forky Toy Story marshmallows
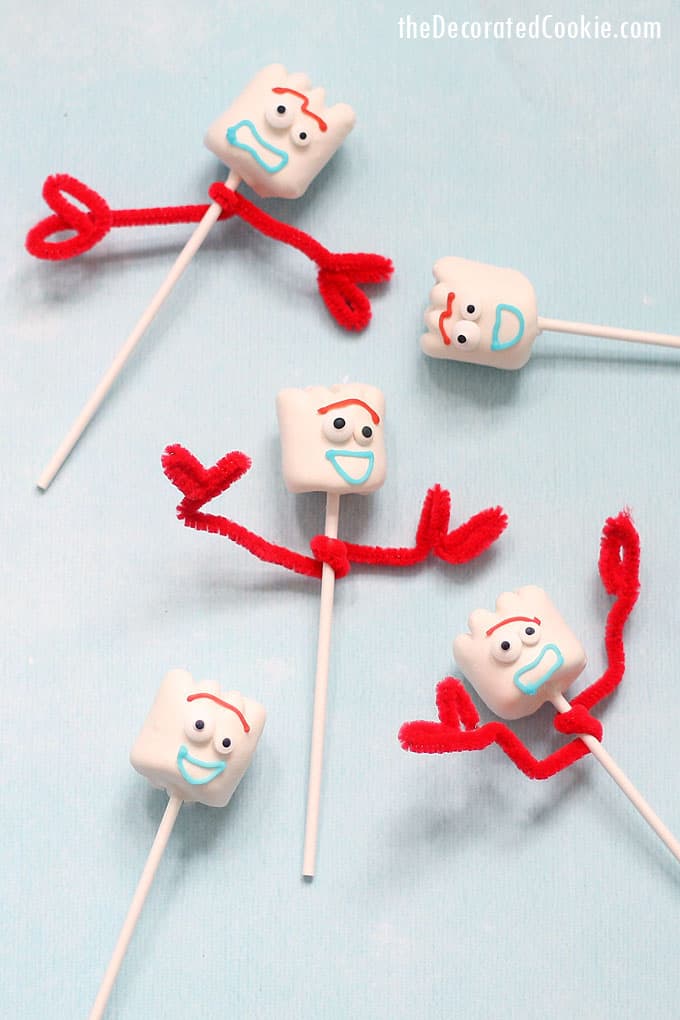
Have you seen Toy Story 4 yet? I have not, I’m afraid. I need to catch my youngest up on Toy Story 1 through 3 first. But I am aware of the new, existential-crisis character, Forky, the spork-turned-toy thanks to Bonnie’s Kindergarten crafting. If you’re hosting a Toy Story party and you’re looking for some fun food ideas, these Forky Toy Story marshmallows are pretty dang easy to make.
Scroll to the end for printable instructions.
how to make Forky marshmallows
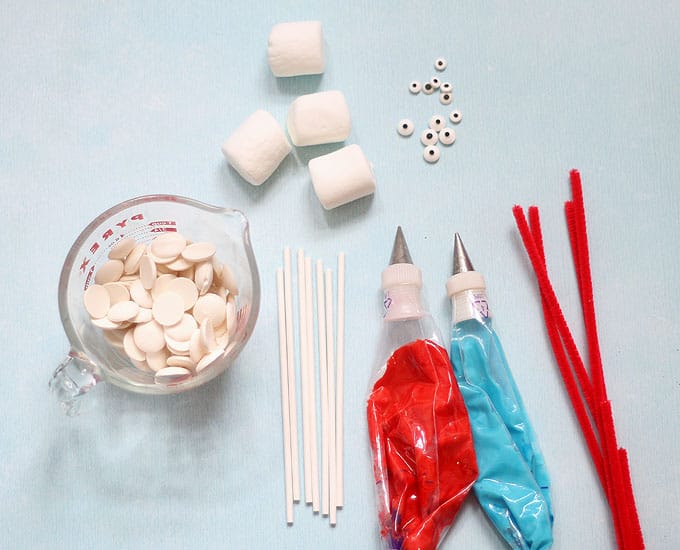
you will need:
- marshmallows
- lollipop sticks
- white candy melts
- EZ Thins (optional, to help with the candy melt consistency)
- Styrofoam block
- candy eyes (regular size and mini size)
- red pipe cleaners
- red and blue decorating bags with icing (see below)
where to find supplies:
You can find lollipop sticks, candy melts, EZ Thins, candy eyes, Styrofoam bock, and pipe cleaners at the craft store, or check out the links above.
red and blue icing:
Here, I prepared decorating bags with couplers and size 2 decorating tips. I made my royal icing and tinted some with blue food coloring and some with red food coloring. I filled the bags and closed with rubber bands. However, as a shortcut, you may find small tubes of decorating icing in the supermarket or craft store you can use instead.
candy melts vs white chocolate
If you prefer to use white chocolate instead of white candy melts, that works just as well! I prefer candy melts because I find them easier to melt and work with.
what to do:
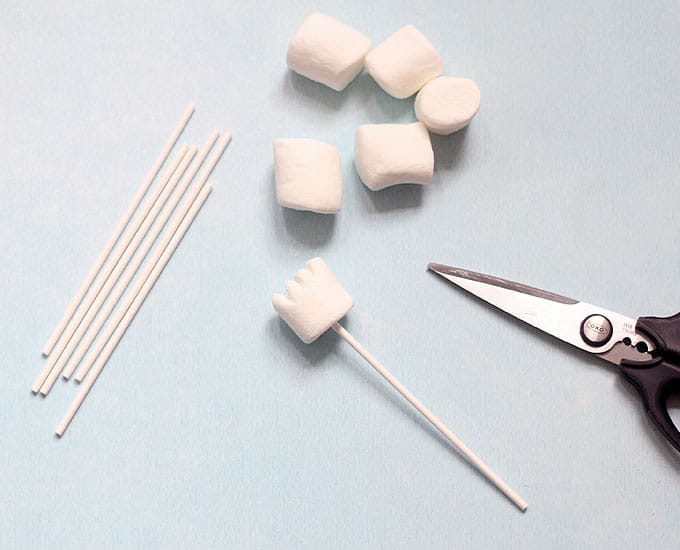
Hold a marshmallow, pressing gently to flatten a bit. Snip three triangles from the top of the marshmallow. TIP: Rub a bit of shortening on the tip of the scissors for easier cutting. Skewer each marshmallow with a lollipop stick.
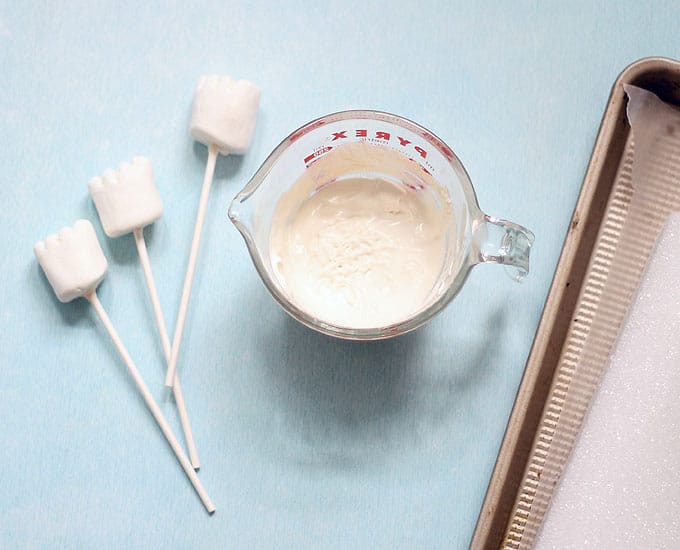
Place candy melts (I melt one cup at a time) in a microwave-safe bowl or jar. Choose a jar that is deep rather than wide and shallow, for easier dipping. If you like, add a pinch of EZ Thins. Microwave for 90 seconds at 70 percent power. Stir, using the residual heat to melt the candy. If needed, microwave at additional 15 second intervals.
Dip a marshmallow into the melted candy and tap the stick on the side of the jar to remove excess candy. Prop in a Stryofoam block to dry.
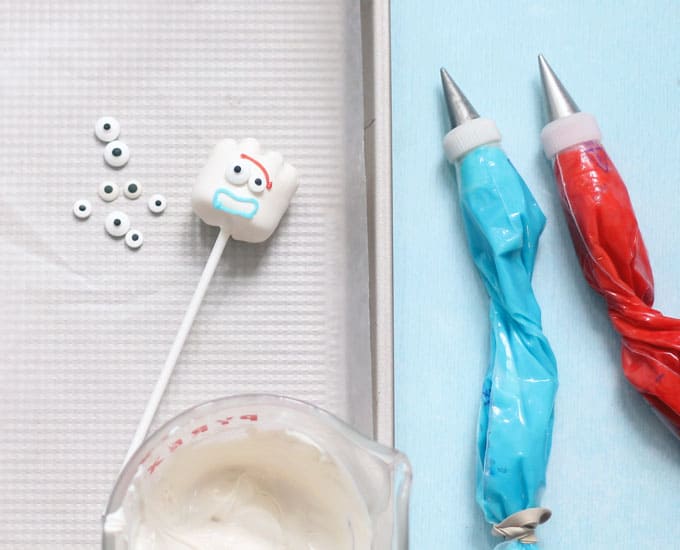
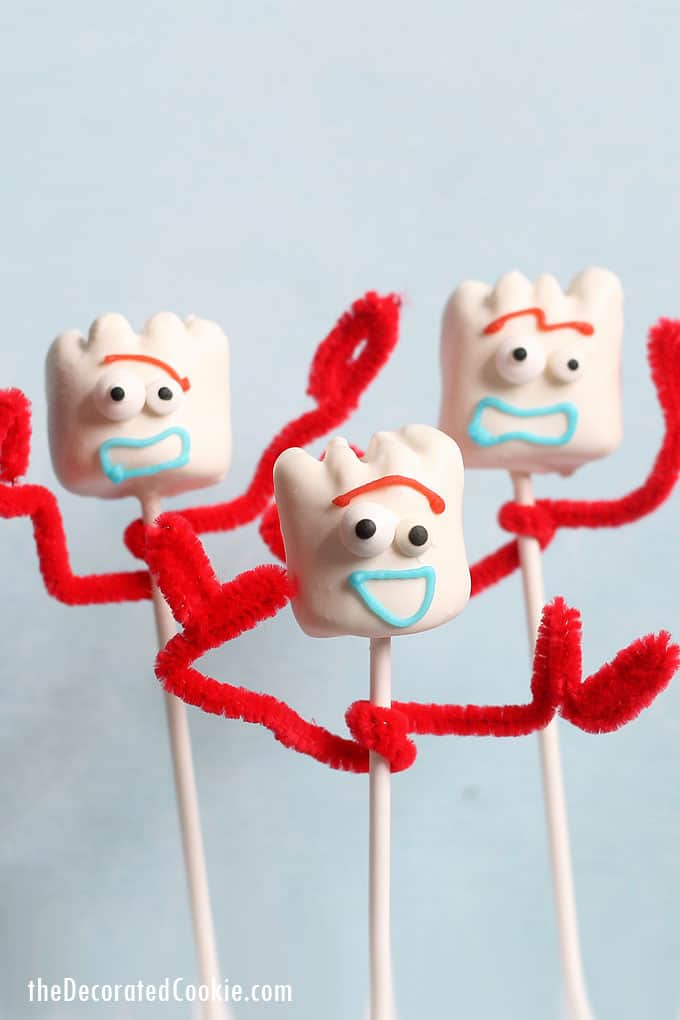
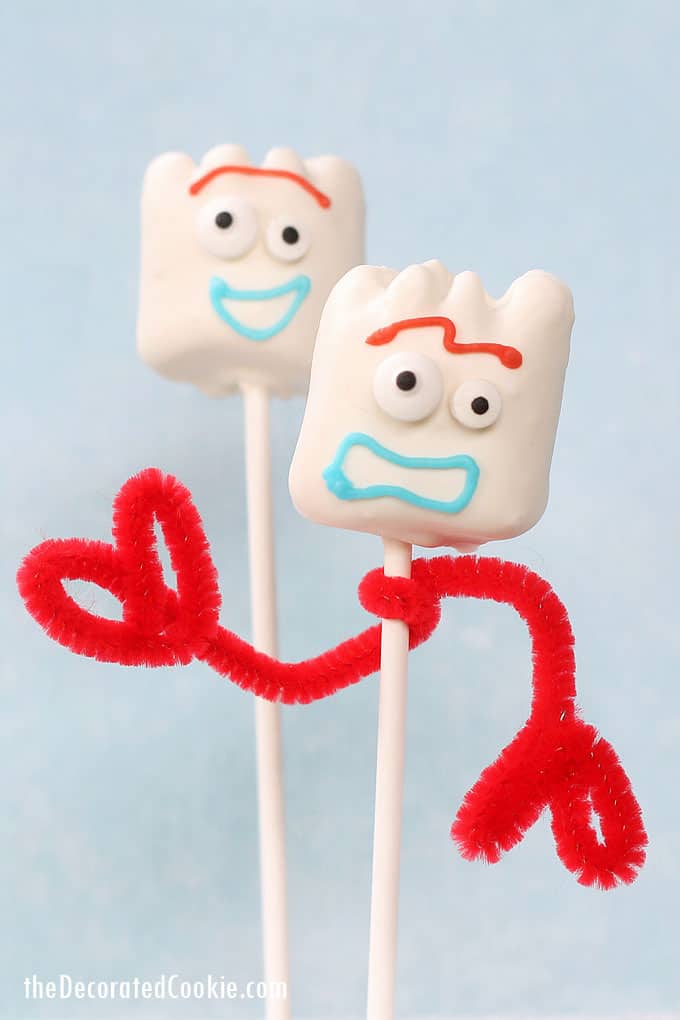
To decorate each marshmallow, use a toothpick to add dabs of leftover candy melts on the back of a regular size candy eye and a mini eye and attach to the marshmallows. Pipe a red eyebrow and blue mouth. Let set.
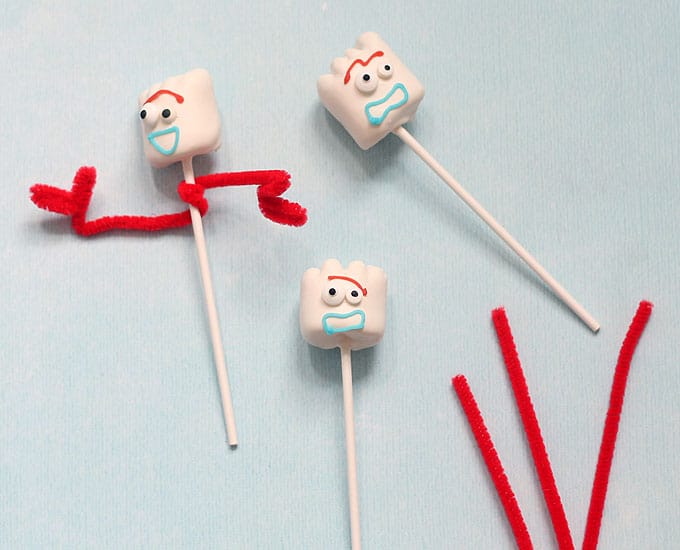
Add a pipecleaner. Twist the ends into hands and wrap the center around the stick.
Display the Forky Toy Story marshmallows at your Toy Story party in a Styrofoam block pressed into a container and topped with red or blue tissue paper.
Forky Toy Story marshmallows
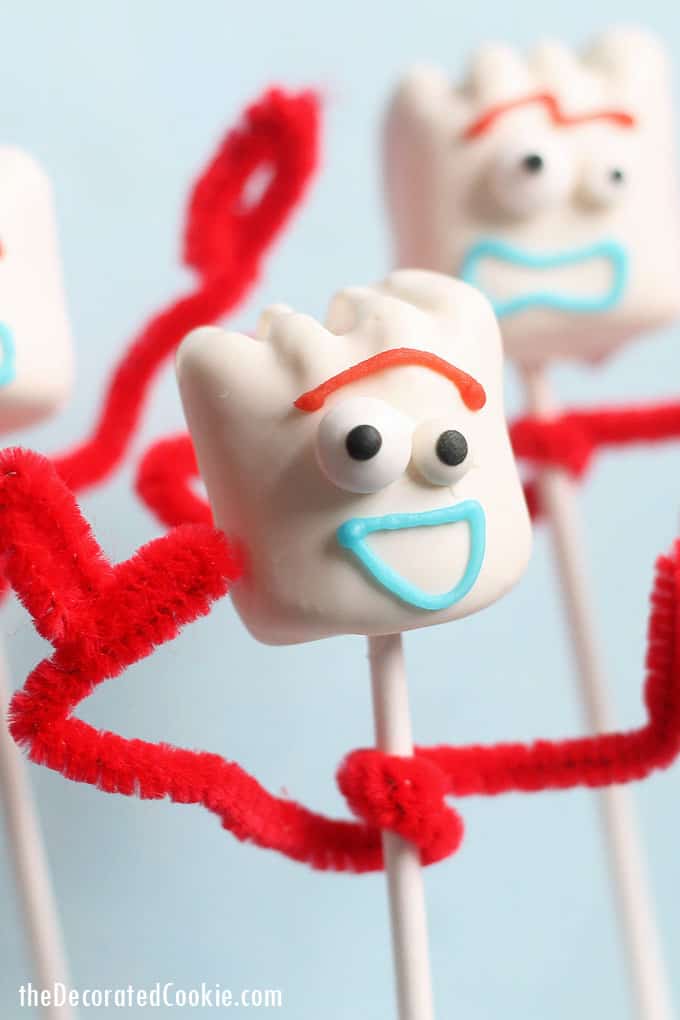
Fun Toy Story party idea: Forky Toy Story marshmallows!
Ingredients
- marshmallows
Instructions
- Hold a marshmallow, pressing gently to flatten a bit. Snip three triangles from the top of the marshmallow. TIP: Rub a bit of shortening on the tip of the scissors for easier cutting. Skewer each marshmallow with a lollipop stick.
- Place candy melts (I melt one cup at a time) in a microwave-safe bowl or jar. Choose a jar that is deep rather than wide and shallow, for easier dipping. If you like, add a pinch of EZ Thins. Microwave for 90 seconds at 70 percent power. Stir, using the residual heat to melt the candy. If needed, microwave at additional 15 second intervals.
- Dip a marshmallow into the melted candy and tap the stick on the side of the jar to remove excess candy. Prop in a Stryofoam block to dry.
- To decorate each marshmallow, use a toothpick to add dabs of leftover candy melts on the back of a regular size candy eye and a mini eye and attach to the marshmallows. Pipe a red eyebrow and blue mouth. Let set.
- Add a pipecleaner. Twist the ends into hands and wrap the center around the stick.
- Display the Forky Toy Story marshmallows at your Toy Story party in a Styrofoam block pressed into a container and topped with red or blue tissue paper.
Notes
I prepared decorating bags with couplers and size 2 decorating tips. I made my royal icing and tinted some with blue food coloring and some with red food coloring. I filled the bags and closed with rubber bands. However, as a shortcut, you may find small tubes of decorating icing in the supermarket or craft store you can use instead.
If you prefer to use white chocolate instead of white candy melts, that works just as well! I prefer candy melts because I find them easier to melt and work with.


Ashley says
I’m excited to try these! I want to make the night before the party.. how would you store overnight? Or is since the marshmallow is dipped, Will it still be soft inside if I make and leave out on counter overnight?
meaghanmountford says
Hi Ashley, Yep! The chocolate protects the the softness of the marshmallow. I get those large, flat (like, letter-size maybe?) tupperware containers and lay them flat in there. Depending on how many you make, you may need a couple of those containers. I put some along one end and some on the other so the sticks overlap in the middle.
Jamie says
I’m wondering if I could make these a few days before the party. Do you have any idea if they would last in the fridge if I made them 3-4 days before the party??
Thanks so much! They are so cute!
meaghanmountford says
Hi Jamie, If you use white candy melts (instead of white chocolate chips), you can even keep them at room temperature. The candy will seal in the marshmallow softness. I use those large, flat tupperware containers. Line the bottom with parchment and lay them down in there and seal.