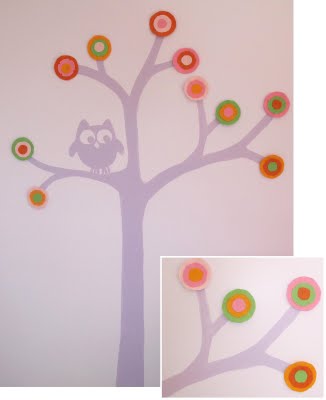
flower wall mural
I created this fun flower wall mural with detachable felt flowers for my daughter’s room. (I do realize, of course, that poppies don’t grow on trees–or do they?–but that’s what I have dubbed these flowers, so there you go.) OK, let’s call it a flower wall mural. The felt flowers are removable, so your little one (or you) can arrange and rearrange as you like.
how to make a flower wall mural:
you will need:*
paint and brush for background design
felt in assorted colors
scissors
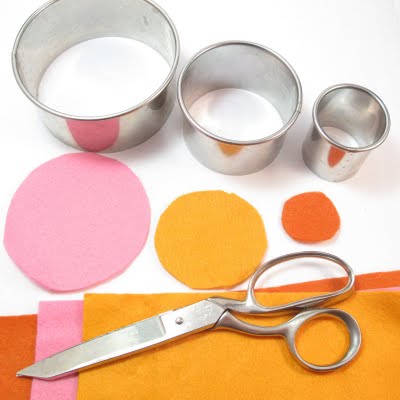
3 different-size circle cookie cutters
fusible web
blue painter’s tape
*For cookie cutters, I used sizes 4″, 2 1/2″ and 1 1/2″. The fusible web is available at craft or sewing stores. I use “Lite Steam a Steam 2,” letter size pieces of webbing. Click the link to see what it looks like. I used a pretty good quality felt from Prairie Point Junction in these colors: two shades of orange, two shades of pink, lime green.
step one: prep your wall
Paint your background using acrylics or wall paint. Don’t use a flat wall paint, use a semi-gloss or satin. Something that cleans easily. If you don’t feel comfortable painting a tree, you can also just paint stems. See? Look how easy below. One green vertical line and one green circle and you have a stem with a leaf. (Don’t paint the circle flowers, of course, these will be your felt designs. Just paint the stem/leaf or tree.)
step two: cut out your felt circles
Trace 3 different size circles on assorted colors of felt and cut out with scissors. I cut out several of each color in each size. (You can use a regular pen/pencil if you don’t have a marking pen, just plan on using the flip side for the poppy.) Each poppy will have: one large, one medium and one small circle.
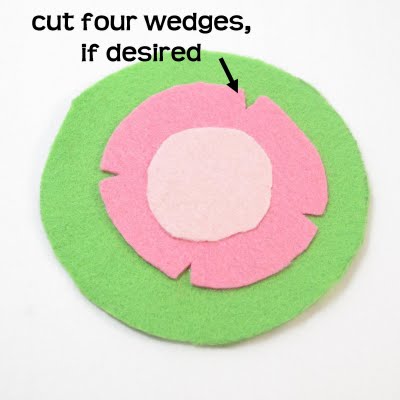
TIP: I arranged all my poppies with contrasting colors first, before moving on to step three, to make sure I would have a variety of color mixes. OPTIONAL: Cut four little triangles from the edges of the middle-size circle to give your flower more detail.
step three: fuse your felt circles
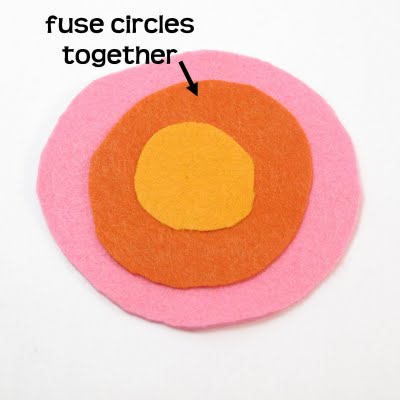
Follow the instructions for the fusible webbing and fuse together a large, middle and small circle. (Peel paper from one side of webbing. Place medium circle on sticky side and cut out. Peel backing and place medium circle on large circle. Repeat with small circle, sticking on center of medium circle. Iron as directed to fuse.)
step four: tape the back
Stick a loop of blue painter’s tape on the back of the poppy and stick to the wall. The blue tape isn’t fool proof; it’s easy for little hands to pry off and will not stick forever, but it’s also easy to replace and it allows you to arrange your poppies any way you like without permanency.




Sweetie Pie says
What an adorable idea! The whole room looks super cute, by the way.
Rachel@oneprettything.com says
Those flowers are great, I love textured elements on walls. Thanks so much for sharing the how-to, I'll be linking to this.
dessert girl says
So adorable!