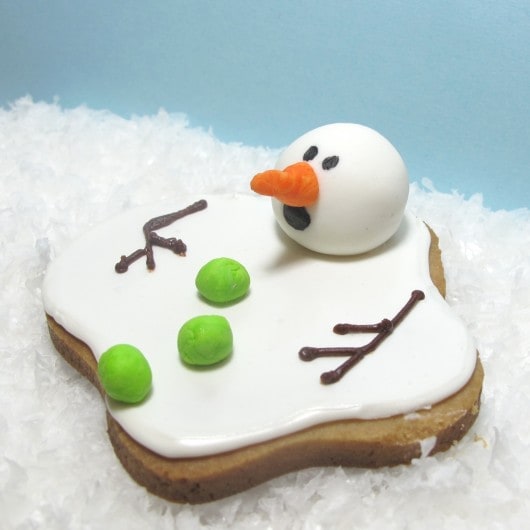
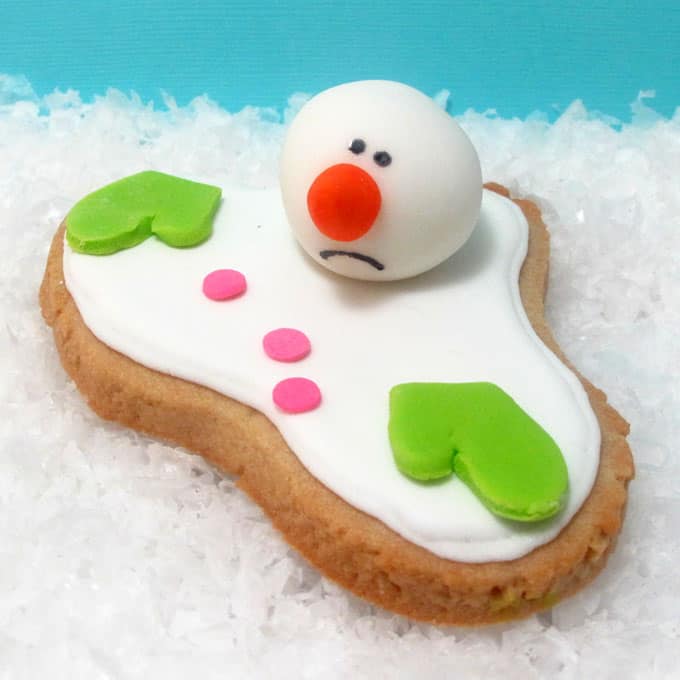
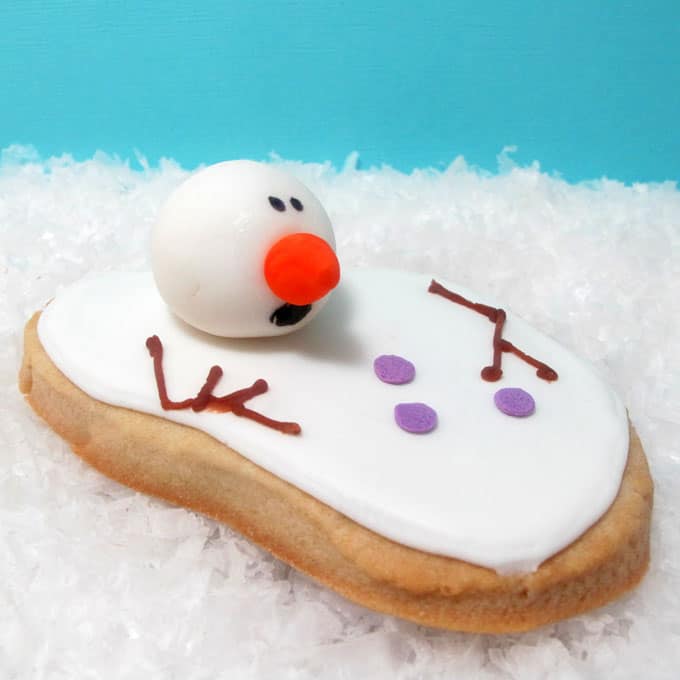
The ORIGINAL melting snowman cookies! That’s right. This is the very first version of the now-traditional Christmas cookie, created by me in 2008.
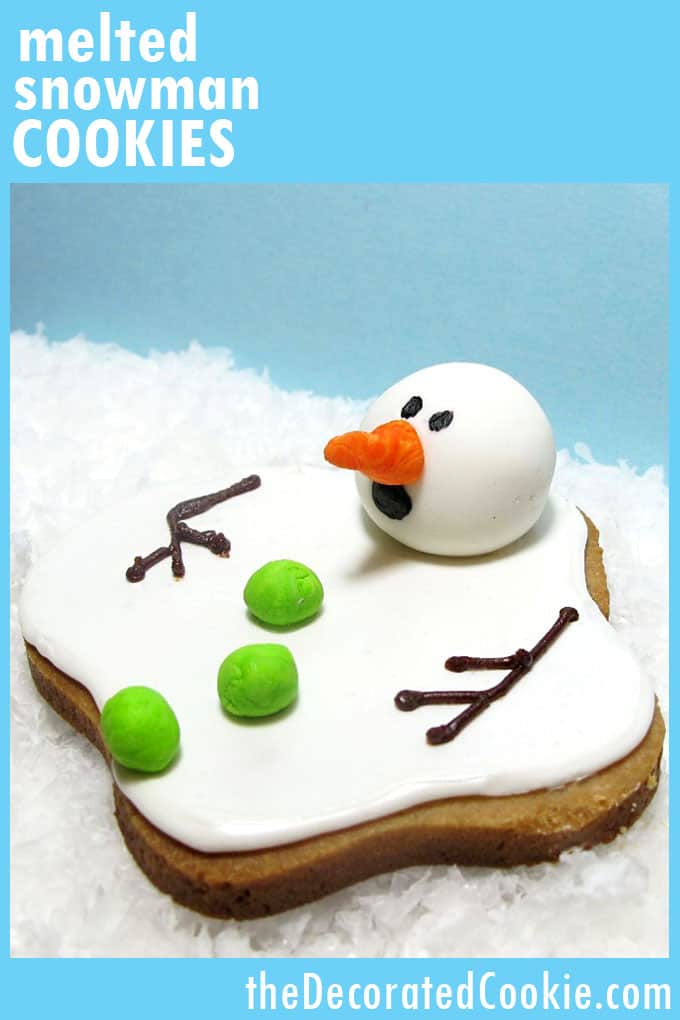
melted snowman cookies
I’ve updated this post for melting snowman cookies several times since the original was published in 2008.
I first came up with the idea when I spotted a melted snowman craft in a magazine.
Since I made this Mr. Melty guy, he has gone viral (although, much to my dismay, the original hasn’t and no, I’ve received no windfall of riches. Or any riches at all, sigh).
Melted snowman cookies are now considered a traditional Christmas cookie. I’ve seen them in magazines. Target has a kit. Wilton sells the cutters.
A popular version uses a marshmallow head instead of the fondant head.
My idea has been used all across the land, which is heart-warming. (Although, those taking credit for the idea is a little less heart-warming.)
Need more melting snowman ideas?
Check out this simplified version of the melted snowman cookies. Or try these melting snowman candy pops. Or make melting snowman meringues. You can even paint melting snowman rocks.
how to make melting snowman cookies
I’m melting, melting… Oh, poor snowman. If you don’t like the sentiment this expresses, you’ll see I’ve added the option of making your snowman smiley.
That way, it will appear the snowman understands his inevitable demise and doesn’t mind so much the nature of things. You may also use a marshmallow instead of the fondant, if you wish.
you will need:
cookie dough
royal icing
food coloring (Bright White, Orange, Electric Green, Chocolate Brown or any color for buttons)
sharp knife
decorating bag with size 4 tip
decorating bag with size 2 tip
small spatula or knife
white rolled fondant (see shortcut tip below)
Black Americolor gourmet writer
light corn syrup
Find information on cookie decorating supplies and where to find them HERE. For basic cookie decorating instructions, click here.
shortcut tips:
In place of the fondant, you can use a marshmallow for the snowman head (and draw the face and carrot nose with the food coloring pens). You may also use candies for the buttons instead of fondant.
step one: bake your snowman base (the blob)
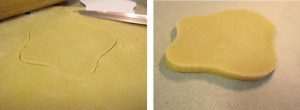
Roll out your dough and cut out a blob shape with a sharp knife.
I drew my shape first on paper and cut around the paper. Don’t make the blob too big, about 4 inches.
If the edges are rough from cutting, pat with your fingers to smooth. Bake on a parchment paper lined baking tray and let cool.
step two: frost your cookie base
Color some frosting with the Bright White gel paste and fill the bag with the 4 tip.
Outline cookie with frosting and let set a good half hour.
Take some frosting in a bowl, color white and add water, little by little, stirring until it’s syrupy.
Pour the runny frosting onto the middle of the cookie and spread to the edges with a small spatula or butter knife. Let set til firm a good two hours, even longer if possible.
step three: make your snowman parts
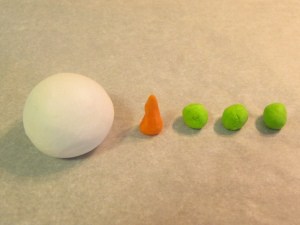
Take a few teaspoons worth of fondant, knead (you can add a few drops of White coloring to brighten) and roll between your palms to form a sphere.
If the fondant gets too sticky, let it sit for ten to fifteen minutes.
Set on a piece of parchment or wax paper to harden for about an hour.
Do the same with the carrot and buttons. Knead a small amount of fondant with the Orange color and form a triangle with your fingers. Set on the wax paper so the tip of the carrot points upward.
Knead any color into fondant and roll small spheres for your buttons.
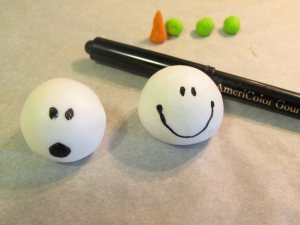
When the snowman head has dried til firm enough to write on, make your face with the black edible gourmet pen. Choose from smiley (happy about melting) to shock (not happy about melting).
step five: assemble your snowman
To adhere the fondant pieces to each other and to the cookie, dab your finger in light corn syrup and rub on the areas that will be adhered.
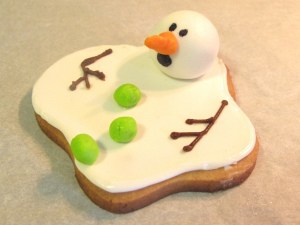
Start with the head and press firmly but gently onto the blob.
Next, attach the carrot to the face. Then the buttons.
For the sticks, I used brown frosting in a bag fitted with a 2 tip and piped. But you can also just draw them on with a brown or black edible pen.
OTHER ideas for melted snowman cookies
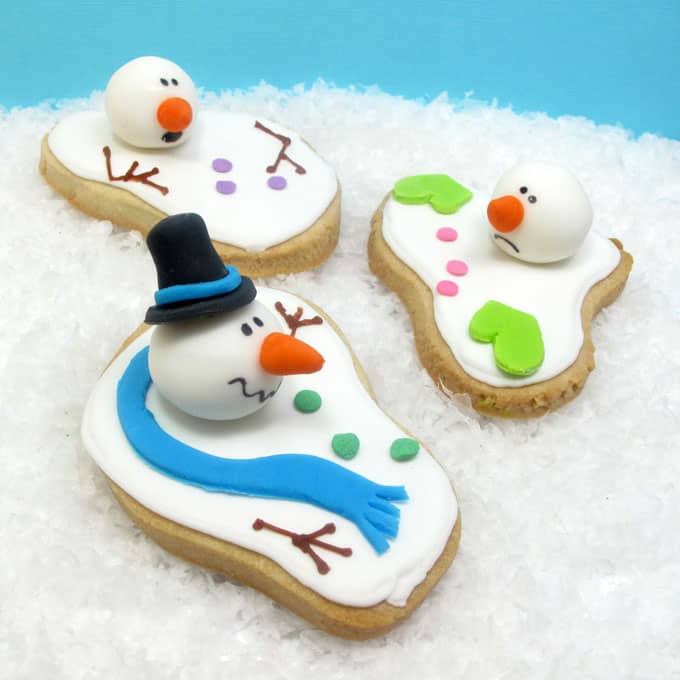
Make a hat (Tint fondant black. Roll out and cut out a little circle. Roll a small ball, flatten the top and bottom and attach with a dab of corn syrup. Wrap a thin strip of colored fondant around the ball. Adhere to the top of the snowman head with corn syrup. Let dry overnight.)
Make a scarf (Roll out tinted fondant and cut a curvy scarf shape with a sharp knife. Cut little slices at the ends for fringe. Attach to the snowman with a dab of corn syrup.)




Cindy deRosier says
Adorable! I hope you’re getting the credit you deserve now.
Renee says
I found pictures of melted snowman cookies on Pinterest and simply had to see where they originated. Google is a fabulous thing, as it brought me here. These are adorable. (I did re-pin the picture on Pinterest that used marshmallows for the heads, but added the link to your site in the description.) Thank you for sharing!
meaghanmountford says
You. Are. Awesome Renee. Please, rest of world, follow this cue!! You rock for going the extra steps, and I thank you thank you!! 🙂
Charmie says
This was the first cookie I seen on pinerest and I fell in love! I thought I have to learn to do this! Im still working on it! Thank you for your awesome imagination on cookies yew Rawk!
meaghanmountford says
Thank you Charmie!! 🙂
kathy says
Loved the photo and you are right, it is everywhere!!! I knew there was a tutorial somewhere finally found you. I understand your frustration completely! Making them today and thanks for sharing.
Stephane in Alaska says
Brilliance DESERVES credit!
Tiffany B. says
Love these! Thanks for coming up with it!
Merri says
I found something similar on Pinterest, but the recipe used a marshmallow for the head. Nothing against marshmallows but I really don’t care for them. Started a search for a substitute for the head of the snowman and happened upon a picture and link to your website. I don’t usually comment, but after reading your story had to tell you-The Original Mr. Melty-is the best looking cookie of the bunch. Sorry it went viral with the knock off and no credit to you.
meaghanmountford says
Thank you so much Merri! The support I get definitely balances the mean people :). (Side note, fondant isn’t much better than marshmallows. I’ve done the heads with Airhead candies before, too!)
Amy says
….remember, imitation is the finest form of flattery… but still….
sue craiglow says
thank you thank you I have sent for your book I hope the directions for the snow person is in it. I love your ideas I will give you credit when I give them away as gifts.
meaghanmountford says
Thank you so much Sue! The melting snow man is not in the book, but lots of other things are, I promise. 🙂 These cookies will last up to a week (if kept in a sealed container.) I do freeze decorated cookies with great success, but I would freeze only the bottoms of these, not the heads (that sounds like an odd thing to say!). To freeze cookies, I put them in freezer ziplocs. To thaw, remove the ziplocs from the freezer and keep at room temp until totally thawed, THEN remove them from the bags.
sue craiglow says
p s what would be the shelf life on these cookie and what is the best way to store them before I give them away? than you Sue
sue craiglow says
Thank you soooo much I will start my making my cookies earlier next year . Sue
Regina says
They are awesome! Thank you so much!
Angelika says
Thank you so much for this lovely idea. Made them for my little son’s birthday party. Everybody loved them!
meaghanmountford says
Oh, I’m so glad, thank you Angelika!!
Shena says
Thanks! Yours are by far the best and most beautiful. I made these for a school bake sale and they were very popular.
meaghanmountford says
Thanks so much Shena! And so glad they helped your school, too!
Tia says
This melting snowman design adds so much life to the boring cookies. Thanks a lot for the recipe.