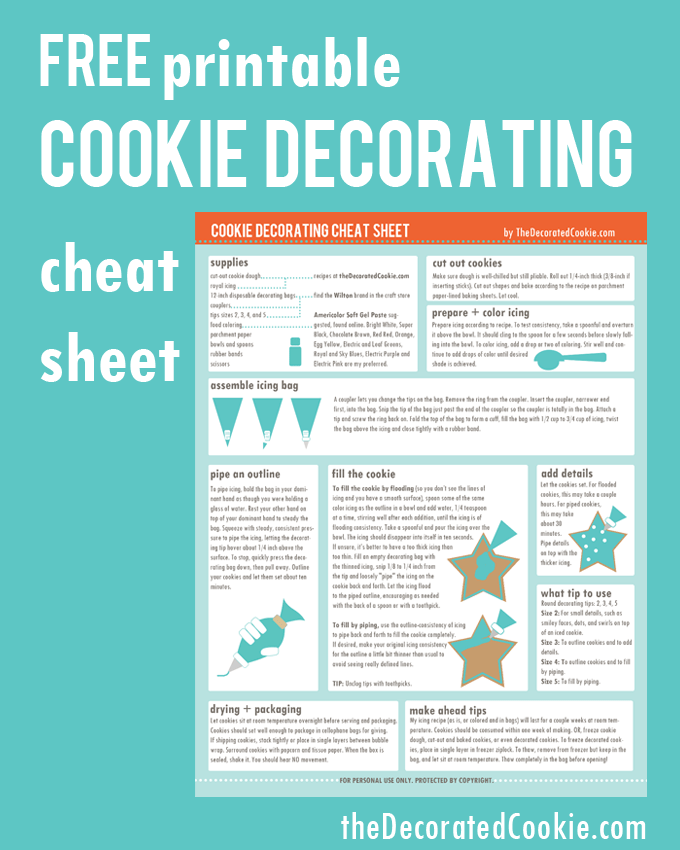
A free printable cookie decorating cheat sheet for you to take with you to the kitchen.

Everything you need to know about cookie decorating, on one handy page! It’s Cookie Decorating 101, the short version in this handy cookie decorating cheat sheet.
For more detailed basic cookie decorating instructions, click HERE.
We look to the interwebs for the answer to every single thing. Everything. The other day my daughter asked me if toilets were the same around the whole world. I didn’t know. Google images to the rescue. I’m in my early 40s, so I made it through college before the internet, and I had to find answers the old fashioned way: In encyclopedias, by asking mom, making stuff up, or taking the bus to the library. Now the answers are at our fingertips.
The only problem with this glorious new arrangement is when what we need the answers FOR is not at our fingertips, too. Like cookie decorating. You can look up some how-tos online on your desktop and keep running to the kitchen. Or you can rig up your ipad in the kitchen so it’s safe from your flour-covered hands. But wouldn’t an old-school one-page handout be easier? I would even be honored if you laminated it.
So I created this Cookie Decorating Cheat Sheet for you. It has all the basics a beginner needs to know the first time decorating cookies. I should note that this is how I decorate cookies. There are plenty of variations to the below, but this is what works for me.
CLICK HERE to print the cookie decorating cheat sheet.
Ideally, you should print in color on letter-size, white cardstock. But it also works in black and white on plain paper, too.
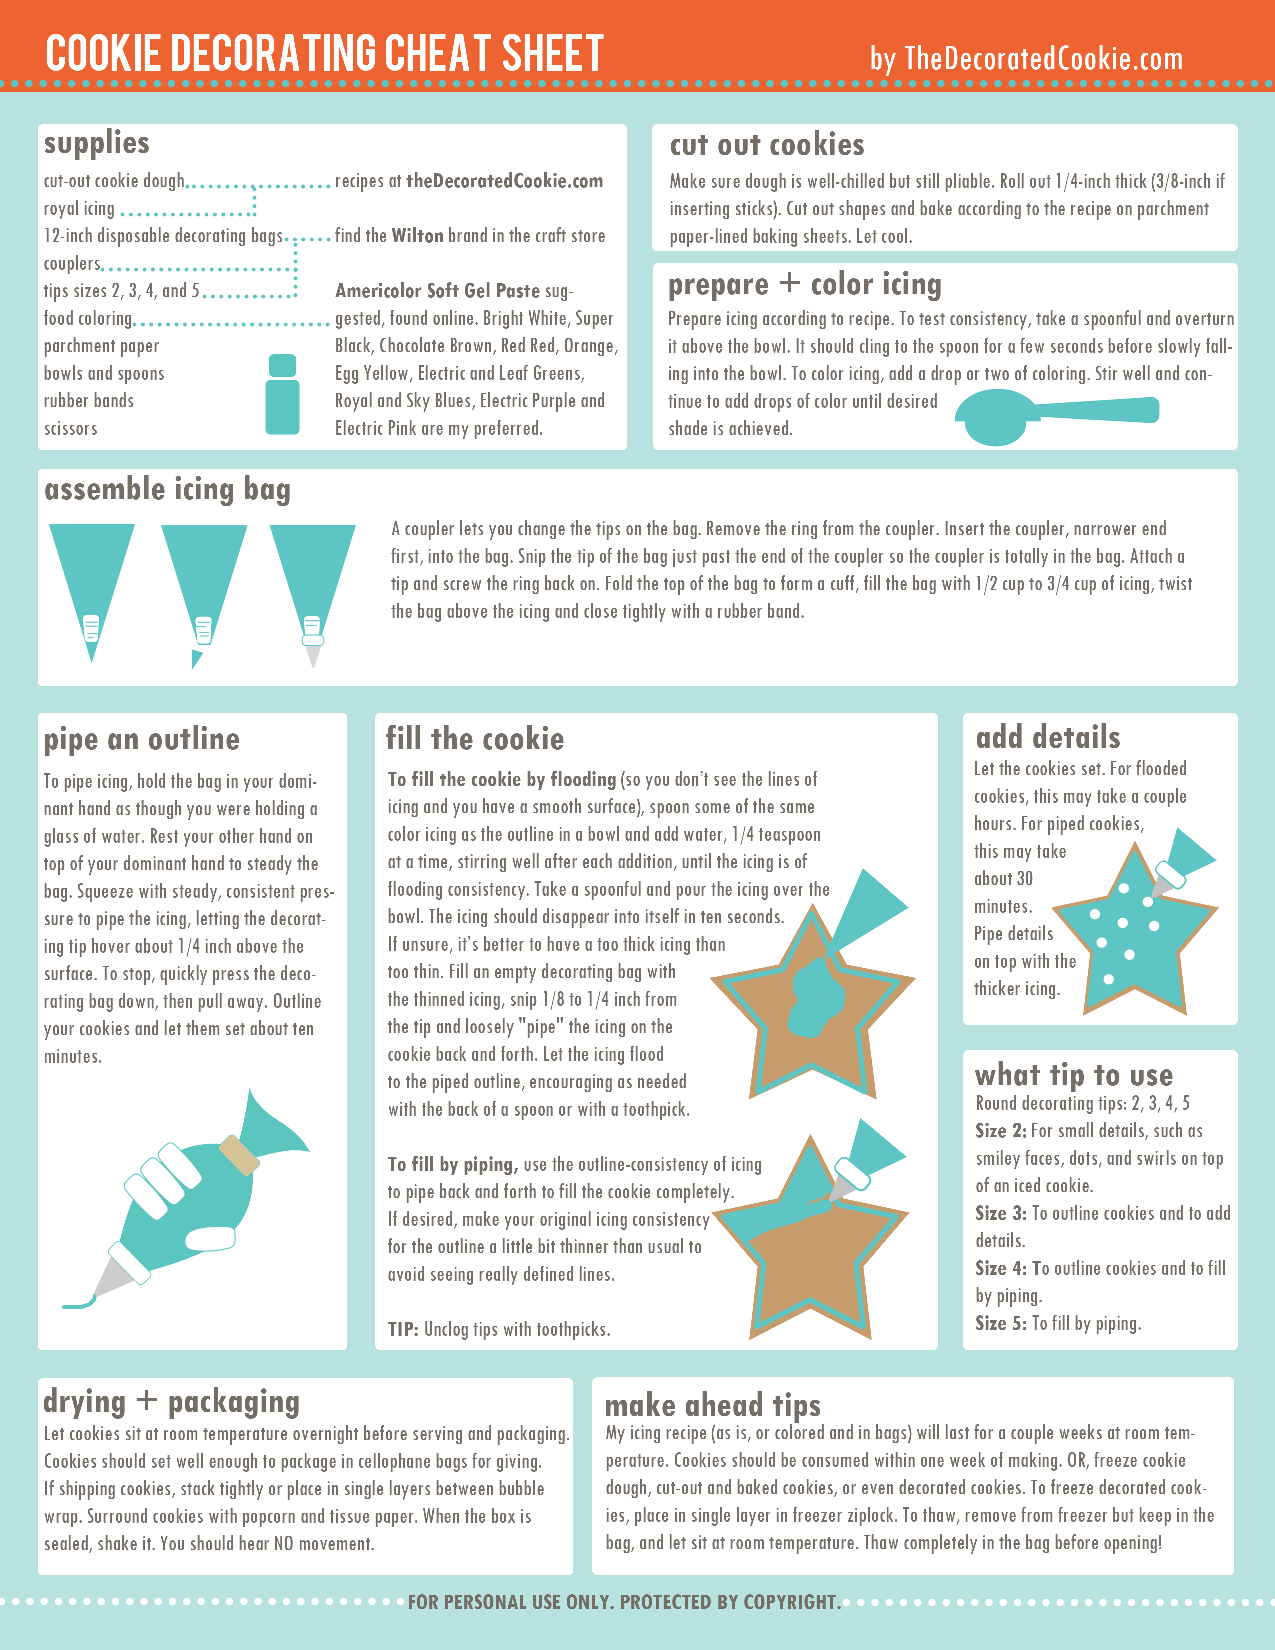
Here is what’s on the cheat sheet if you just want to stick with the computer screen.
And if you want to learn how to decorate cookies like a pro in less than an hour of video how-tos (and with 27 pages of printables), be sure to check out my cookie decorating for beginners course at The Sugar Academy!
SUPPLIES FOR COOKIE DECORATING
cut-out cookie dough
royal icing
12-inch disposable decorating bags*
couplers tips sizes 2, 3, 4, and 5*
food coloring
parchment paper
bowls and spoons
rubber bands
scissors
*Find in the craft store. Click HERE for more information on finding supplies. Find Americolor Soft Gel Pastes (my preferred brand) in specialty stores and online. My favorite colors are: Bright White, Super Black, Chocolate Brown, Electric Pink, Red Red, Orange, Egg Yellow, Electric and Leaf Greens, Sky and Royal Blues, Electric Purple.
CUT OUT YOUR COOKIES
Make sure your dough is well-chilled but still pliable. Roll out 1/4-inch thick (3/8-inch if inserting sticks). Cut out shapes and bake according to the recipe on parchment paper-lined baking sheets. Let cool.
PREPARE AND COLOR YOUR ICING
Prepare icing according to recipe. To test consistency, take a spoonful and overturn it above the bowl. It should cling to the spoon for a few seconds before slowly falling into the bowl. To color icing, add a drop or two of coloring. Stir well and continue to add drops of color until desired shade is achieved.
ASSEMBLE YOUR DECORATING BAG
A coupler lets you change the tips on the bag.
Remove the ring from the coupler. Insert the coupler, narrower end first, into the bag. Snip the tip of the bag just past the end of the coupler so the coupler is totally in the bag. Attach a tip and screw the ring back on. Fold the top of the bag to form a cuff, fill the bag with 1/2 cup to 3/4 cup of icing, twist the bag above the icing and close tightly with a rubber band.
PIPE AN OUTLINE ON YOUR COOKIE
To pipe icing, hold the bag in your dominant hand as though you were holding a glass of water. Rest your other hand on top of your dominant hand to steady the bag. Squeeze with steady, consistent pressure to pipe the icing, letting the decorating tip hover about 1/4 inch above the surface. To stop, quickly press the decorating bag down, then pull away. Outline your cookies and let them set about ten minutes.
FILL IN YOUR COOKIE
To fill the cookie by flooding (so you don’t see the lines of icing and you have a smooth surface), spoon some of the same color icing as the outline in a bowl and add water, 1/4 teaspoon at a time, stirring well after each addition, until the icing is of flooding consistency. Take a spoonful and pour the icing over the bowl. The icing should disappear into itself in ten seconds. If unsure, it’s better to have a too thick icing than too thin. Fill an empty decorating bag with the thinned icing, snip 1/8 to 1/4 inch from the tip and loosely “pipe” the icing on the cookie back and forth. Let the icing flood to the piped outline, encouraging as needed with the back of a spoon or with a toothpick.
To fill by piping, use the outline-consistency of icing to pipe back and forth to fill the cookie completely. If desired, make your original icing consistency for the outline a little bit thinner than usual to avoid seeing really defined lines.
ADD DETAILS TO YOUR COOKIES
Let the cookies set. For flooded cookies, this may take a couple hours. For piped cookies, this may take about 30 minutes. Pipe details on top with the thicker icing.
WHICH TIP DO YOU USE?
Round decorating tips: 2, 3, 4, 5
Size 2: For small details, such as smiley faces, dots, and swirls on top of an iced cookie.
Size 3: To outline cookies and to add details.
Size 4: To outline cookies and to fill by piping.
Size 5: To fill by piping.
TIP: Unclog tips with toothpicks.
DRYING AND PACKAGING
Let cookies sit at room temperature overnight before serving and packaging. Cookies should set well enough to package in cellophane bags for giving. If shipping cookies, stack tightly or place in single layers between bubble wrap. Surround cookies with popcorn and tissue paper. When the box is sealed, shake it. You should hear NO movement.
MAKE-AHEAD TIPS
My icing recipe (as is, or colored and in bags) will last for a couple weeks at room temperature. Cookies should be consumed within one week of making. OR, freeze cookie dough, cut-out and baked cookies, or even decorated cookies. To freeze decorated cookies, place in single layer in freezer ziplock. To thaw, remove from freezer but keep in the bag, and let sit at room temperature. Thaw completely in the bag before opening!


emily bennette says
This is some really good information about custom cookie decorating. I like that you pointed out that you need to outline the shape before you fill it in. Decorating a lot of cookies seems like it would take a really long time to do. It seems like it would be a good idea to have a professional baker make cookies for you.
Adrianne says
I am looking everywhere for how to determine the inside of an outline only cutter. I bought a bucket from Michael’s Celebrate it line and some are a real mystery for me, i.e., Santa, rocking horse, etc.