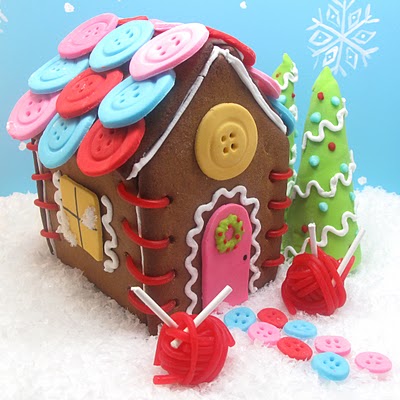
gingerbread sewing cottage
With a blog title as mine, I may give the impression that I might actually be good at crafting gingerbread houses. I’m not. I’ve only made three. The first was in high school (no photo evidence), the second gingerbread house for our Christmas card is here, this is the third.
I think it has to do with the precision necessary. And precision requires patience. And moving carefully. I don’t have patience and can’t move carefully.
As such, I’m terrible at sewing. I mean really, really not good. I’ve tried. I’ve dabbled in knitting, crochet, needlepoint, even a bit with needle and thread and my sewing machine. But it does not come naturally to me.
Which is why I’m so impressed by those who do it well. Like Cheryl from Sew Can Do. I spotted this amazing Princess Leia baby hat and was smitten with her site immediately. Just look at this fabric garden. Or this doctor felt kit. Or, the best yet, this felt playhouse tutorial. And check out her shop, The Green Hedgehog, and tell me you don’t ooh and aah over everything.
Yep. If I had skills with a needle, this is exactly the kind of stuff I’d want to make. And so we struck up a bit of back and forth with our mutual oohing and aahing over those-skills-the-other-has-that-we-covet.
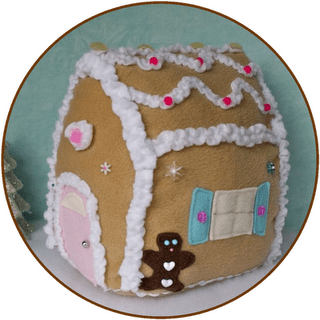
And we decided to team up on a theme: Gingerbread Houses. She represents fabric, and I represent sugar. Here’s a sneak peek on Cheryl’s creation, which you’ll real ALL about tomorrow, right here on my blog.


I probably should’ve researched a bit how to make a gingerbread house with a sewing theme. But aside from checking out Martha, I just made stuff up myself, including the template I used.
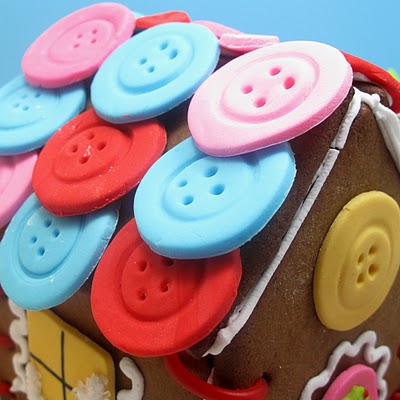
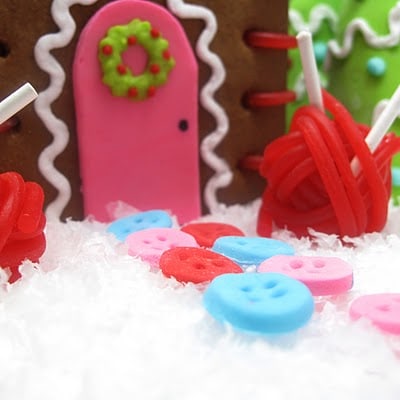
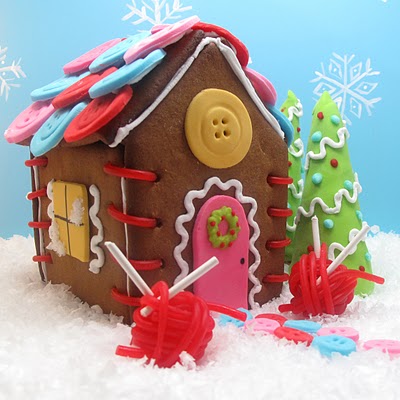
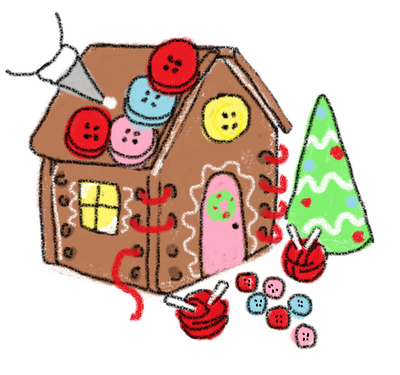
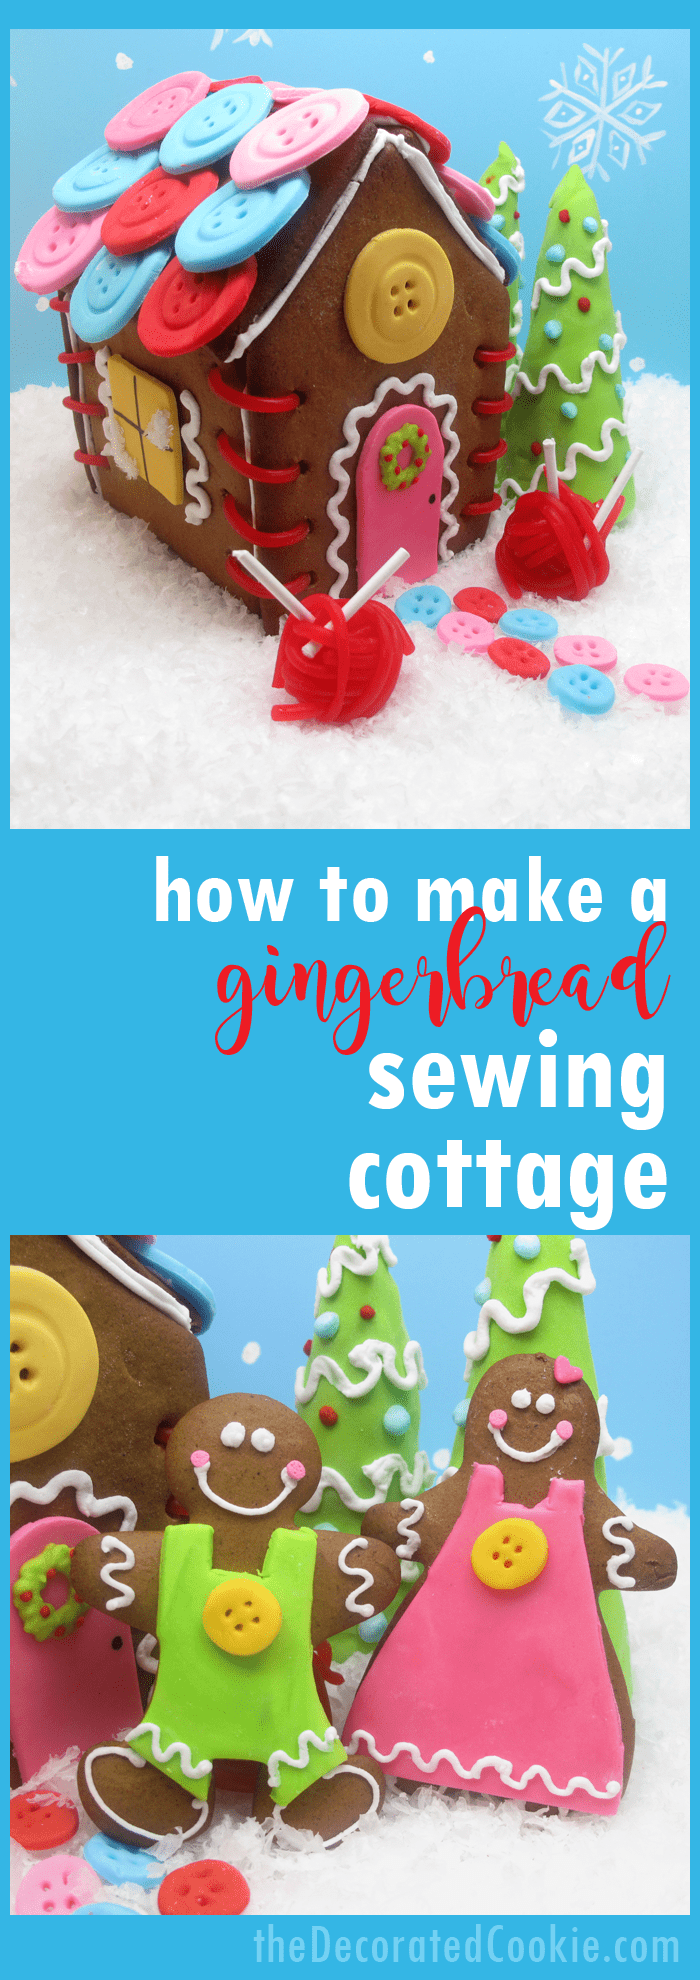
If the sewing theme isn’t clear, I’ll point out the button roof and path, the “rick rack” trim (impressed I knew that term sewing experts?), the ball of yarn yard decor, the laced up sides… See the details below and find how-tos at the end of this post.



how to make a gingerbread sewing cottage
you will need:*
gingerbread cookie recipe
royal icing recipe
gingerbread sewing cottage TEMPLATE
sharp knife and/or dough scraper
black edible writer
DumDum red lollipops
Twizzlers Pull n’ Peel
white sprinkles (optional)
*I cut Martha’s recipe in half, which makes two small cottages plus extra.
Thumbs up on the recipe, though the pepper was a bit too bold for my taste. Use any recipe for traditional royal icing.
For food coloring, I use Americolor soft gel pastes (Bright White, Red Red, Electric Pink, Electric Green, Egg Yellow and Sky Blue).
Find fondant, the decorating bags, couplers, decorating tips, and lollipop sticks in the baking aisle of the craft store. You’ll also find the cookie cutters there, or fondant cutters. Note that these sizes may only be found in the sets of circles and squares.
You may find a black food coloring pen in the craft store. I use Americolor Gourmet Writers.
For tips on finding cookie decorating supplies, click HERE.
step one: bake your cookies
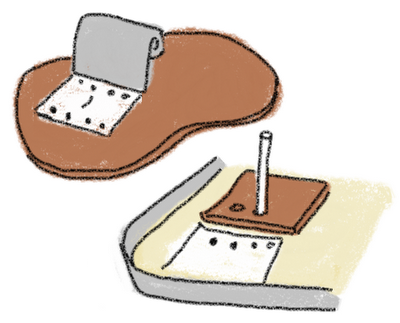
Print template(or use your own), cut out shapes with scissors, prepare dough according to recipe, chill it, roll it out about 1/8 inch thick and cut out the template shapes.
Be sure to cut out two of each shape. I used a dough scraper to cut the sides easily. Lay shapes on a baking tray lined with parchment paper.
To make the lacing holes, line up the template next to the side of the cookie, and use the lollipop stick to make the holes. Poke the stick in the cookie and rotate it to widen the hole to about 1/4 inch thick. Bake according to recipe and let cool.
step two: prepare your royal icing
Prepare the royal icing according to the recipe.
Add confectioner’s sugar until the consistency is thick enough to hold it’s shape.
Tint most of the icing white and tint some with your other colors. I also used red, light blue, and lime green, about 1/4 to 1/3 cup for each color, for the wreath on the door and to decorate the trees.
Prepare frosting bags with couplers and tips and fill with each color. Tie closed tightly with rubber bands.

step three: assemble your house
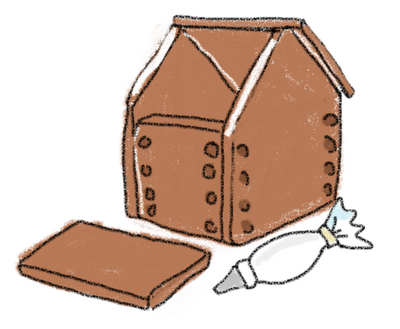
Pipe lines of white royal icing as glue to assemble the house. Let dry overnight. Meanwhile, start the decorations.
step four: prepare your decorations
Prepare your decorations according to the instructions below and set aside to dry overnight. Tint chunks of fondant by kneading in drops of food coloring.
Start with a couple drops and add more until desired color is reached. If fondant gets sticky from overhandling, let sit out at room temperature for 15 minutes until easily pliable. For everything here, you’ll need: lime green, pink, light blue, red and yellow.

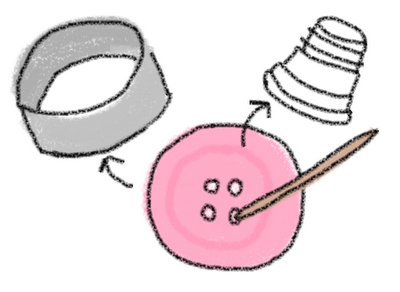
Buttons(for the roof and sidewalk): On a surface dusted with confectioner’s sugar to prevent sticking, roll out fondant (I used red, pink and blue) about 3/8 inch thick.
Cut out a 1 1/2 inch circle. Center the wide end of a coupler on the circle and press to make an impression.
Poke four holes in the center with a toothpick. For the small buttons, cut out 1/2 inch circles and just poke four holes with a toothpick.
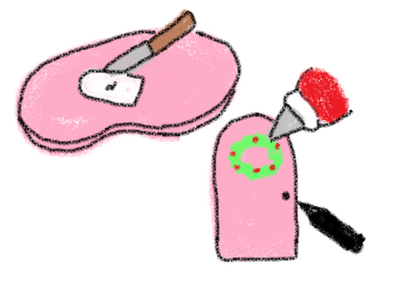
Door: Roll out fondant of desired color about 1/8 inch thick. Use the template to cut out a door shape. Use lime green icing to pipe a wreath, add red dots, and draw a black dot with the edible writer.
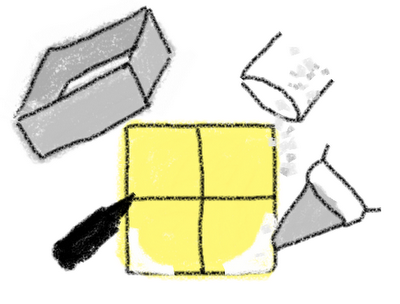
Windows: Roll out yellow fondant about 1/8 inch thick. Cut out two 1 1/2 inch squares. Draw a “+” with the edible writer. If desired, pipe some snow with white frosting and add white sprinkles. For the round window, follow the instructions for making buttons.
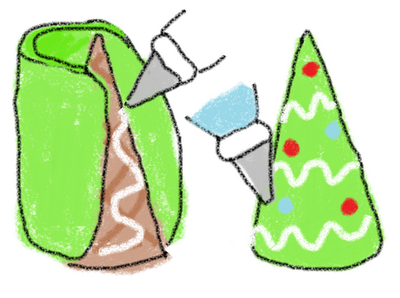
Trees: Roll out lime green fondant about 1/8 inch thick.
Wrap around an ice cream cone and snip away excess. Unwrap. Pipe some frosting on the ice cream cone to use as glue.
Wrap the fondant back around the cone, smoothing, and seal at the back (you’ll have a seam at the back). Tuck ends under and make a point at the top. Pipe rick rack with white icing and pipe dots with blue and red frosting.
Yarn balls: Snap off about half of the stick from a Dum Dum lollipop. Unravel a couple single pieces of the Twizzlers. Wrap around the lollipop, securing ends as needed with light corn syrup. Stick the cut end of the the stick in the licorice to hold it in place.

step five: put everything together
Separate four pieces of the Twizzlers.
Thread each one through the holes in the side of the house. If the holes are too small, carefully open a pair of scissors, insert one blade, and slowly rotate.
To attach the fondant pieces, pipe white royal icing to use as glue. Layer buttons on the roof (3 rows of 3 per side). Attach the door and windows.
Pipe rick rack with white around the door and sides of windows. Arrange house on desired surface, lay down the small buttons for a sidewalk, and add the yarn balls and trees.



Sommer J says
Youre amazing. I dont know what else to say. I am in awe as usual!
Butter Hearts Sugar says
Wow wee!!! I'm just sitting here staring at your beautiful gingerbread house in awe. Its so clever, every little bit of it. I love the colours.
Party Box Design says
seriously you are AMAZING! hands down, one of my top blogs to read!
Etta says
Beautiful gingerbread house!! 🙂
bridget {bake at 350} says
Oh my stars, girl! YOU are the BOMB!!! (do people still say that?) Cutest gingerbread house EVER!!! Stumbled and tweeted and if I can think of anything else, I'm doing that, too! 😉
Marian (Sweetopia) says
Super super SUPER cute Meaghan!! I'm in gingerbread house love.
Lindsey @ Gingerbread Bagels says
Wow absolutely amazing! This is the cutest gingerbread house I've ever seen. 🙂
Sue says
The creative things you dream up astounds me, Meaghan! I'm not a seamstress, but immediately recognized all of the (darling) sewing elements of your gingerbread house! "Sew" CUTE! I LOVE it!
Diane {Created by Diane} says
Amazingly beautiful!!! "Sew" creative!!!!
Kim @ The Celebration Shoppe says
You are amazing!
Genevieve Le Bel says
This is by far the cutest house I've seen this year!!!! So clever!!! wth your permission, I'd love to feature it on my blog next week!Genevieve (AKA Superchick!) ;-)www.celebrate2da.com
Kathy Martin says
When you described your experience with sewing, it reminded me of me! I got a D in sewing back in high school! 😉 Anyway, I can do hand stitching. I'm impressed with your gingerbread house. It's very cute! Your first one was too. You are pretty darn good at it! At least better than myself! Thanks for the tutorial! Merry Christmas! 🙂
Ebe says
Beautiful gingerbread house and lovely colors 😀 Stitches are amazing idea. Funny thing, I made yesterday this gingerbread house https://ebetys.com/blog/2748259/-kangas-piparkakkutalo/and almost the same idea 😀 but your house is looking more cheerful (colors are much better).
Laura Keller says
How adorable! You're so talented – thanks for sharing this delightful work!
Debbie says
I don't care how many gingerbread houses you've made, this is by far the cutest I have ever seen! I love it!!
CraftCrave says
Just a quick note to let you know that a link to this post will be placed on CraftCrave in the Cooking category today [15 Dec 01:00am GMT]. Thanks, Maria
Ashley says
This is so amazing. You totally didn't need to explain that is was sewing themed, it was very obvious. You are so talented!I featured your house on my blog:https://www.cuteasafox.com/2010/12/gingerbread-houses.htmlThanks,Ashley
morgana says
I love it !!!! It is so colourful…
Linda V @ Bubble and Sweet says
Yeah I totally got the sewing theme and think it is adorable 🙂
apparentlyjessy says
Wow! This is too awesome for words! So many of my crafty friends would LOVE this! I must tweet immediately!