How to decorate popsicle cookies, a fun summer dessert idea.
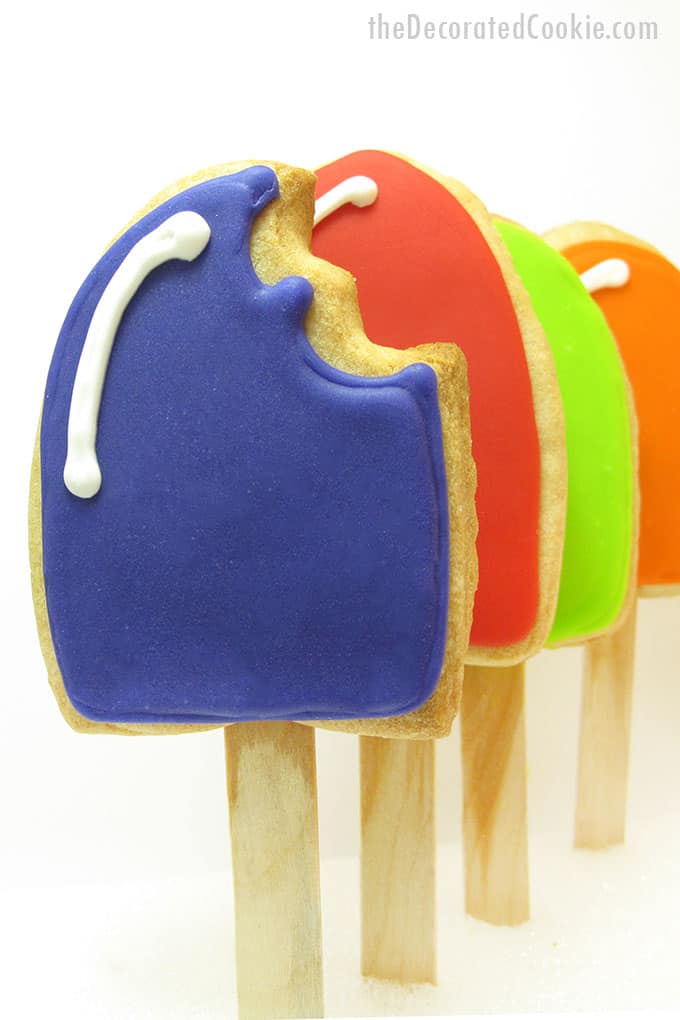
popsicle cookies
Popsicles that never melt! OK, so if you left these popsicle cookies sitting outside in the 90 plus degree heatwave we are enduring, they would likely be affected. But much more slowly.
more summer cookies
- If you like these, check out the tiny version. These mini popsicle cookies.
- Loving the watermelon slice and bake cookies.
- It wouldn’t be summer with BBQ cookies.
- Aaah. Relaxing pool cookies.
- Glowing firefly cookies! Or do you say lightning bugs?
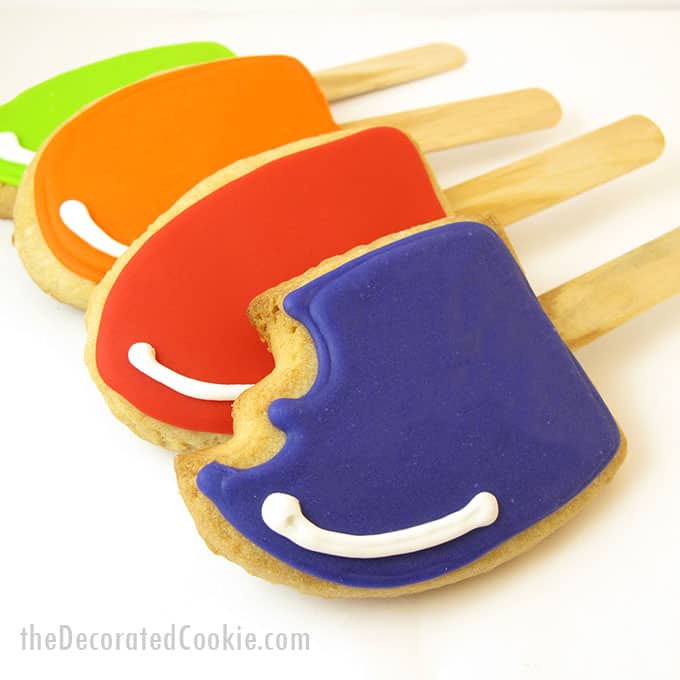
How to make “popsicle” cookies:
ingredients and supplies you will need:*
- cookie dough
- royal icing
- food coloring
- disposable decorating bags
- decorating tips, size 4
- couplers
- rubber bands
- popsicle sticks
- sharp knife
tips and tricks
Find disposable decorating bags, the tips, couplers and popsicle sticks in the craft store.
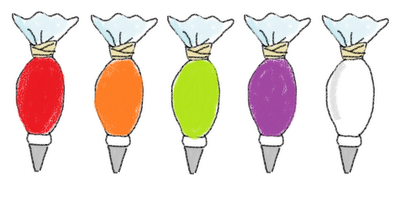
Choose any food colors colors you like. I used Red, Orange, Electric Green, Regal Purple and Bright White (for the highlight, you can also use a lighter version of the popsicle color in lieu of white).
You can also use a tombstone or popsicle cookie cutter if you have one, and cut off the bottom, or just make your own template from parchment paper.
For tips on finding cookie decorating supplies, click here.
Learn more about how to decorate cookies here.
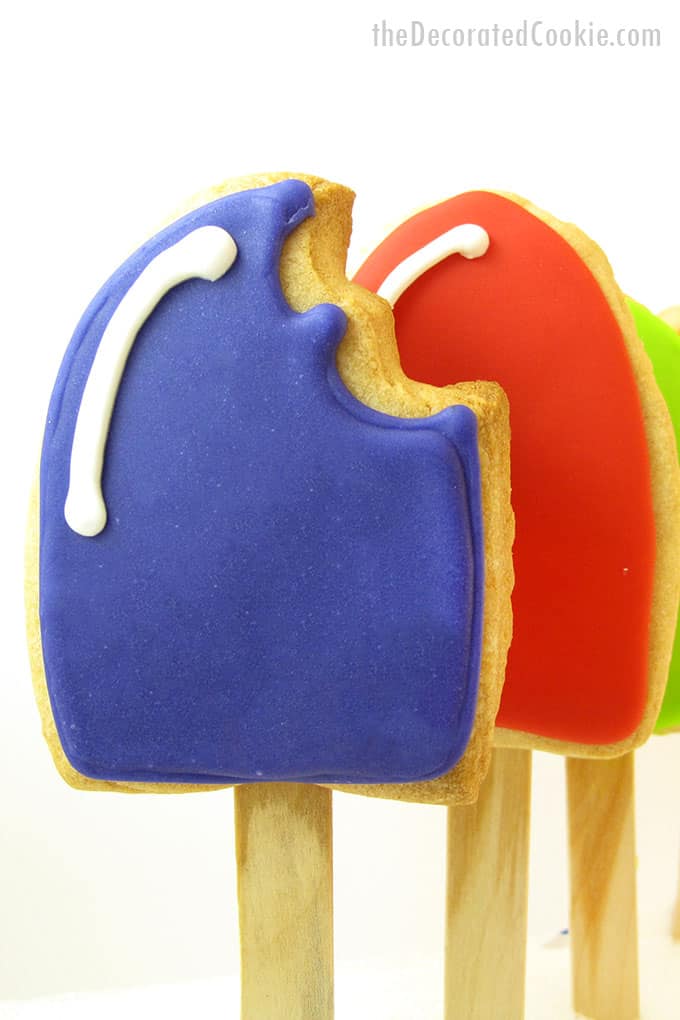
step one: bake your cookies
Roll out chilled cookie dough about 1/4 inch thick (thick enough to accommodate sticks).
Cut a popsicle shape template from parchment paper. Cut around the template with a knife. Pat edges of cookie to smooth. Place on parchment paper-lined baking tray and insert popsicle stick about half way into cookie so the stick is fully inside the cookie (no stick should be seen poking out the back).
Bake according to recipe and let cool.
Note: I had no problem cooking the sticks in the oven, and I assume most brands are the same. But I don’t know if every brand will work as swimmingly, so please stick by the oven just in case! I can’t imagine they’d burst into flames, but I wouldn’t want such a thing on my conscience!
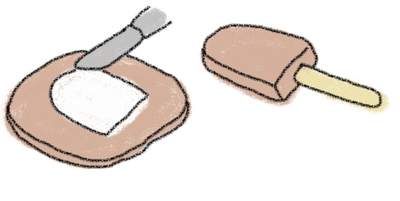
step two: prepare your icing
Prepare icing and tint in desired colors, about 1 cup for each popsicle color. Use less for the white highlight.
Assemble decorating bags with couplers and size 4 tips and fill with about half of your prepared colors and one with the white frosting. Tie closed tightly with a rubber band.
step three: decorate your popsicles
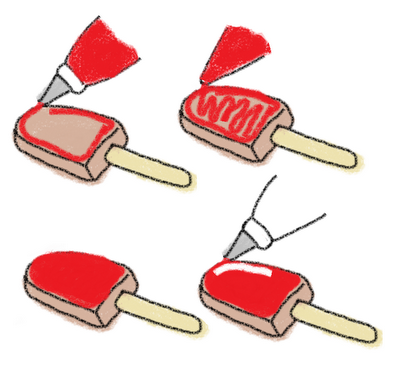
Outline popsicles with one color of icing. Thin reserved icing of the same color with water, a few drops at a time, until the consistency of thick glue. Put the thinned frosting in an empty frosting bag, close off the top, and snip about 1/8 inch from the tip.
Loosely pipe thinned frosting over the cookie and let flood to edges, encouraging as needed with a toothpick or the back of a spoon. Let set about 15 to 30 minutes before piping a highlight on top.
This popsicle cookies post was originally posted in July 2010 and updated in June 2020.



bridget {bake at 350} says
So, so cute! These would be SO much better than a REAL popsicle. I mean, who even needs one of those when you can have THESE?!?
Amanda says
So cute Meaghan!
I run for cake! says
Absolutely love these cookies! This is such a great idea!
Lorraine says
I love this idea! I can't wait to try them. So fun.