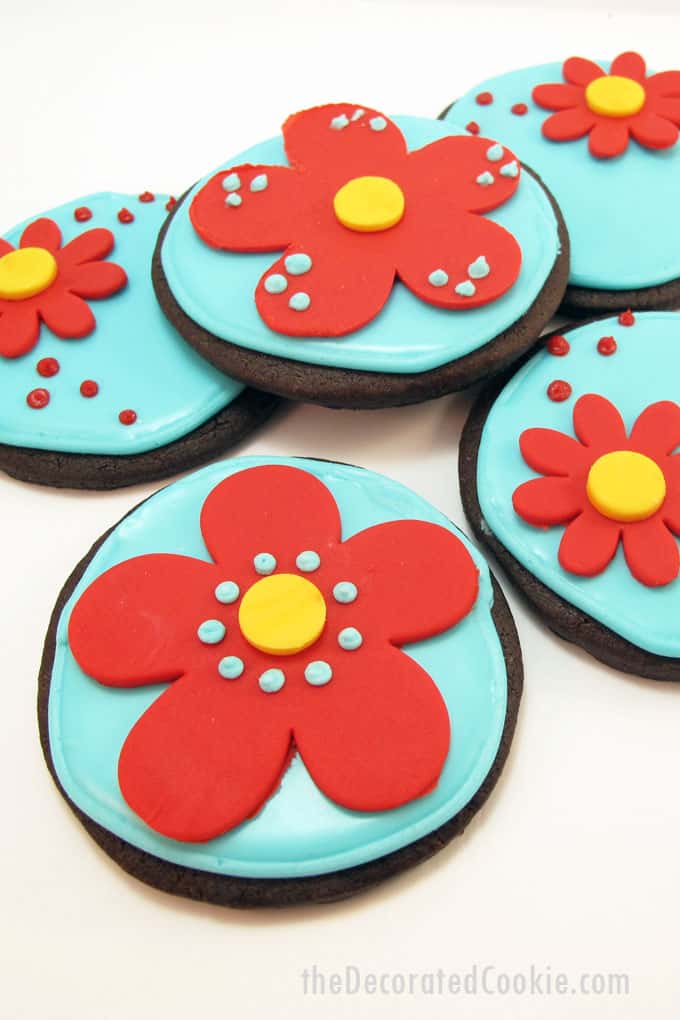
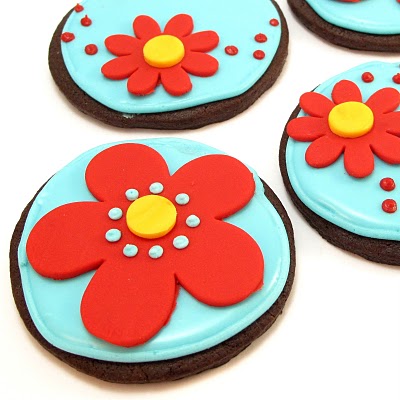
I’m just not sure what to call these red and blue chocolate flower cookies. These cookies match my kitchen. Though I have a lot of colors in my kitchen, so anything would match. I made them to use as background eye candy for an inside-my-kitchen photo shoot (details and links coming soon!) Let’s just say they are red and blue (but that aqua-ish blue) chocolate flower cookies.
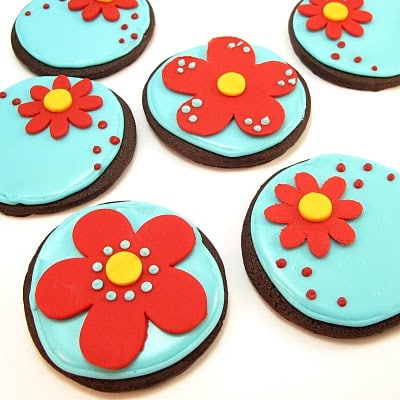
how to make chocolate flower cookies
you will need:*
cut out cookie dough and royal icing
circle cookie cutter
two sizes of flower cookie cutters
1/2-inch circle fondant cutter
fondant
rolling pin
wax paper
frosting color (sky blue, red and egg yellow)
2 frosting bags
2 couplers
3 decorating tips (one size “5” and two size “2”)
rubber bands
light corn syrup
*Find the frosting bag supplies and fondant and maybe even the cutters in the baking aisle of the craft store. Find frosting color there, too, but I prefer Americolor soft gel pastes food coloring (a tad harder to find, click the link to find resources for buying). Use any size of cutters you prefer, but the circle should be a bit bigger than the larger flower cutter you use. Click HERE for tips on where to find supplies.
step one: make your cookies
Prepare cookie dough (chocolate or plain sugar) according to recipe and cut out large circles. Bake and let cool.
step two: make your frosting
Prepare frosting according to recipe. Tint about a cup and a half (depending on how many cookies you make) light blue (this may only take one or two drops of coloring) and tint about 1/2 cup red. Prepare two frosting bags with size “2” tip. Fill one with about 1/2 cup of light blue frosting. Fill the other bag with red frosting. Set red frosting aside. Cover remaining light blue frosting in bowl and set aside.
step three: make your fondant flowers
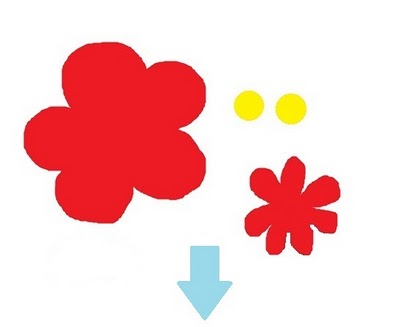
Prepare red and yellow fondant by adding a few drops of coloring to a palm-full of fondant and kneading very well. Red will take quite a few drops, yellow may only need one or two. If fondant gets sticky or hard to handle, let sit at room temperature uncovered for 15 minutes until easily pliable. Roll red fondant thinly between two pieces of wax paper. Cut out large and small flowers. Roll out yellow fondant and cut out mini circles with the 1/2 inch cutter. Set all the fondant pieces aside to stiffen a couple of hours. Dab light corn syrup on the back of a small yellow circle and adhere to center of red flowers. With the bag of light blue frosting, pipe light blue dots on large red flowers.
step four: frost cookies
Switch tip on light blue frosting bag to size “5” and pipe circles on the cookies. Let set about 15 minutes. Thin remaining blue frosting in bowl with water, a little at a time, until the consistency of thick glue (it should NOT be too runny, like water). With a small spoon or a squeeze bottle, pour some frosting in the center of the cookie and let spread to edges, encouraging the frosting with the back of a spoon as needed. Let stiffen a couple hours at least, preferably overnight.
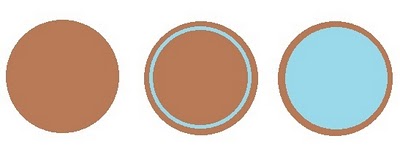
step five: assemble your cookies
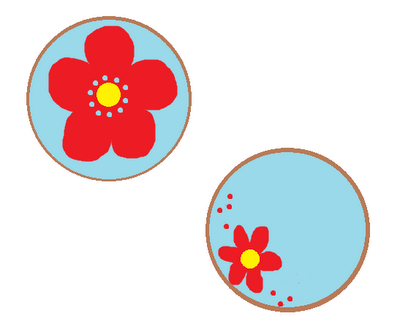
Dab corn syrup on the back of the flowers and adhere to cookies as desired. Pipe red dots on the cookies with the smaller flowers.



Anonymous says
So cute! And I especially like the name!This pertains to the previous post. But every time I shop for cookie cutters I get so overwhelmed because there are just so many different kinds and shapes.So my question is, what are the basic cookies cutters that every cookie enthusiast should have?Thanks!Alexa
Ashley says
I just want to eat these! They look so good and are so adorable. I love the colors!
Chic Cookies says
GREAT question Alexa! In fact, look for an upcoming post on this, as I think more people would like to know the answer. I'll give many more details in a full post, but just to tide you over–my go-tos? basic shapes (sets of all size circles, squares, rectangles, stars, hearts) and flowers are key. You can decorate almost any design on these basic shapes. And you can build your collection with unique cutters as you need them for events. More later!!
Dream It Up Cookies says
They are so cute! If those match your kitchen, then you must have a beautiful kitchen.
bridget {bake at 350} says
LOVE the colors here!!!
Sue Sparks says
I love the vibrant color combination! Looking forward to your kitchen photo shoot!
Chic Cookies says
have to say, I don't pat myself on the back a whole lot, but I loooove these cookies. I'm a poor photographer, so the pics don't do them justice. They are super-striking. Ouch, hurt myself patting the back! But I so recommend making em, even if the how-tos seem a bit long (they were really easy)
Pink Martini says
So pretty! Do you have a favorite fondant? I have played with it a couple times but it was so long ago before it was readily available so I made it from scratch. I would add powdered sugar to it if it got sticky but I guess there are rules to handling it like letting it sit out for awhile. I would love it if you could do a post on fondant. Perhaps you have already? I see it on cupcakes all the time now. Does it go over the icing?
Baking Monster says
these are so cute and look really yummy too. your so creative!
Chic Cookies says
thanks! good question/idea Pink Martini…expect an upcoming post. I am relatively new to fondant (I always used royal icing before), so we can all learn together. I don't like the taste of store bought and haven't tried my own, but another reader sent me a link to homemade. I'll test out the recipe soon and post some tips…from my limited knowledge, but sometimes tips from novices for novices keep things on the same plane 🙂
Pink Little Cake says
I love the colors and your tutorials are getting better and better.
Diana's Cocina says
What cute cookies!
Amanda says
LOVE these. I kid you not I have SUCH a similar design I was gonna post! I think I will have to change things up a bit now… its hard to top perfection, and these are PERFECT!Blessings-AManda
Mini Baker says
gorgeous!-minibaker
Chic Cookies says
Thank you all! Love warm n' fuzzy comments. O' Amanda, I'm sure yours are absolutely brilliant! no changes necessary, I'm sure our two great minds are in sync!
Sugar Siren says
Absolutely love the colours.
cookies and cups says
very cute ~ I love that color combo, so can't wait to see your kitchen!
justJENN says
I'm a big fan of blue and red – love these!
Jennifer(Savor) says
GEEEEOURGEOUS! Meghan, how can I contact you? share an email? savorthethyme@cox.net
Emilybakes says
Love these cookies, and the entire blog! I am going to try the snowman Cakesters this weekend. For anyone interested in making their own fondant, try this:1 lb mini marshmallows2 lbs confectioners sugar2 tsp flavorings (vanilla, lemon, etc)3 Tbs. watervegetable shortening for coating hands and bowlequal parts confectioners sugar and cornstarch for dustingPlace confectioner's sugar in mixing bowl. Use some vegetable shortening to coat the inside of another bowl. Add marshmallows to coated bowl. Add flavoring and water. Melt marshmallows in microwaveable bowl or in a bain marie, set over 1 inch of simmering water. Once marshmallows have melted, add this mixture to the bowl with the confectioners sugar and mix on low speed until "dough" is formed. Turn dough out onto dusted surface. Incorporate any crumbled mixture left in the bowl into the dough, adding a bit more water if necessary. Mix in any colorings at this point. Once color is incorporated, wrap in plastic and let fondant rest at room temp for 20-30 minutes. It is then ready to use. Or wrap tightly in plastic wrap and place inside a resealable plastic bag. Fondant will keep at room temp for 6 months.I got this recipe from an instructor at L'academie de cuisine, Dave Arnold.Enjoy!