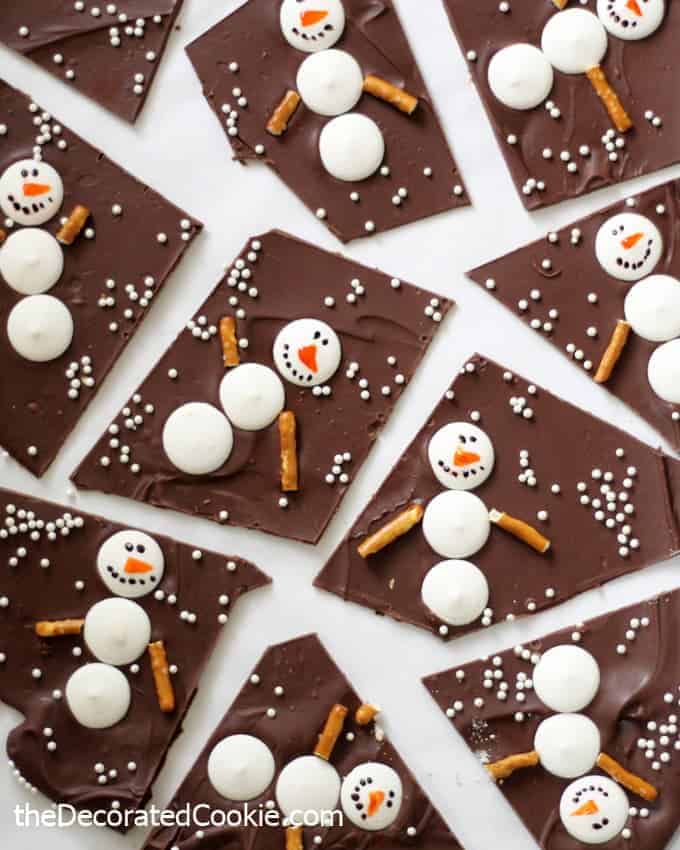
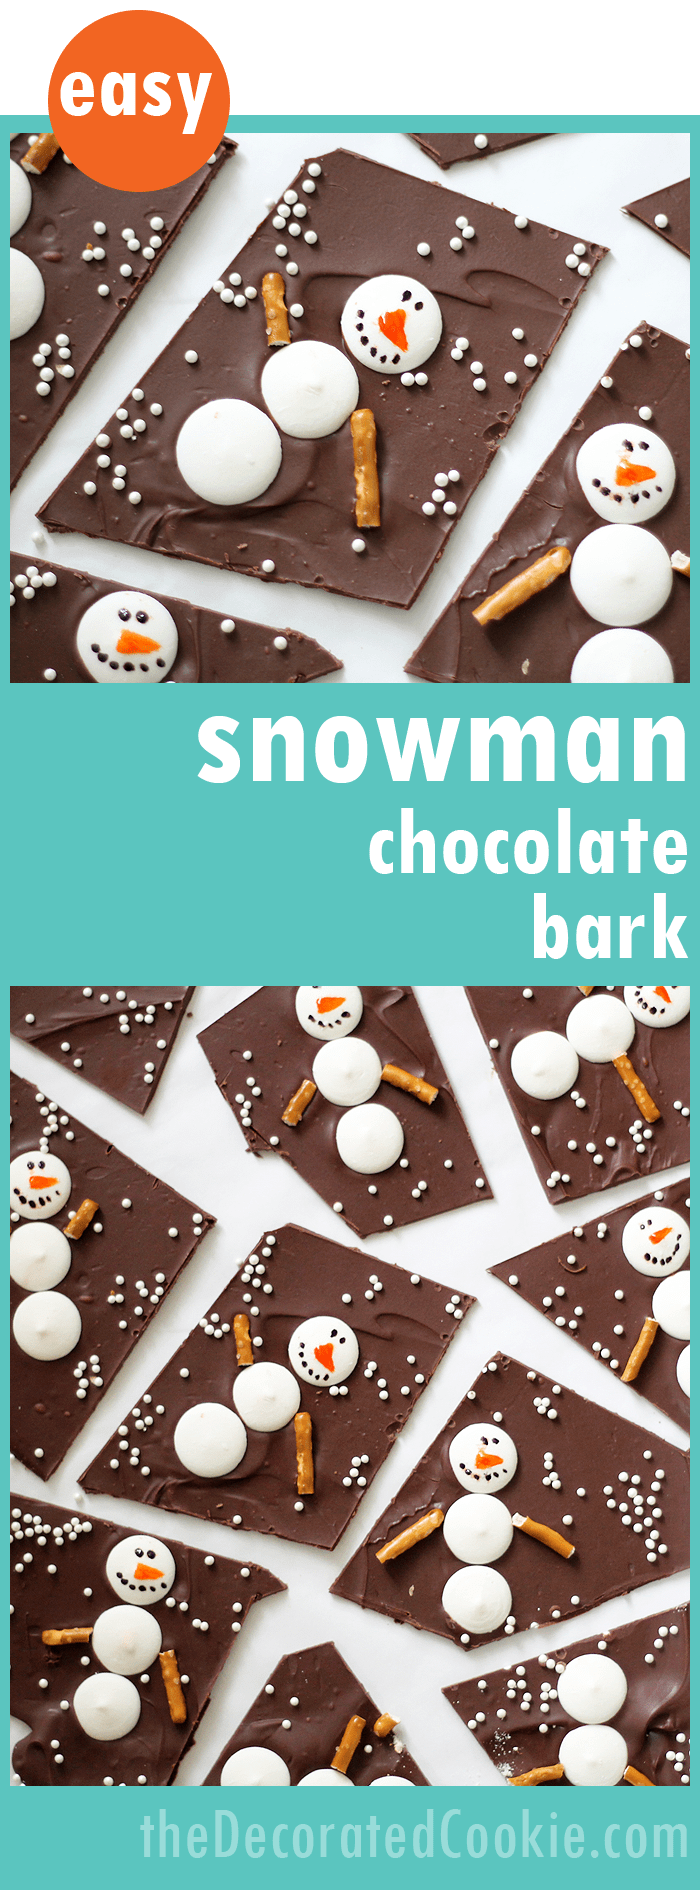
Snowman chocolate bark for a sweet Winter and Christmas treat. Easy fun food idea for the holidays.
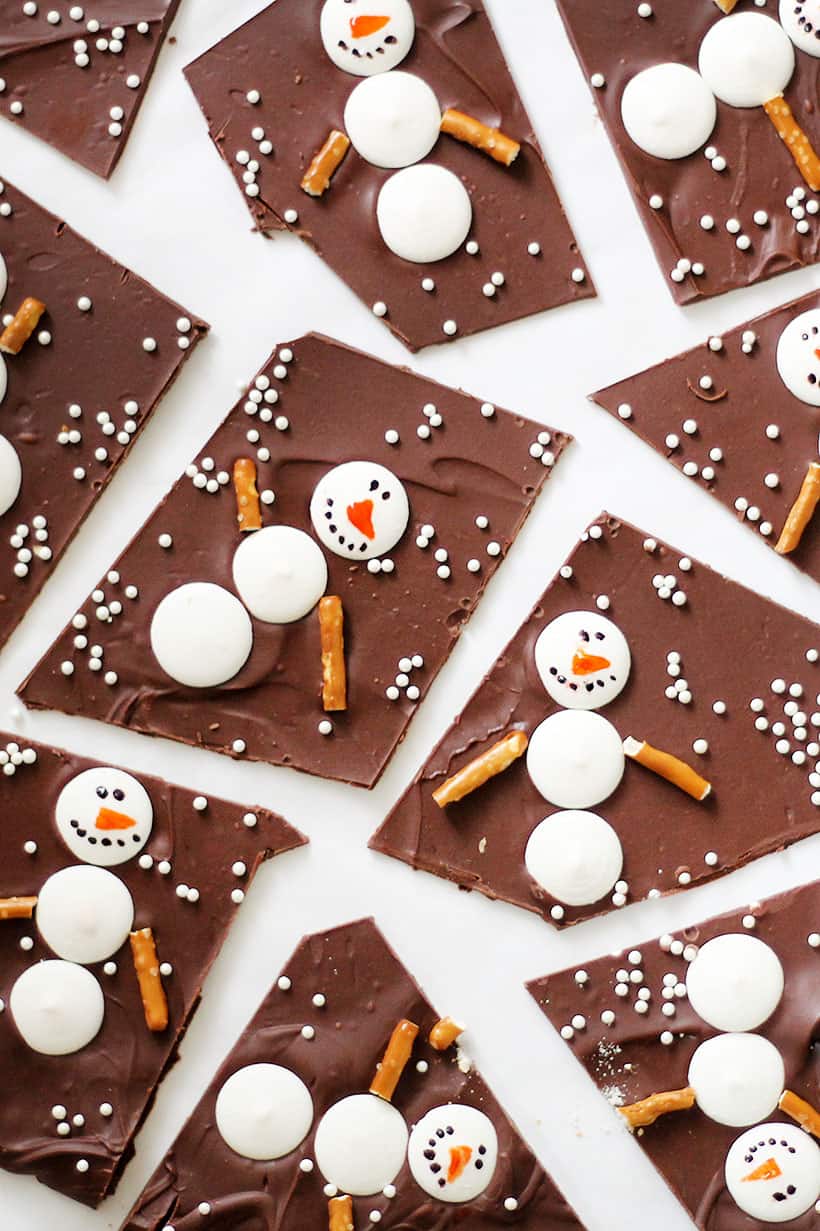
snowman chocolate bark
This snowman chocolate bark is meant to lure the snow.
Please arrive winter. I am the only one that likes you, I know, so come to me. Let me appreciate your gorgeous quiet.
As I’m typing, it’s gray and drizzling non-snow (ie. rain) and there are way too many fall colors out there. Also as I’m typing, my two year old is trying to type on the keyboard, so that’s a snapshot of trying to blog while staying home with kids.
This winter or Christmas chocolate bark would make a great treat to serve with cocoa. Or to give as a Christmas gift. Or Hannukkah gift. Or “hey, it’s winter!” gift.
more snowman food ideas
Need more snow? Don’t forget the melting snowman cookie started right here back in ’08. (Or “aught-8” as fogies like me like to say.)
Or make mustachioed marshmallow men. Or package snowman marshmallows with cocoa for another gift idea.
how to make snowman chocolate bark
you will need:*
2 cups milk or dark chocolate chips
1 tablespoon shortening (optional)
white candy melts
pretzel sticks
white non pareil sprinkles
black and orange candy color OR black and orange food writers
small paint brush
*Find the candy melts, sprinkles, candy color, food writers and liner-size paint brush in the craft store. See below for more supplies. TIP: Orange and black food writers would be easier to use and would work, but they wouldn’t be as vibrant on the candy melts.
what to do:
Line a baking tray with wax paper and set aside. Have your white candy melts, pretzel sticks and sprinkles ready.
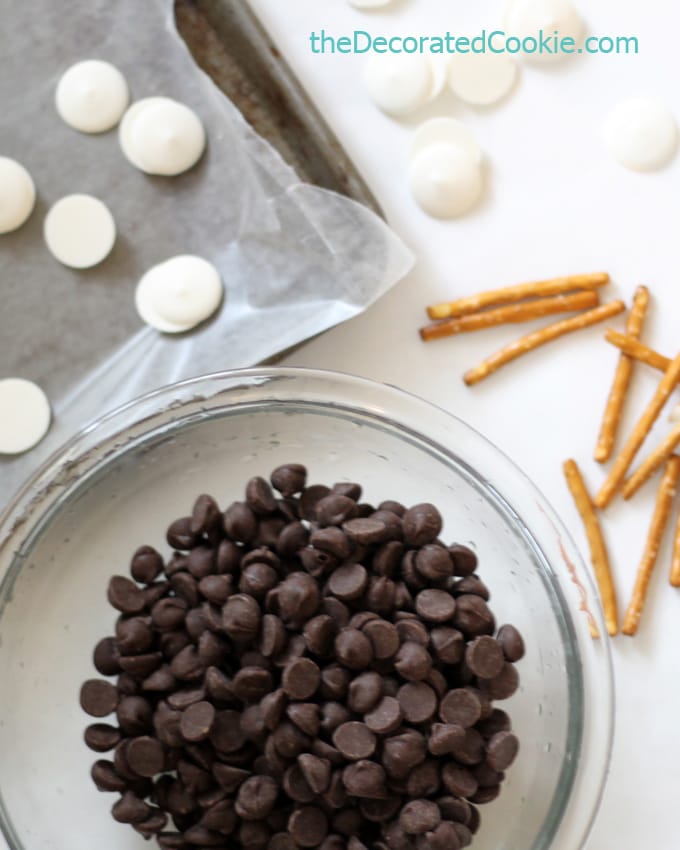
Place the chocolate chips and shortening (if using, it thins the chocolate for better consistency, but it isn’t necessary) in a microwave-safe bowl.
Microwave for 90 seconds at 70 percent power. Stir and continue to microwave at 30 second, then 15 second, intervals until fully melted and smooth when stirred well.
Spread on the baking tray.
Tip: Use a large offset spatula greased with shortening to help spread the chocolate. You won’t fill up the entire tray, just spread to fill about 80 percent of the tray.
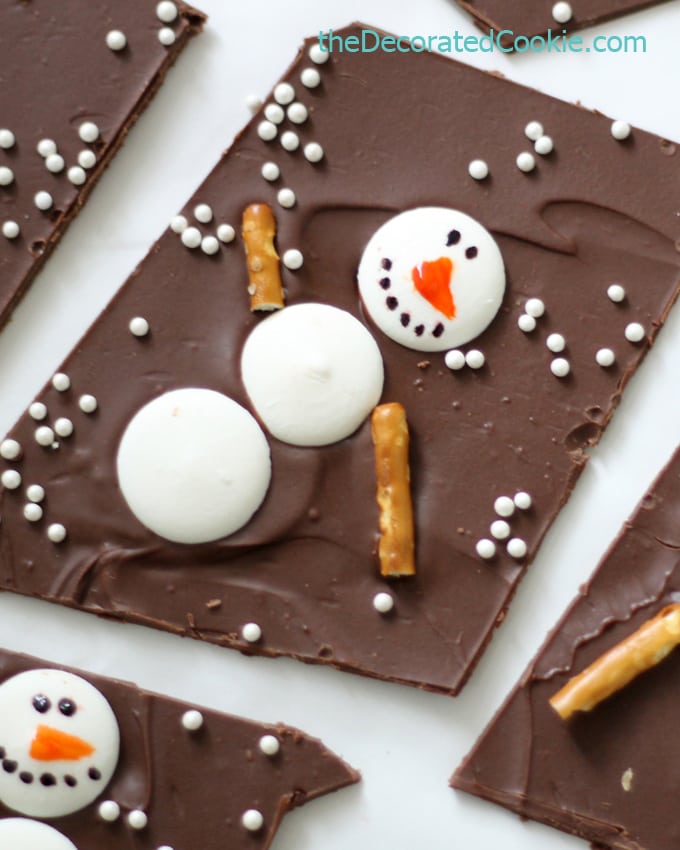
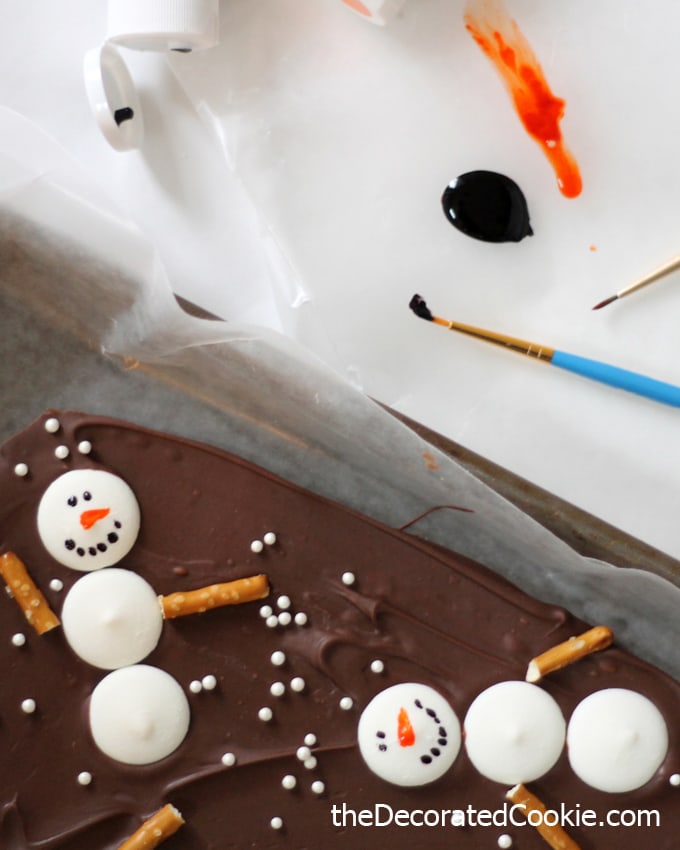
Immediately assemble three white candy melts for each snowman scattered across the chocolate. Add pretzel stick arms. Sprinkle white sprinkles over the chocolate.

Place a few drops of black and orange candy color on a piece of wax paper. Use the paint brush to paint faces and carrots on each snowman OR use the edible writers.
The edible writers are much easier and dry more quickly, but they are less vibrant on the candy melts.
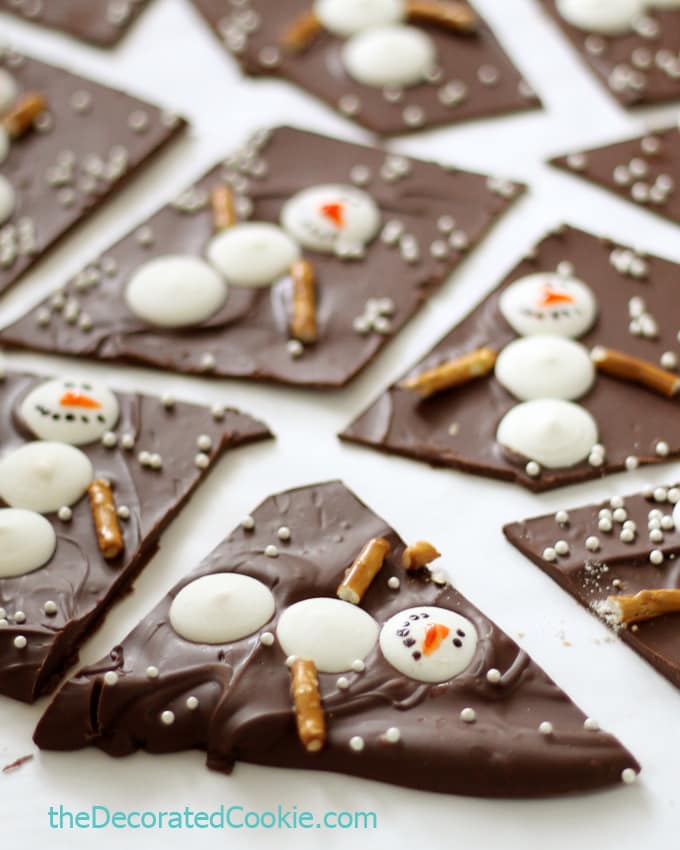
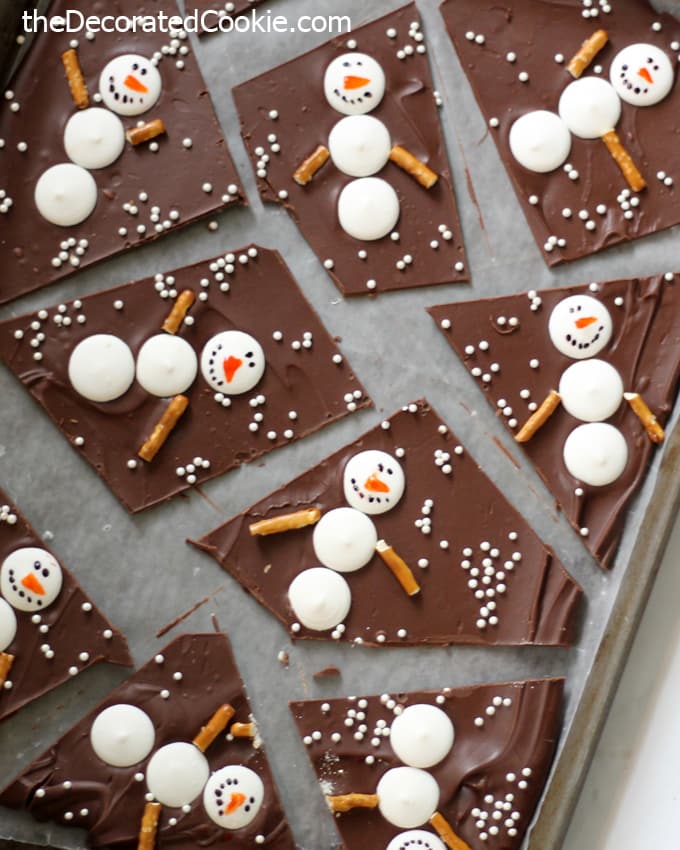
Let the tray sit at room temperature to set about an hour, or place in the refrigerator to set about 30 minutes. Cut the bark into pieces around the snowmen. Let set fully at room temperature or in the fridge.
snowman chocolate bark
Snowman chocolate bark for winter or Christmas.
Ingredients
- 2 cups milk or dark chocolate chips
- 1 tablespoon shortening (optional)
- white candy melts
- pretzel sticks
- white non pareil sprinkles
- black and orange candy color OR black and orange food writers
- small paint brush (unnecessary with food writers)
Instructions
- Line a baking tray with wax paper and set aside. Have your white candy melts, pretzel sticks and sprinkles ready.
- Place the chocolate chips and shortening (if using, it thins the chocolate for better consistency, but it isn't necessary) in a microwave-safe bowl. Microwave for 90 seconds at 70 percent power. Stir and continue to microwave at 30 second, then 15 second, intervals until fully melted and smooth when stirred well.
- Spread on the baking tray. Tip: Use a large offset spatula greased with shortening to help spread the chocolate. You won't fill up the entire tray, just spread to fill about 80 percent of the tray. Immediately assemble three white candy melts for each snowman scattered across the chocolate. Add pretzel stick arms. Sprinkle white sprinkles over the chocolate. Place a few drops of black and orange candy color on a piece of wax paper. Use the paint brush to paint faces and carrots on each snowman OR use the food writers.
- Let the tray sit at room temperature to set about an hour, or place in the refrigerator to set about 30 minutes. Cut the bark into pieces around the snowmen. Let set fully at room temperature or in the fridge.
Nutrition Information:
Yield:
12Serving Size:
1Amount Per Serving: Calories: 75Total Fat: 3gSaturated Fat: 2gTrans Fat: 0gUnsaturated Fat: 1gCholesterol: 4mgSodium: 50mgCarbohydrates: 10gFiber: 1gSugar: 7gProtein: 2g
SUPPLIES:
PIN FOR LATER:


danielle @ this picture book life says
Adorable!!
Cindy says
Love this idea. Your very talented! !!
meaghanmountford says
Thank you Cindy!
Sue {Munchkin Munchies} says
I saw some reindeer bark on facebook yesterday, and thought, “Hmmm. I need to make a snowman verson”, but you beat me to it, Meaghan, and it is adorable! I have one more option up my sleeve…:)
meaghanmountford says
That’s funny, Sue, because I saw the reindeer bark too, and I thought, “Dang, I just made snowmen. The reindeer are so much cuter! Wish I thought of that!”
Amy says
So Cute!
meaghanmountford says
Thank you Amy!
lisa@hooplapalooza says
oh my gosh! can you have love at first site toward bark? why of course you can cuz it just happened to me! 🙂
meaghanmountford says
haha, thank you Lisa!!
Karen @ Sugartown Sweets says
Your snowman bark is so *cool*! And after making such adorable bark, I think you’ll get your winter! 🙂
meaghanmountford says
Oh, I hope you’re right Karen!
Sheila says
Super cute! About how many does a batch make?
meaghanmountford says
Hi Sheila! One batch makes about 10 good-size (4-inch) pieces. The beauty of bark, too, is that it’s a bit awkward shape-wise, so you can fill a gift box easily with less.
Stephanie says
How many individual snowmen would this make? I’m thinking of making them for my son’s Christmas party at school.
meaghanmountford says
Hi Stephanie! About 10 large pieces. You can probably squeeze more out of a tray if you were more systematic about placing the snowmen, like in a row instead of haphazard like here… maybe up to 15. Just let the chocolate set enough to still be pliable enough to cut without breaking (30 min. in the fridge or about 60 min. at room temperature).
Julie says
Dang, these are cute!! Love that they can be for the whole winter season!
meaghanmountford says
Exactly, thank you Julie!!
Serena | Serena Bakes Simply From Scratch says
This is absolutely adorable! So fun!
meaghanmountford says
Thank you Serena!!
CiaoFlorentina says
This is the most adorable chocolate bark ever ! Ever, ever !
meaghanmountford says
Thank you so much!!
Cindy deRosier says
I’m the Editor of Fun Family Crafts and wanted to let you know that we have featured your adorable snowman bark! You can see it here:
https://funfamilycrafts.com/snowman-chocolate-bark/
Thanks for another fabulous project idea!
meaghanmountford says
Sounds great, thank you Cindy!
Heather says
Do you have to temper the chocolate?
meaghanmountford says
Hi Heather! I do not because … I’m all about making things as easy as humanly possible and in the least amount of time. However, my biz partner–an actual chocolatier– would say yes. She has an awesome post on her blog all about everything chocolate, including how to temper. It’s definitely worth looking at. Thank you! Meaghan