‘Tis the season for decorating cookies! Here is a step-by-step guide to making decorated Christmas cookies.
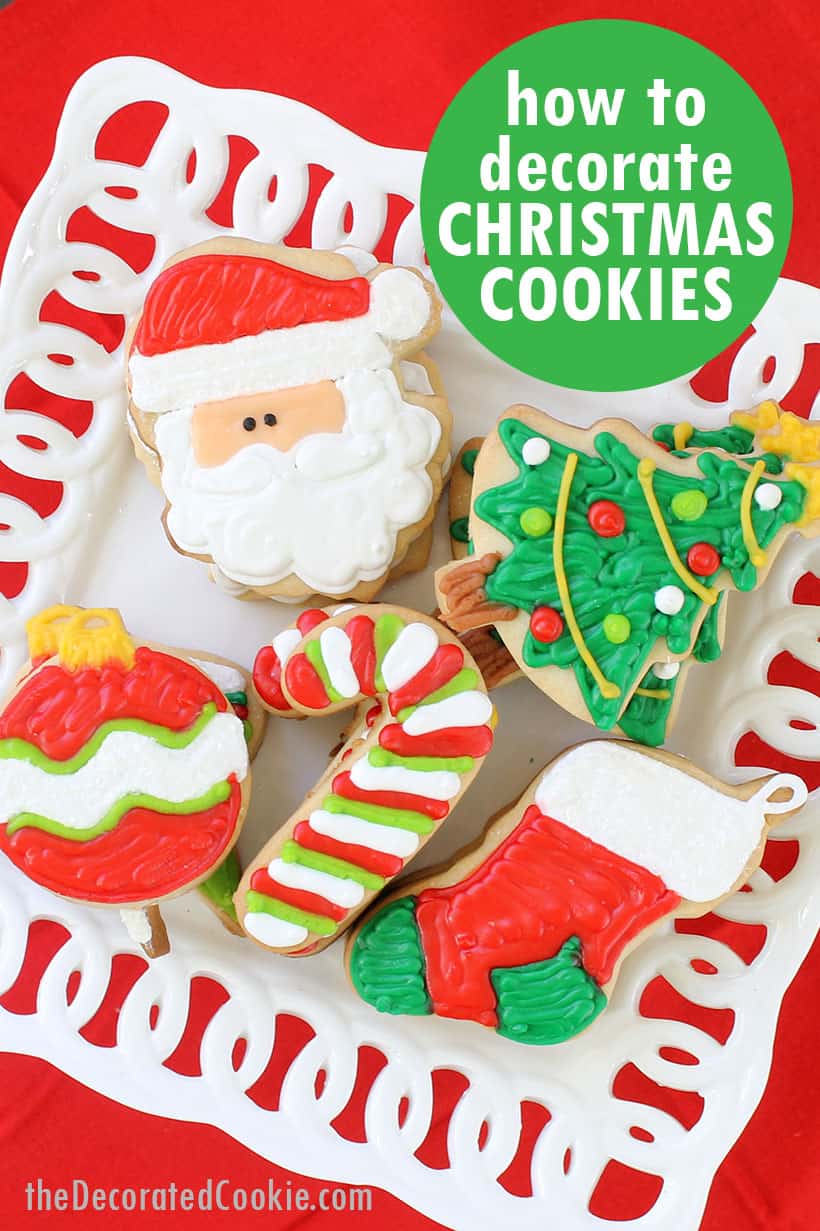
how to decorate Christmas cookies
Decorating Christmas cookies this season? I have you covered with everything you need to know to make your own decorated Christmas cookies! You’ll find:
- supplies you need for cookie decorating
- recipes for royal icing and cut-out sugar cookies
- tips on cookie decorating
- how to decorate each cookie here
- make-ahead tips and freezing cookies
cookie decorating supplies you’ll need
For more information: Cookie decorating supplies and where to find them.
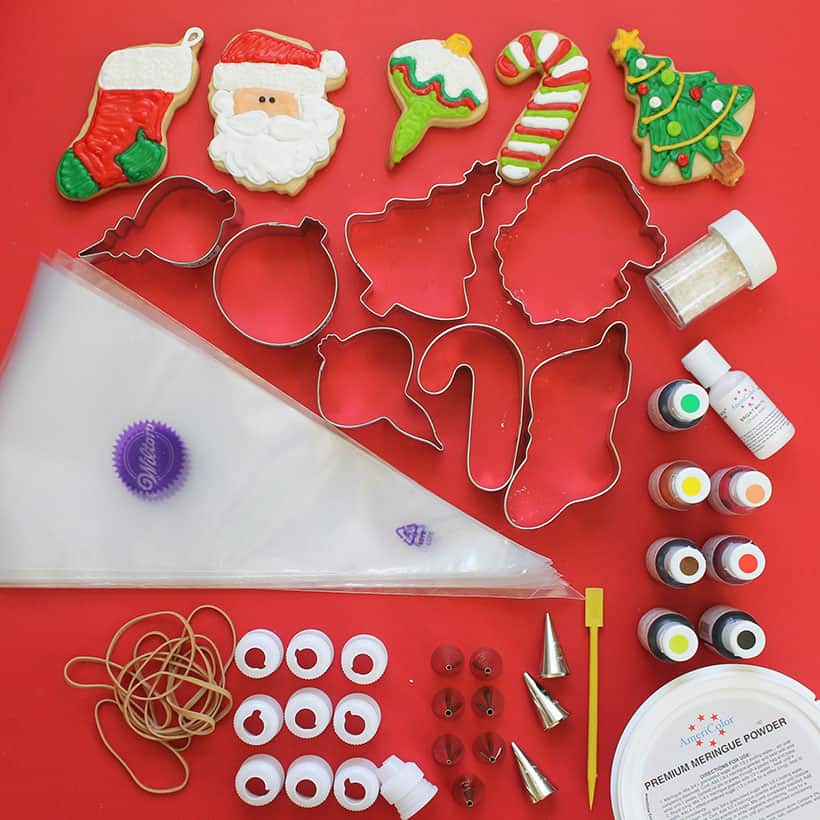
- Christmas cookie cutters (Christmas tree, Santa, stocking, candy cane and three ornaments)
- 8 bottles of Americolor Soft Gel Pastes (green, lime green, yellow, red, white, black, brown and peach)
- disposable decorating bags
- couplers
- decorating tips, sizes 2, 3, 4 and 5
- white sprinkles
- recipe for cut-out cookie dough
- recipe for royal icing
basic cookie decorating tips
You can learn much more about decorating cookies in my book, Sugarlicious. And for more detailed information, check out these posts:
outline and flood method
Both of the above resources cover the “outline and flood” method, in which you use two consistencies of icing: A stiffer icing to outline and a thinned icing to fill, giving you a nice, smooth background.
one consistency of icing
Here, however, we are going to use only one consistency of icing to keep things simple.
The consistency is somewhere in between a stiff outline icing and a runny flooding icing. To prepare one consistency of icing, overturn a spoonful of icing. It should fall easily and take about 20 seconds for the lines of icing to disappear.
To thin royal icing, add drops of water, a few at a time. To thicken royal icing, add confectioner’s sugar.
cookie decorating make-ahead tips
You can prepare your icing, color it and put it in the decorating bags up to a week before you decorate the cookies. Just store at room temperature.
Make your cookie dough and freeze it until ready to use, or refrigerate the dough for up to three days before you bake. Just let it sit at room temperature until it is still chilled, but easily pliable.
how to make royal icing
First, prepare your icing, divide it, color it, fill the icing bags and decorate away!
My favorite royal icing recipe (which dries hard enough to the touch to handle the cookies, but doesn’t dry so hard as to be unappetizing) has it’s own blog post, but I’m also including below.
Royal Icing Recipe
4 tblsp meringue powder (available at many supermarkets and in most craft stores)
1/2 cup water
7-8 cups confectioner’s sugar
1 tsp vanilla extract
2 tablespoons Crisco
2 tablespoons light corn syrup
Note the Crisco and light corn syrup are optional, but they help the consistency of the royal icing so it doesn’t dry brittle.
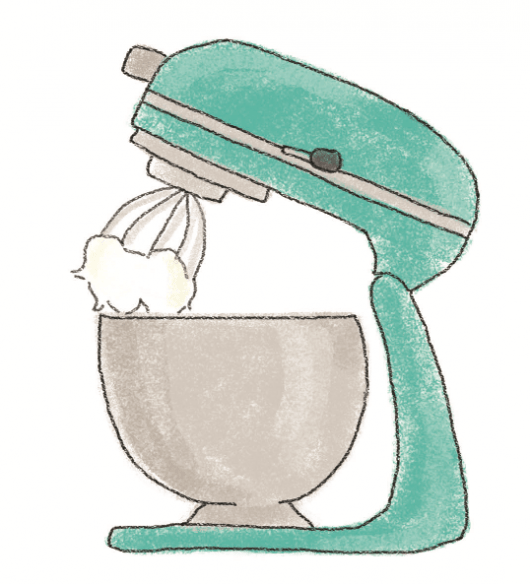
Whip the meringue powder and water on high speed with a hand mixer or with the wire whip of a standing mixer for several minutes, until mixture is fluffy and peaks form.
Add 3 cups of the confectioner’s sugar and blend on low. Blend in the rest of the ingredients.
Add confectioner’s sugar, a cup at a time, until desired consistency is reached. You want the icing not to be so stiff you can’t squeeze it out of the bag, but not so runny it runs everywhere.
If you take a spoonful and overturn it, it should cling to the spoon for a couple seconds and then slowly fall into the bowl and the lines of icing will disappear in about 20 seconds.
Store at room temperature in a sealed container for up to a month.
royal icing recipe
The perfect, easy royal icing recipe for sugar cookie decorating, made with meringue powder.
Ingredients
- 1/2 cup water
- 4 tablespoons meringue powder
- 7 to 8 cups confectioner's sugar
- 1 teaspoon vanilla extract
- 2 tablespoons Crisco vegetable shortening
- 2 tablespoons light corn syrup
Instructions
- In a large bowl with an electric hand mixer or in the bowl of a standing mixer fitted with a wire whip, place the water and meringue powder. Whip the mixture, starting on low and building up to high, until it's very fluffy and peaks form. This make take a minute or two.
- Gradually add about half the confectioner's sugar and mix well. Add the vanilla, shortening, and light corn syrup and blend.
- Add the remaining sugar cup by cup, mixing well after each addition, until the consistency you like is achieved.
- I like to make my royal icing on the thick side (so if you overturn a spoonful, it clings to the spoon and only slowly falls back into the bowl) because it's much easier to thin icing later with water than it is to thicken with confectioner's sugar.
- Store in a sealed container at room temperature for up to a month. After decorating cookies, let the cookies dry very well, overnight at least, before packaging.
Notes
Find a cut-out sugar cookie recipe and basic cookie decorating instructions in the blog post, as well as troubleshooting royal icing, how to freeze royal icing, and more tips and tricks.
Nutrition Information:
Yield:
24Serving Size:
1Amount Per Serving: Calories: 1020Total Fat: 1gSaturated Fat: 0gTrans Fat: 0gUnsaturated Fat: 1gCholesterol: 1mgSodium: 8mgCarbohydrates: 259gFiber: 0gSugar: 254gProtein: 0g
How to color royal icing
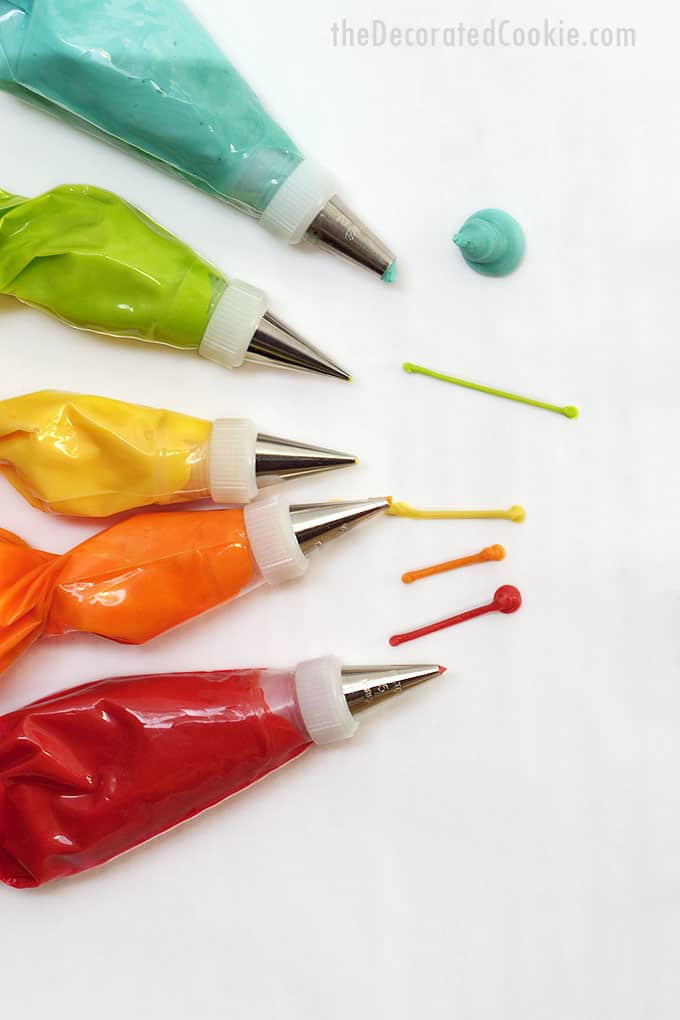
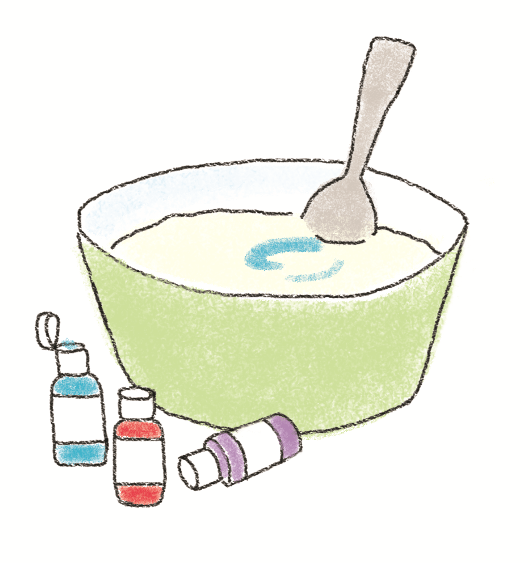
Divide the icing and tint your favorite colors by stirring in a few drops of food coloring. Start with just a drop or two of food coloring, and then add more as needed.
Remember you can always add food coloring, you can’t take it away. The amount of colors you’ll need for each depends on how many cookies you are decorating and what you are decorating. I usually tint about 3/4 cup to 1 cup at a time.
Note you won’t need that much brown (for the tree trunk) or peach (for Santa).
how to assemble a decorating bag
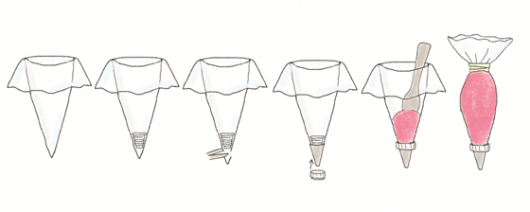
To assemble a decorating bag with a coupler and tip, snip about 1/2 inch from the tip of the bag. Unscrew the ring from a coupler and insert the coupler into the bag, narrow end first.
The coupler should fit fully inside the decorating bag. Hold a decorating tip over the cut end of the bag and onto the coupler, and screw the ring back on.
Fold over the top of the bag to form a cuff, fill the bag with icing (about ½ cup to ¾ cup), twist the bag above the icing, and close tightly with a rubber band. Don’t worry about what tip size goes on what, you’ll be switching those all around anyway.
how to make cut-out sugar cookies
This is my always-use, no fail cut-out sugar cookie recipe. It holds its shape beautifully when baking and tastes delicious.
other cut-out cookie recipes you may use:
Cut-out Sugar Cookie Recipe
Cream butter and sugar. Add egg and blend well. Add extracts and blend.
Mix flour and salt in a separate bowl, and gradually add.
Cover the dough with plastic wrap (I usually put mine in a gallon size Ziploc bag) and chill dough for about 2 hours.
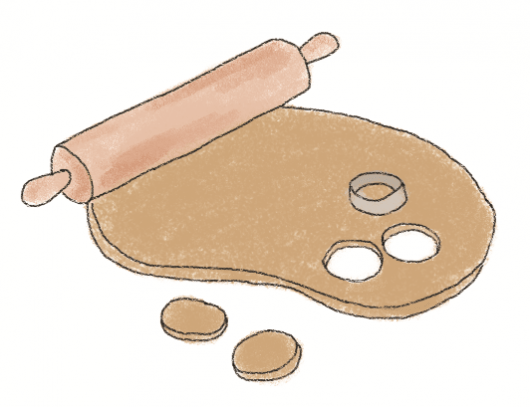
Working with about 1/3 of the batch at a time, briefly knead the chilled dough and roll about 1/4 inch thick on a floured surface. Cut out shapes.
Bake cookies on parchment paper-lined baking trays in a preheated 375 degrees F oven for 12-14 minutes.
Thicker or bigger cookies may need up to 20 minutes. Just watch for edges that are nicely golden. Let cool completely before decorating.
best cut-out sugar cookie recipe

The BEST cut-out sugar cookie recipe with only six ingredients. It bakes perfectly, holds its shape, is easy to make, and delicious.
Ingredients
- 2 sticks unsalted butter, softened (1 cup or 226 grams)
- 1 cup confectioner's sugar (icing sugar/114 grams)
- 1 large egg
- 1 teaspoon vanilla extract
- 2 1/2 cups all-purpose flour (320 grams)
- 1/2 teaspoon salt
- Optional: 1 1/2 teaspoons of flavored extract (I highly recommend almond extract)
Instructions
- Briefly whisk together the flour and salt in a bowl and set aside.
- In the bowl of a standing mixer with the flat beater, or in a large bowl with a handheld mixer, blend the butter and sugar together on medium speed until fluffy. Add the egg and blend well. Mix in the vanilla extract and optional flavored extract, if using. Gradually blend in the flour mixture on low speed.
- Cover the dough or transfer to a gallon-size Ziploc bag and flatten evenly. Chill the dough for about two hours.
- When chilled, work with about one-third of the batch at a time. Briefly knead the dough and roll it out 1/4-inch thick, or 3/8 inch if inserting sticks for cookie pops on a floured surface. Cut out your cookies and place one-inch apart on a good quality baking tray lined with a piece of parchment paper.
- Bake in an oven preheated to 375 degrees F for 12 to 14 minutes. Thicker or large cookies may need up to 20 minutes. Cookies are done when the edges are golden brown.
Notes
- You can make this dough the night before you bake with it. Just take it out of the fridge and let sit at room temperature until it's still chilled, but pliable.
- You can also freeze this dough. After mixing, put the dough in a gallon size Freezer ziploc bag (or wrap well) and freeze. Thaw overnight or for at least a few hours in the refrigerator in the ziploc bag. If the dough is too chilled to handle, let it sit at room temperature for about 1/2 hour to 1 hour until it’s workable. Chilled is good, though, don’t let it get too mushy.
- If you're short on time, I've been known to put the dough in the freezer for 30 minutes instead of chilling for 2 hours.
Nutrition Information:
Yield:
30Serving Size:
1 cookieAmount Per Serving: Calories: 83
how to decorate Christmas cookies
Now here’s the fun part.
piping icing
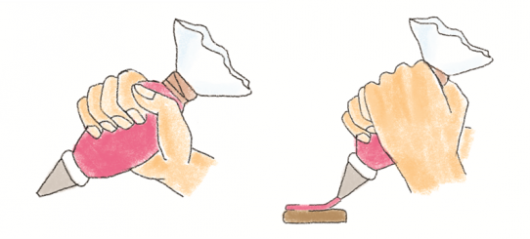
To pipe icing from a decorating bag, hold the bag in your dominant hand as though you were holding a glass of water. Rest your other hand on top of your dominant hand to steady the bag. It’s important to use two hands when decorating to make the lines steady.
Squeeze with steady, consistent pressure to pipe the icing, letting the decorating tip hover about 1/4 inch above the surface and letting the icing “fall” to the cookie. T
o stop, quickly press the decorating bag down, then pull away.
decorating a cookie
First, pipe the outline of your cookie design, then let the icing set about 10 minutes. Then pipe back and forth in a zig zag motion to fill the entire cookie with icing, leaving no holes or gaps.
When that sets about 10 minutes, add details on top.
The beauty of using a coupler with your decorating bags is that you can switch decorating tips on the same color of icing without making a whole new bag.
Below, I’ll give you the step-by-steps for each cookie as well as the size decorating tip you’ll put on the color used.
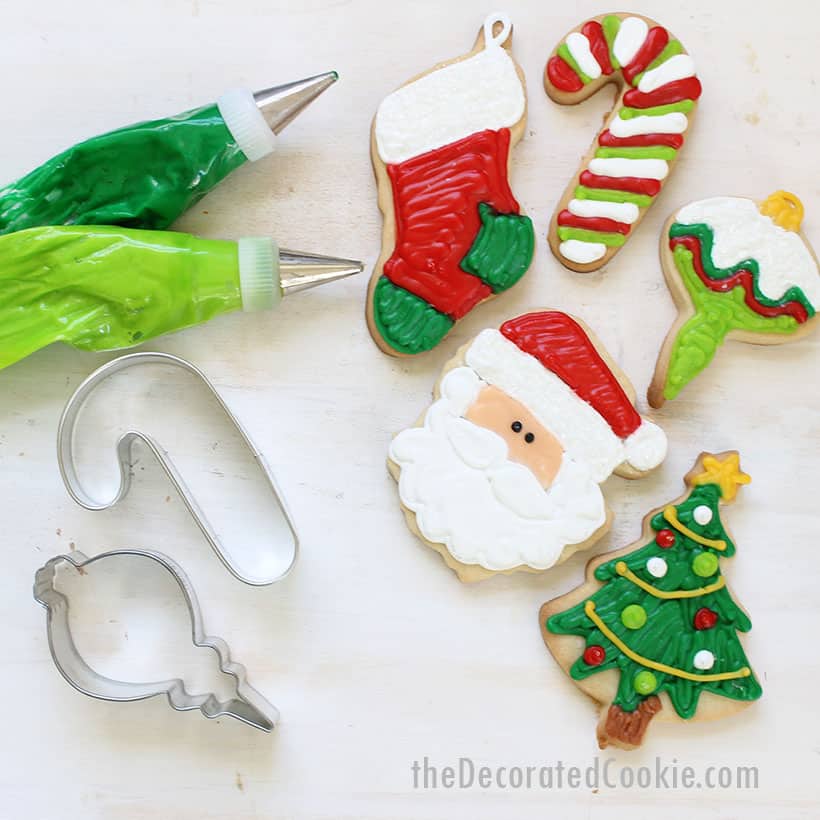
How to decorate Santa cookies:
Outline and fill the hat cuff and ball at the end of the hat with white using a 4 tip. Immediately coat with sprinkles and overturn to shake off the excess.
Outline the beard and mustache with white and let set before piping to fill the beard and mustache. Fill the face with peach using a size 3 or 4 tip. Outline and fill the hat with red using a 4 tip. When the peach icing has set, pipe two dots with the black using a 2 tip.
How to decorate candy cane cookies
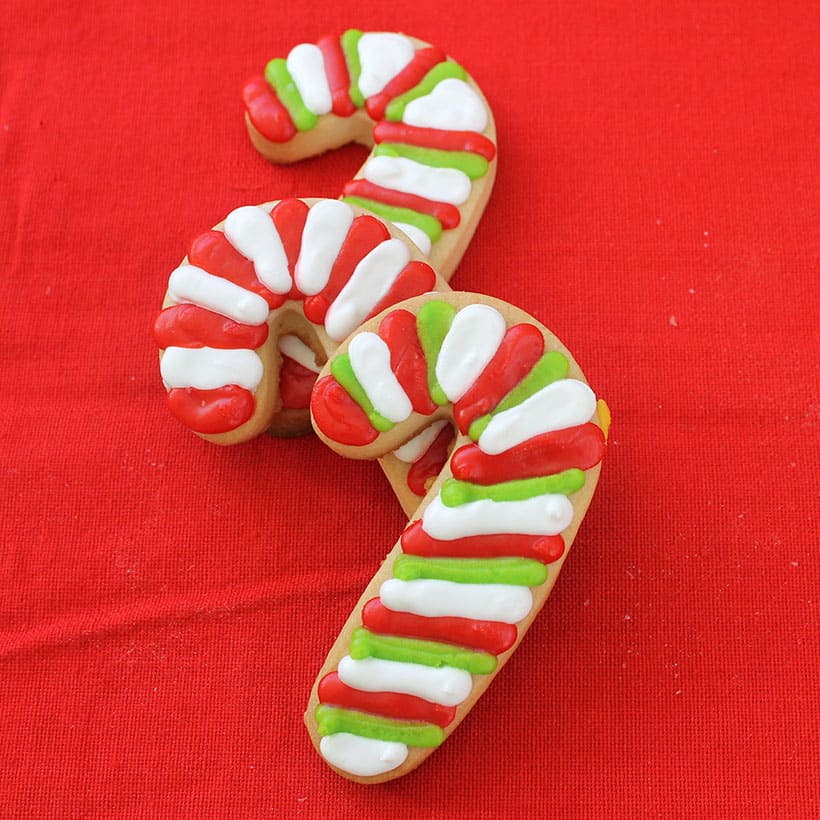
Fit red, white and/or green icing bags with size 4 or 5 tips. Pipe stripes, alternating preferred colors.
How to decorate a stocking cookie:
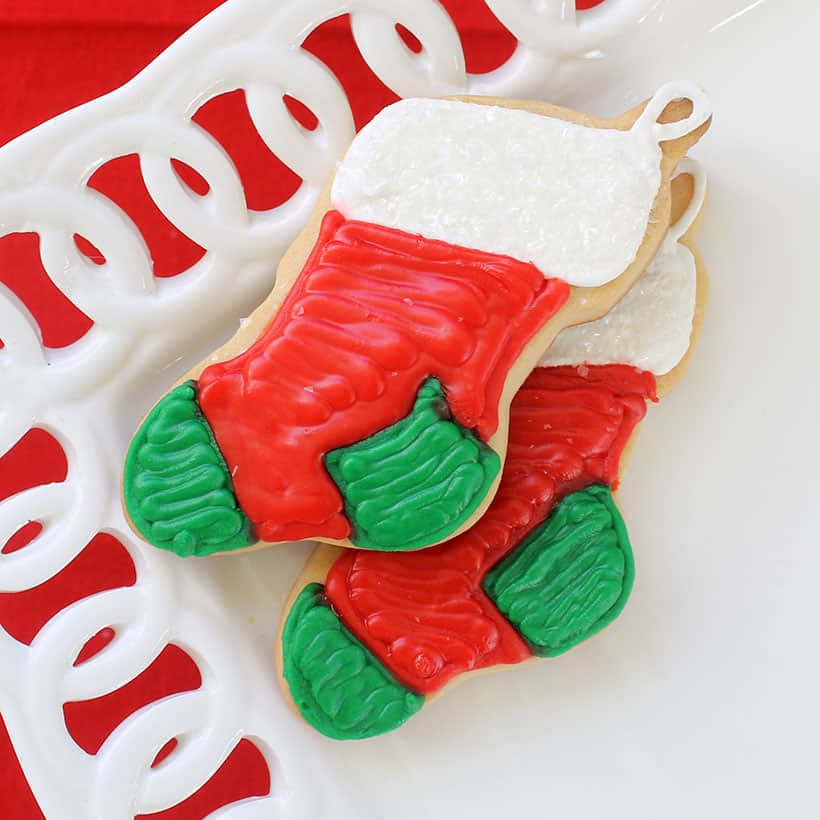
Outline the cuff with white icing using a size 4 or 5 tip. Let set and pipe to fill the cuff. Immediately coat with sprinkles, and overturn to remove the excess.
Outline the toe and heel with green using a size 4 tip. Let set and pipe to fill the heel and toe with green. Outline the stocking in red using a size 4 or 5 tip. When set, pipe to fill the stocking.
How to decorate a Christmas tree cookie:
Pipe the star with yellow icing using a size 3 tip. Outline the trees with green icing fitted with a size 5 tip, then pipe to fill the trees.
Pipe brown icing using a size 4 or 5 tip to make the trunk.
When the green has set a bit, pipe the strings of lights with the yellow, and pipe dots in different colors for ornaments.
How to decorate ornament cookies:
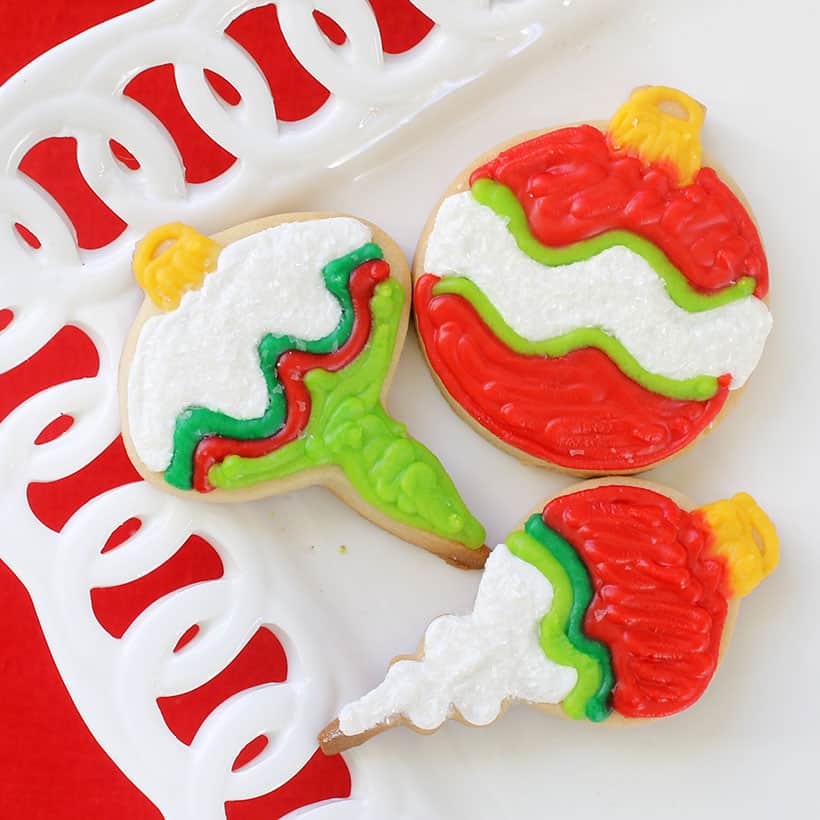
Use a size 3 or 4 tip with yellow to pipe and fill the ornament top. Decorate your ornaments however you like.
To make white sparkle, outline a space with white using a size 4 tip. Fill and immediately coat with sprinkles. Outline and fill other colors and shapes on the ornaments.
wrapping and freezing decorated Christmas cookies
Let the cookies sit at room temperature uncovered overnight at least so they are dry to the touch. You can now package the cookies in cellophane bags with ribbon or in gift boxes.
If packed tightly enough, you can also ship these cookies.
how to freeze cookies
I love to freeze my cookies, especially with the hustle and bustle of the holiday season. To freeze decorated cookies that are fully dry, place the cookies in a single layer in a Ziploc freezer bag. Stack the freezer bags of cookies in the freezer.
To thaw, remove the bags from the freezer and let sit at room temperature. DO NOT open the bags or remove the cookies until the cookies have fully thawed, or moisture will affect the icing.
NOTE: This post for decorated Christmas cookies was originally published in December 2013 and updated in November 2020.






michelle says
hope I win, my son is taking baking in voc and this would be great for him!
Betsy @JavaCupcake says
LOVE these cookies!!
Laura says
thank you. These are beautiful. I love making cookies as a family or friends activity.
PattiR says
Awesome cookies. Looking forward to making some to share with others! Thank you for your inspirational updates!
Myssi says
I want to win! I can’t wait to decorate some cookies! Perfect draw date too. If I won it would be the best anniversary gift! My anniversary is 12/16. Yay for prizes!
Michele Furry says
Great Giveaway! Thanks for the chance!
best gift ideas for boyfriend says
If you want to obtain much from this post then you have to apply
such methods to your won weblog.
Diane says
Thanks for the helpful hints for decorating cookies.
Gloria says
I love the cookies and am excited to try some out .
Aleesha Banks says
Really beautifully decorated and explained. And these cookies are Utterly beautiful!