Back to school cookies: Make notebook cookies you (or your kids) can actually write on.
back to school cookies
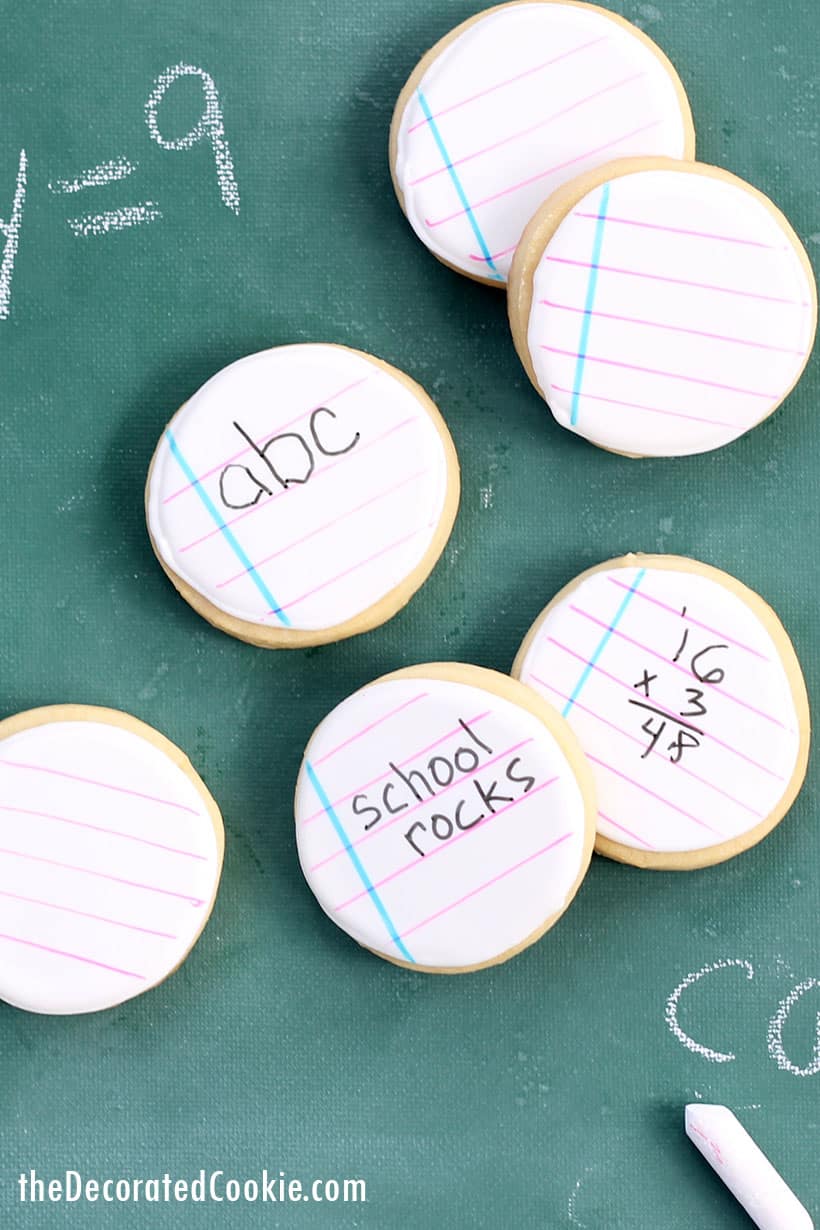
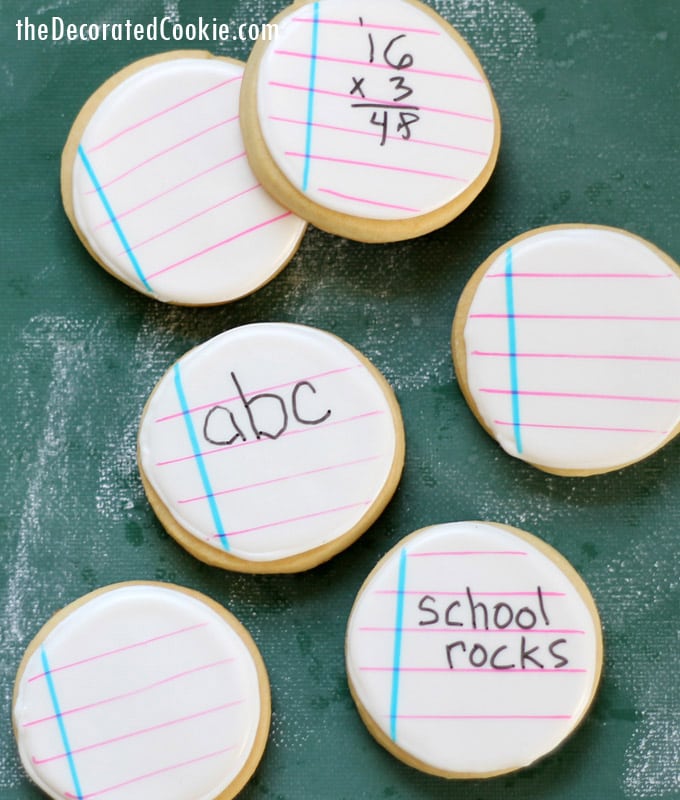
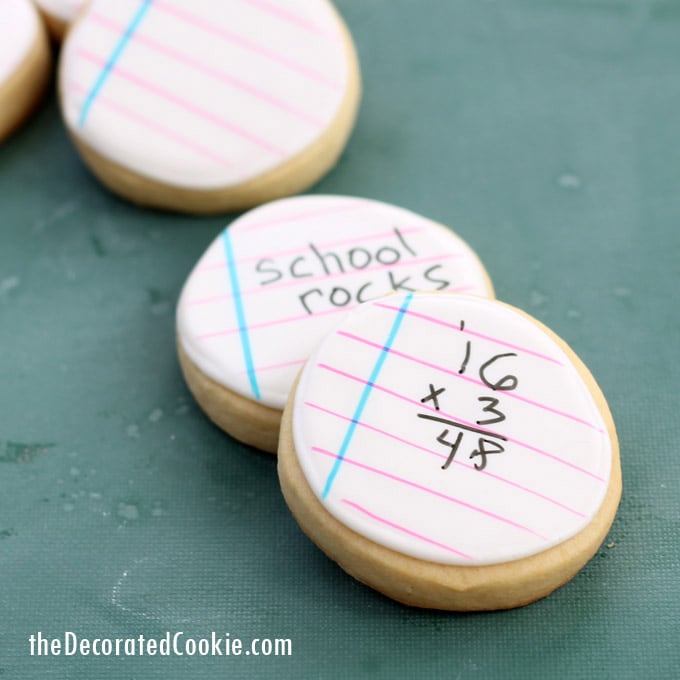
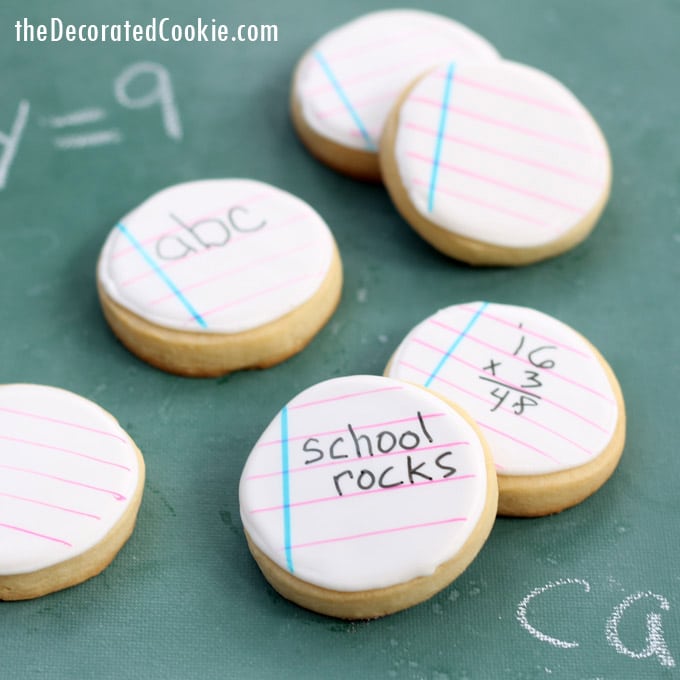
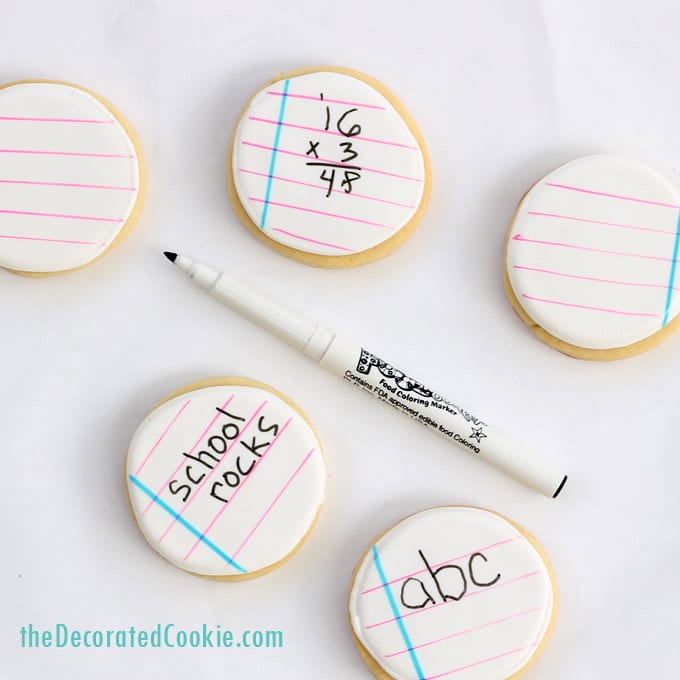
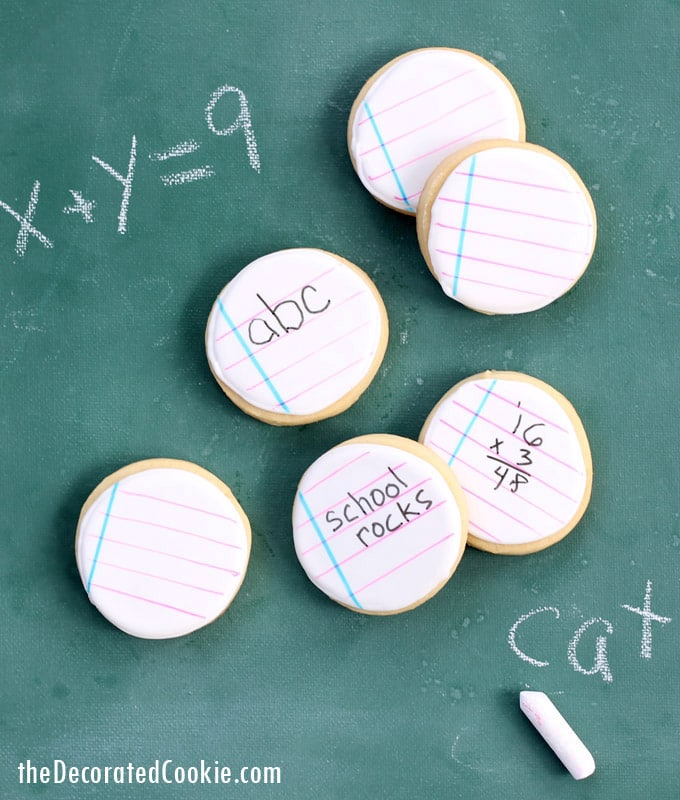
I’m in love with these back to school cookies (she says, modestly). These notebook cookies are a simple design, so they are easy to make, but versatile.
They can be used for any grade from pre-school through college and beyond. Even doctorate students. Just then the writing would be more complicated.
And the beauty of these cookies is that you -or even better, your kids- can write on them like actual notebook paper. So yeah, I love these back to school cookies.
tips on making notebook cookies
Here I used circles sized 2-inches across. You can of course use any size cookie cutter you like.
If you want the cookies to look more like loose leaf paper cookies, then cut out rectangles and make three holes in the side with a straw before baking.
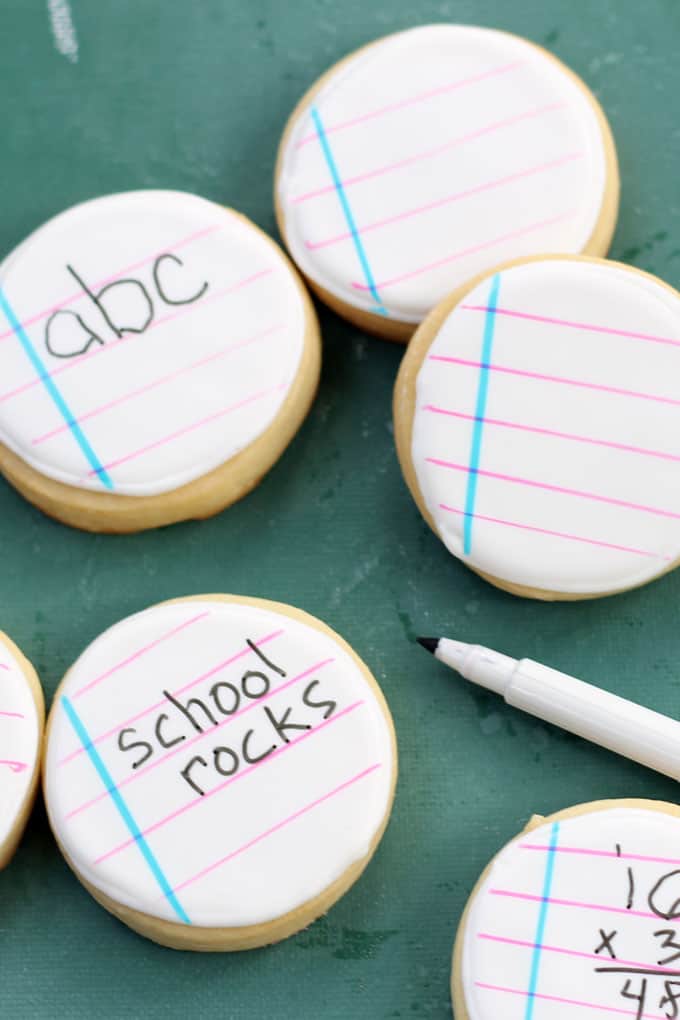
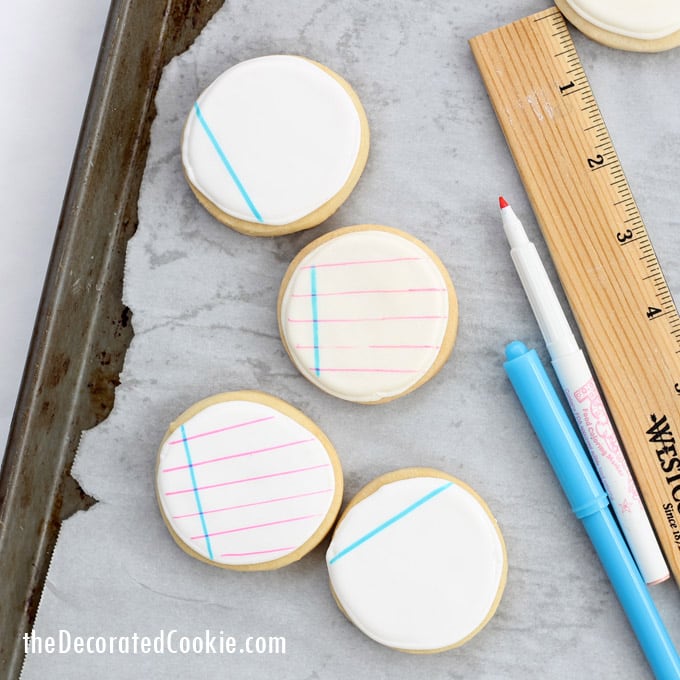
Use food coloring pens and a ruler to draw the blue and pink lines, and then give your kids the black food coloring pen to write whatever they want.
(If you like these back to school cookies, check out these pencil cookies or apple cookies.)
food coloring pens
A note on the food coloring markers I’m using here. I am using the blue marker from my Americolor Gourmet Writers set and the black and pink markers from the Foodoodler Fine Line Set.
I just happen to own both sets, but if you’re buying markers just to make these cookies, there is no need to buy two sets. I suggest only buying the Foodoodler set for this particular project.
The Americolor blue is just a tiny bit thicker and lighter, so I liked it for the notebook line, but the Foodoodler set also has a blue that will work just as well. To learn more about food coloring pens.
One more thing to note for planning purposes: These cookies need to dry overnight before drawing the notebook lines on them.
It’s really important that the flooded icing dries totally so you don’t poke through the icing when writing, especially if kids are writing their own letters and numbers because sometimes they don’t know their own strength.
how to make back to school cookies: notebook cookies you can write on
you will need:*
royal icing
cookie cutter (2 1/2 inch circle cutter used here)
white food coloring
disposable decorating bags
size “3” decorating tip
blue, pink and black markers from the Foodoodler set
ruler
*Click the links above to see the supplies. Click the cookie dough and royal icing link for recipes. If you prefer, here is my recipe vegan cookies and icing recipes.
bake your cookies.
Prepare the cookie dough according to the recipe, chill it, roll it out, cut out your circles, bake and let cool.
prepare your icing.
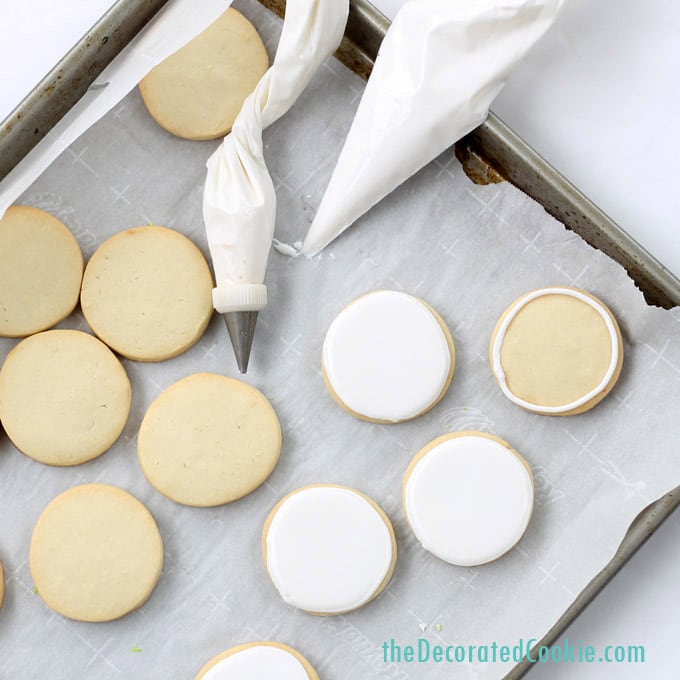
Prepare the royal icing according to the recipe. Tint a cup and a half or so of the icing white (reserve the rest for later use). Scoop some of the icing into a decorating bag assembled with a size “3” decorating tip and close tightly with a rubber band. Thin the rest of the icing with drops of water until it’s the consistency of flooding icing. (When overturned, it should fold into itself and become smooth again). Fill an empty decorating bag with the thinned icing and close tightly with a rubber band.
decorate your cookies.
Outline the cookies with the white icing using the size 3 tip. Snip the tip of the bag of thinned icing with scissors. Pipe to fill each cookie. LET THE COOKIES DRY OVERNIGHT. It’s important that the white icing dries fully.
Once the cookies totally dry, use a ruler to draw the blue and pink lines.
Let set and use the black marker to write whatever you (or your kid) likes.
back to school cookies
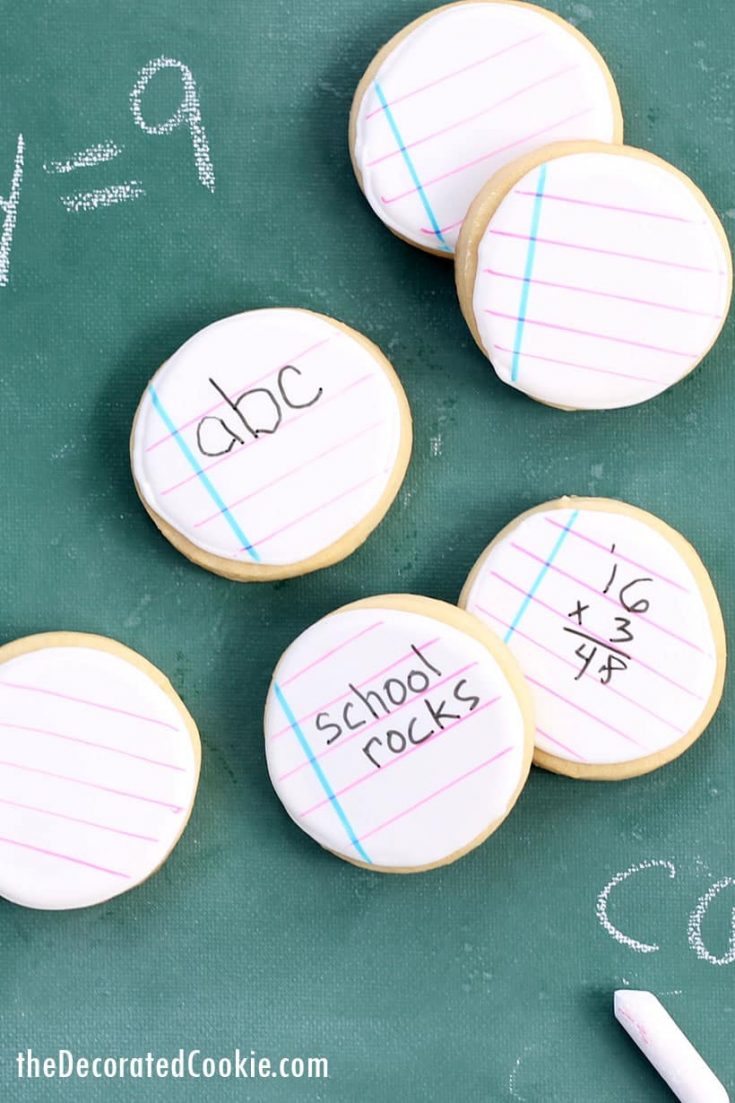
Back to school cookies: How to decorate notebook cookies kids can write on with food coloring pens.
Ingredients
- cookie dough
- royal icing
- cookie cutter (2 1/2 inch circle cutter used here)
- white food coloring
- disposable decorating bags
- size "3" decorating tip
- blue, pink and black markers from the Foodoodler set
- ruler
Instructions
Prepare the cookie dough according to the recipe, chill it, roll it out, cut out your circles, bake and let cool.
Prepare the royal icing according to the recipe. Tint a cup and a half or so of the icing white (reserve the rest for later use). Scoop some of the icing into a decorating bag assembled with a size "3" decorating tip and close tightly with a rubber band. Thin the rest of the icing with drops of water until it's the consistency of flooding icing. (When overturned, it should fold into itself and become smooth again). Fill an empty decorating bag with the thinned icing and close tightly with a rubber band.
Outline the cookies with the white icing using the size 3 tip. Snip the tip of the bag of thinned icing with scissors. Pipe to fill each cookie. LET THE COOKIES DRY OVERNIGHT. It's important that the white icing dries fully.
Let set and use the black marker to write whatever you (or your kid) likes.
Nutrition Information:
Yield:
24Serving Size:
1Amount Per Serving: Calories: 19Total Fat: 1gSaturated Fat: 0gTrans Fat: 0gUnsaturated Fat: 1gCholesterol: 0mgSodium: 11mgCarbohydrates: 3gFiber: 0gSugar: 2gProtein: 0g



Leave a Reply