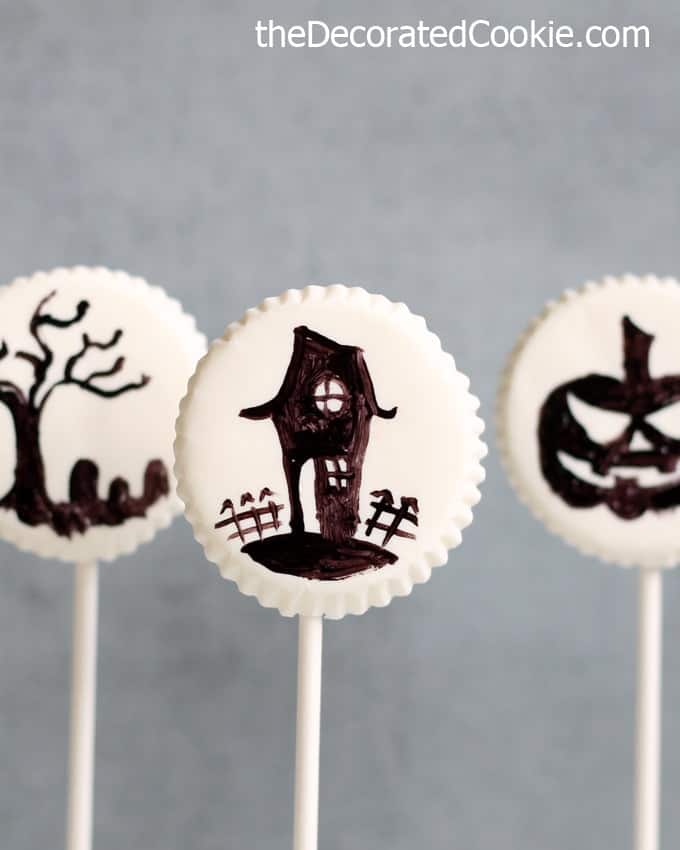
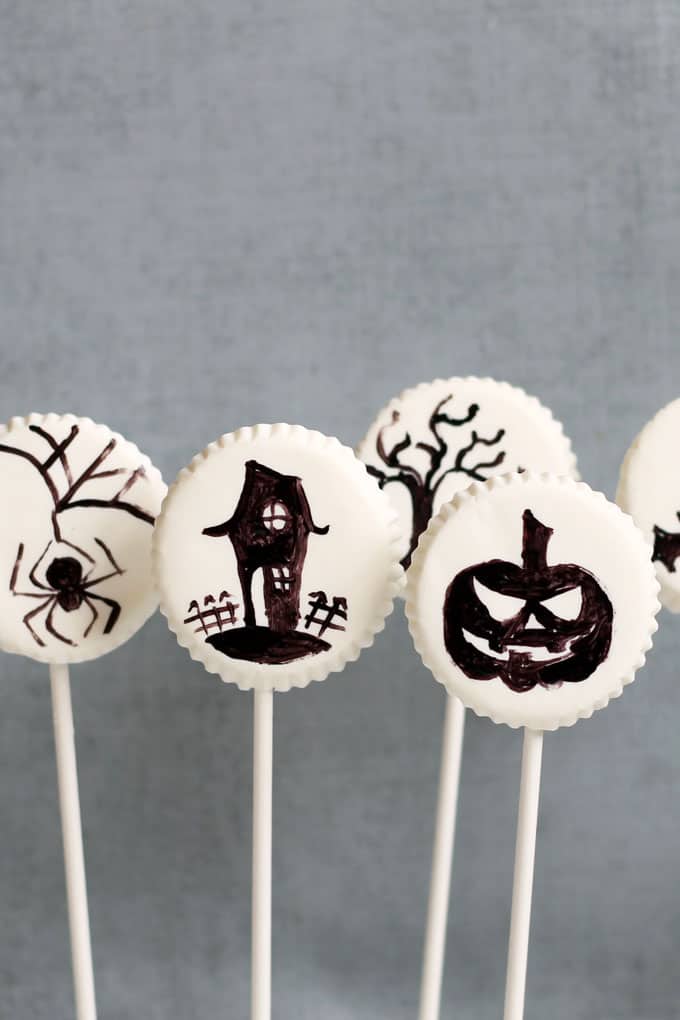
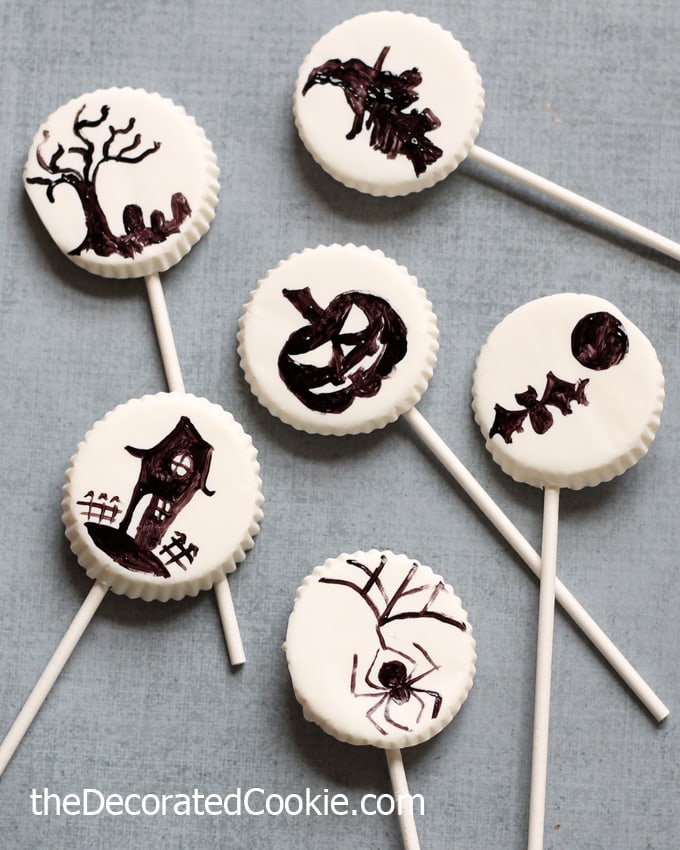
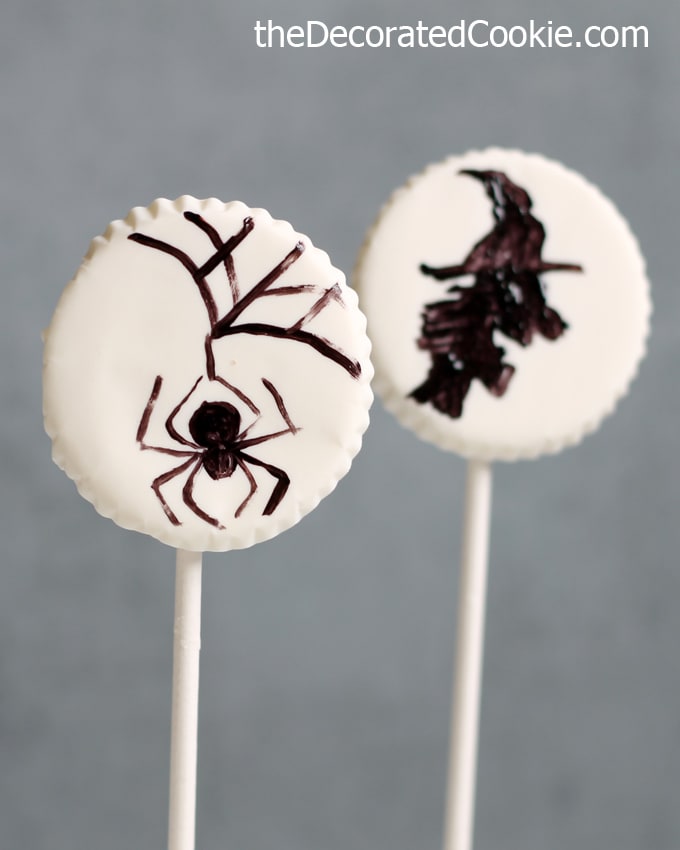
DIY painted chocolate Halloween lollipops are super easy to make but super impressive.
Halloween lollipops
Here is my new favorite thing (meaning, beware, more to come): Painting on chocolate with candy colors. I discovered how well candy colors paint on candy melts when I used them on my zombie pretzels.
And now my head is filled with more ideas. Simply put, I melt candy melts into lollipops and then paint on them with oil-based food coloring. Jeez, the possibilities are endless. Paint anything you want on chocolate. Scary, cute, whatever. These chocolate Halloween lollipops are so simple and easy to make.
how to make chocolate lollipops without a mold
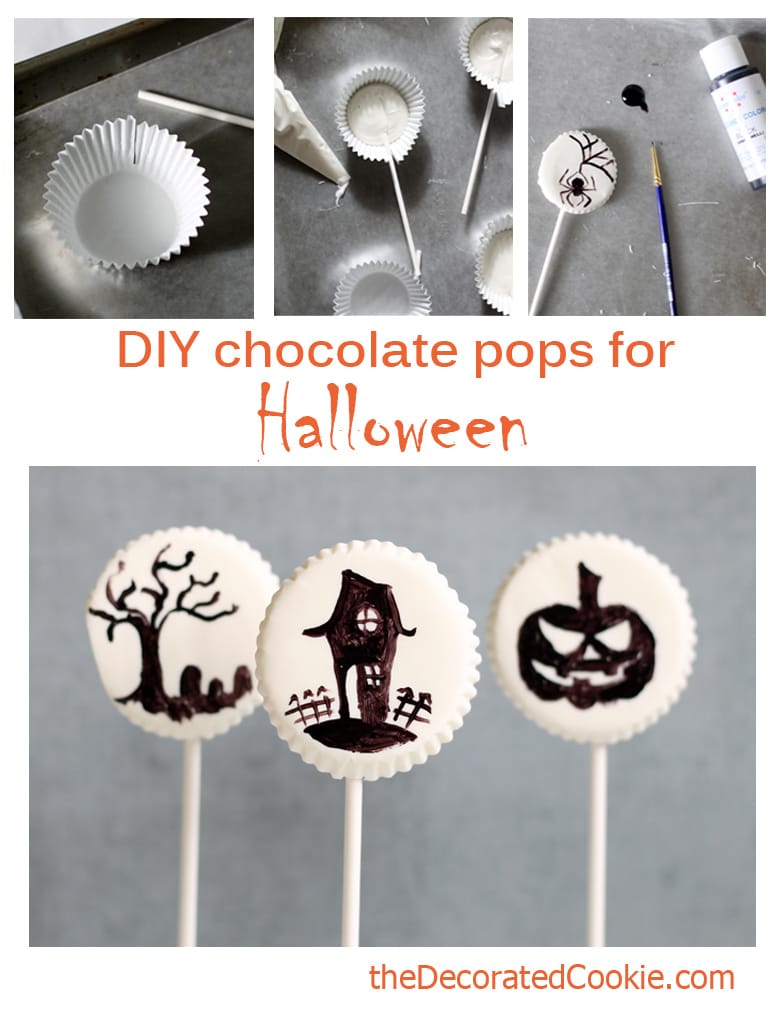
No lollipop molds? No problem. You can still make circle-shaped Halloween lollipops. I stretched extra far to pat myself on the back for coming up with these DIY chocolate lollipops by MacGyvering some cupcake liners. They aren’t perfect, the back is a bit bumpy and you can see ridges on the edge, but I’m not too perfect either, so I’m cool with that. The most important thing was creating a flat surface for painting. Done and done.
more Halloween food ideas
Try easy Halloween Rice Krispie Treats or this 2-ingredient Halloween s’mores dip. Don’t forget to visit my Halloween food craft ideas more ideas!
how to make Halloween lollipops
you will need:*
cupcake liners
bright white candy melts
disposable decorating bags
lollipop sticks
black candy color
liner paint brush
*Find all of the supplies in the craft store. For the candy color, regular food coloring will not adhere properly to the chocolate. Use special, oil-based candy colors. They are available in the craft store. Here I used Americolor Black Candy Color, available in specialty stores and online. (See below for SUPPLIES.)
what to do:
Line a baking tray with wax paper (optional, but it catches drips). Set up 6 cupcake liners, doubled. So you have 12 cupcake liners total. Cut each set of cupcake liners along the side until 3/8 inch from the bottom. Place 1 cup of candy melts in a disposable decorating bag.
Melt in the microwave for 90 seconds at 70 percent power. Massage the bag and continue to microwave at 30, then 15, second intervals until fully melted.
Let cool a bit to the touch if it’s too hot. Snip 1/2-inch from the tip of the bag. Pipe chocolate in a cupcake liner. Slide a lollipop stick through the slit you cut, resting it on top of the chocolate. Turn the stick to coat with chocolate. Repeat with the rest of the cupcake liners.
Let the lollipops set 30 to 60 minutes until fully hardened. Remove from the wrappers. Place a few drops of candy color on the baking tray and use a fine liner paint brush to paint designs on the lollipops. Let the pops dry to the touch, a couple hours.
DIY chocolate pops for Halloween
Ingredients
- cupcake liners
- 12 cupcake liners
- 1 cup bright white candy melts
- 1 to 2 disposable decorating bags
- 6 lollipop sticks
- few drops black candy color
- liner paint brush
Instructions
- Line a baking tray with wax paper. Set up 6 cupcake liners, doubled. So you have 12 cupcake liners total. Cut each set of cupcake liners along the side until 3/8 inch from the bottom.
- Place 1 cup of candy melts in a disposable decorating bag. Melt in the microwave for 90 seconds at 70 percent power. Massage the bag and continue to microwave at 30, then 15, second intervals until fully melted. Let cool a bit to the touch if it's too hot.
- Snip 1/2-inch from the tip of the bag. Pipe chocolate in a cupcake liner. Slide a lollipop stick through the slit you cut, resting it on top of the chocolate. Turn the stick to coat with chocolate. Repeat with the rest of the cupcake liners. Let the lollipops set 30 to 60 minutes until fully hardened.
- Remove from the wrappers. Place a few drops of candy color on the baking tray and use a fine liner paint brush to paint designs on the lollipops. Let the pops dry to the touch, a couple hours.



Beth @ Hungry Happenings says
What a great way to make homemade pops when you don’t have molds. You definitely deserved to pat yourself on the back for this original idea:)