how to make birthday candle cookies: A simple decorated cookie for any birthday celebration.
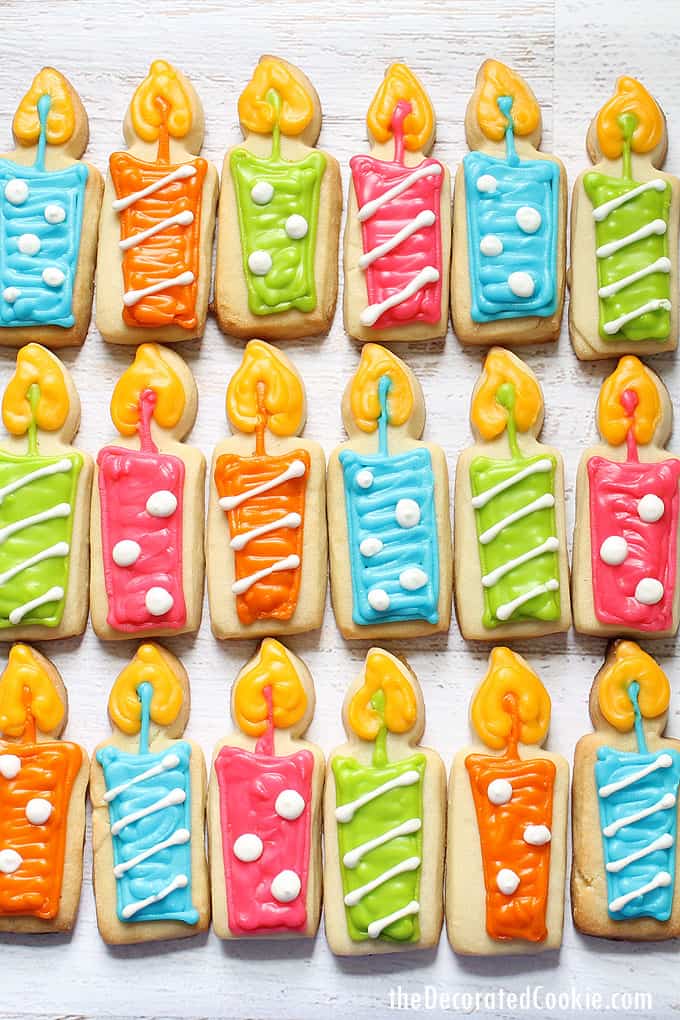
birthday candle cookies
Can’t get much birthday-er than birthday candle cookies. These candles served double duty for both my mom’s birthday and a friend’s. As you can see, when making 40 or 50 or more of a cookie, I don’t like to mess around with multiple consistencies, with outlines and floods and all that. One consistency, that’s it. Outline. Pipe back and forth to fill. And if you see the lines a bit? Well, here’s a secret I’m sharing. I don’t mind at all. Neither do the recipients. These are cookies. They are going to be consumed. They look awesome no matter what. Now, raise your hand if you feel a tremendous amount of relief at this admission. If perfection came naturally to me, I might think otherwise.
more birthday cookie ideas
- decorate cake and milk cookies
- simple sprinkle cookies
- happy birthday letter cookies
- “this is your life” cookies
how to make birthday candle cookies
you will need:*
cookie dough
royal icing
candle cutter
food coloring
disposable decorating bags
couplers
size 3, 4 and 5 decorating tips
rubberbands
*Find the decorating bags, couplers and tips at the craft store. For food coloring, I suggest Americolor Soft Gel Pastes. Bright White, Egg Yellow, Orange, Sky Blue, Electric Green and Electric Pink used here. I got the candle cutter years ago, but you can find a similar one in the resources below. You may also use a crayon cookie cutter. Find basic cookie decorating how-tos HERE.
step one: bake your cookies. Prepare dough, chill, roll out, cut out and bake cookies according to the recipe. Let cool completely.
step two: make your icing. Prepare icing according to the recipe. Divide and tint your preferred colors. Prepare decorating bags with couplers and tips, fill with the icing and close tightly with rubberbands.
step three: decorate your cookies. Choose a color for a candle. Using a size “3” tip, pipe the wick and outline the candle. Let set about 15 minutes. Switch the tip to a size “4” or “5.” Pipe back and forth to fill the cookie and let set a bit. With the white icing fitted with a “3” tip, pipe dots or stripes on top of the blue. Use the yellow icing with a size “4” tip to pipe the flame. Let the cookies set overnight before packaging or handling.
SUPPLIES:






Marni @ haberdasheryFun says
These look amazing!! Found you on craft gawker.. I tweeted it!!
meaghanmountford says
woohoo, thank you so much Marni!