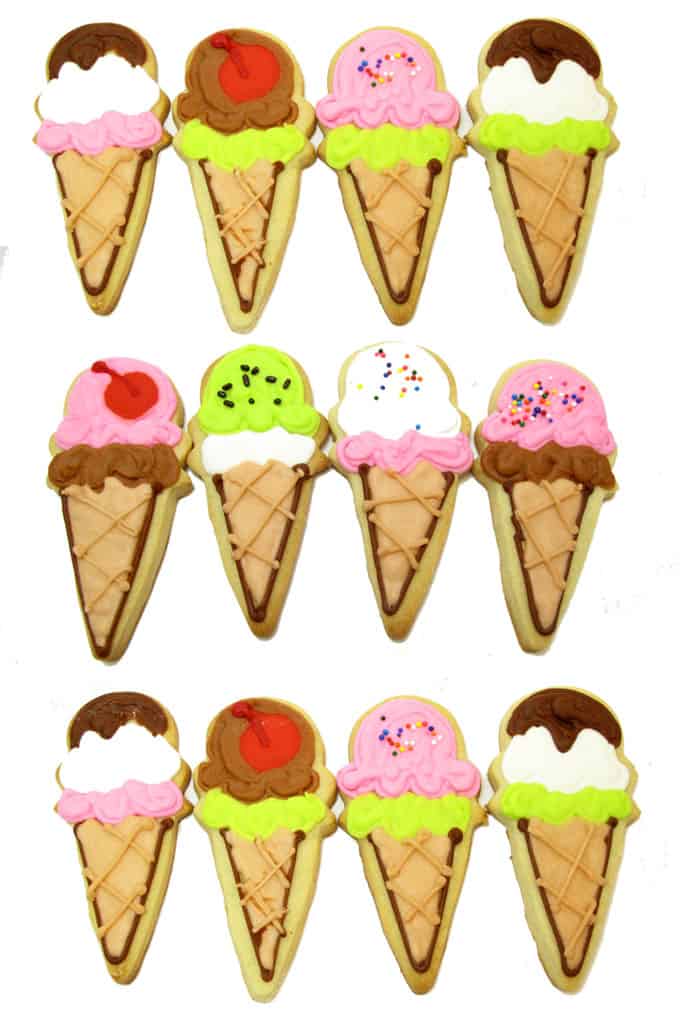
ice cream cookies
First popsicle cookies that don’t melt and now ice cream.
These little ice cream cone cookies were a special request from a friend for her two-year old’s {fun and yummy} ice cream sundae birthday party. I have a little ice cream cone cutter that was perfect to match the theme.
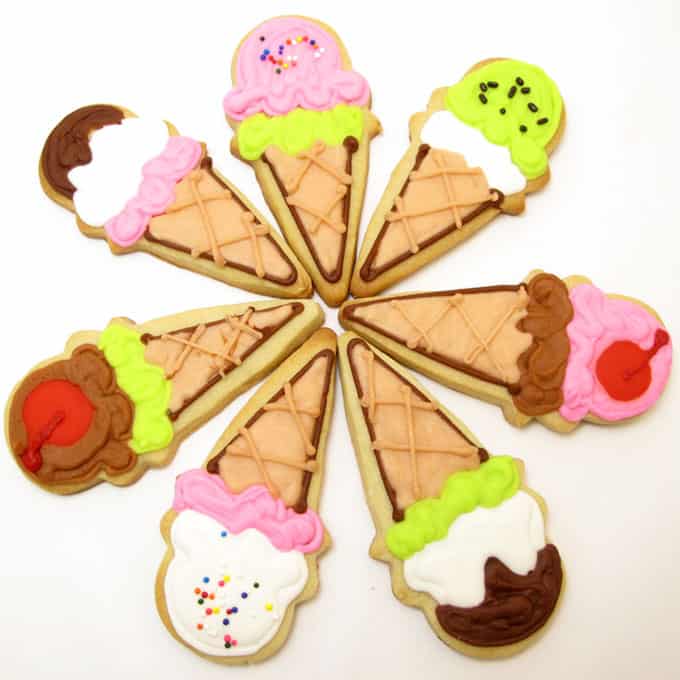
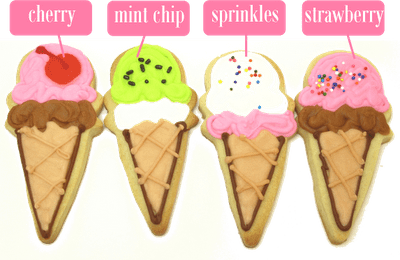
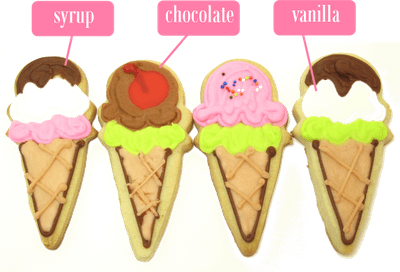
The best part about ice cream cone cookies is you can decorate in any colors and flavors you like.
how to make ice cream cone cookies
you will need:*
cut out cookie dough AND royal icing
ice cream cone cutter
disposable frosting bags
couplers
tips (sizes “2”s and “4”s)
rubber bands
frosting colors
sprinkles
*Find the bags, couplers, tips and sprinkles in the baking aisle of the craft store. I use Americolor soft gel pastes for food coloring, Chocolate Brown, Bright White, Electric Pink, and Electric Green.
For tips on finding cookie decorating supplies, click here.
For basic cookie decorating instructions, click here.
step one: bake your cookies
Cut out ice cream cone cookies, bake and let cool.
step two: prepare your frosting
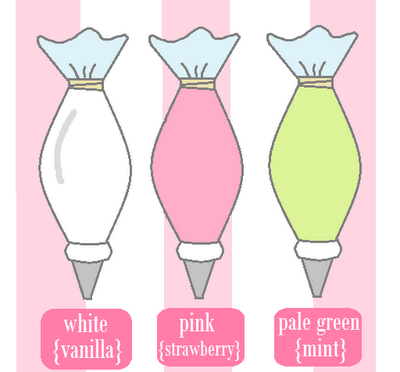
Prepare different colors of frosting and fill frosting bags fitted with couplers and size “4” tips. Tie closed with rubber bands.
step three: decorate your cookies
Because these were small cookies and had lots of detail, I piped everything with the frosting bags except the cones, which I flooded.
For the ice cream, simply pipe an outline of the ice cream, let set about 15 minutes, and fill with the same color by piping back and forth.
You can also pipe a cherry in the center (use a “2” tip for the stem and a “4” tip for the red circle), pipe chocolate syrup on top, or sprinkle with sprinkles right after you pipe the filling (so they stick).
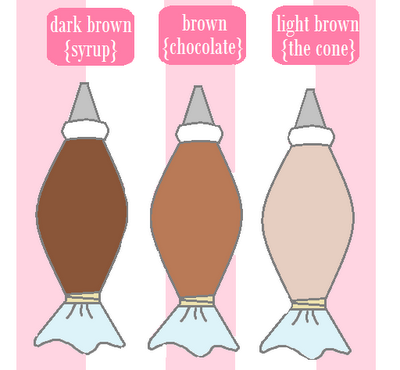
For the cones: Pipe a “V” shape using dark brown.
Thin some of the light brown frosting (not all of it! you’ll need more later) with water until the consistency of thick glue. Fill an empty frosting bag and snip the corner about 1/8 inch.
Loosely pipe to cover the cone, letting frosting flood to edges and encourage with a toothpick as needed. Let set a couple hours.
Use the same color light brown frosting (but thicker, not thinned) in a frosting bag fitted with a coupler and size “2” decorating tip and pipe criss cross lines on top.
Some flavor options:






mnemonique says
oh my, this looks so good that my tounge is by the screen automatically 😛 i love your blog!
apparentlyjessy says
These ice cream cookies make me giddy like a happy school girl! LOVE them!
Sue says
These are SO cute! Love all the variety! I'm going to attempt to make your popsicle cookies sometime this week:)
Debbie says
Oh they look so yummy!
Alessandra says
absolutely lovely!!
Butter Hearts Sugar says
Wow these are super dooper pretty!
SUNFLOWERS8 says
Beautiful and delicious 😉
kristen says
i just recently bought this cutter but have yet to use it…these are so cute!! your computer illustrations are killing me – do you have a background in graphic design? bravo!
♥peachkins♥ says
I just stumbled upon your blog and I fell in love with it instantly. I'm now a follower…
Lora Joy says
oooh…i have this cutter! But I have never decorated a cookie! I just cut and eat! hehe!
Jessie says
These are fantastic! So cute, and each one is unique!
Jeanette says
cute cute cute! I love your blog, and your instructions.
Chic Cookies says
thank you all for your sweet words! Oh no, mnemonique, don't electrocute yourself! 🙂 Kristen, zippo zero none. Glad I can at least sort of conceal my total absence of computer graphics knowledge! (All trial and error, all on the software that came free with my computer)
bridget {bake at 350} says
Um, I love these.
That Cookie Bunny says
they look so pretty!!
rosana says
so glad I stumbled onto this – I’ve been looking for an easy well explained tutorial on these – will come in handy for my daughter’s ice cream bday party! thanks!!!