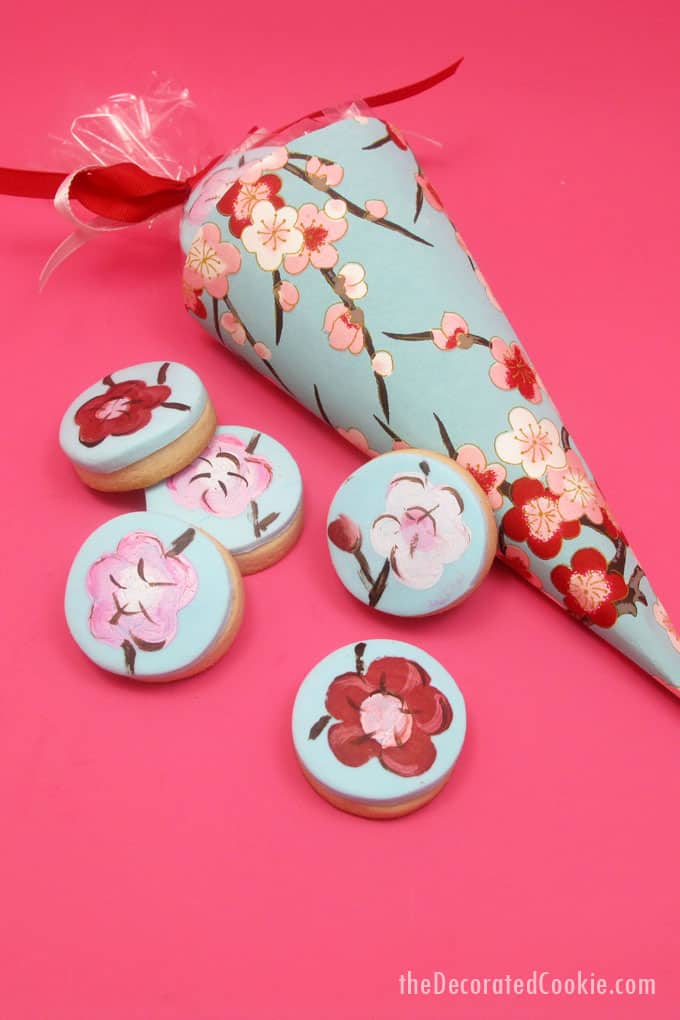
painted cherry blossom cookies
I created these painted cherry blossom cookies for wedding favors to be featured in Brides magazine. You can spot me again in the October issue of Brides.
In this blog post you’ll find the how-tos for making the painted cherry blossom cookies in paper cones that appear in the issue.
Instead of cherry blossoms, you can use any decorative paper you like, and just match the cookies to the paper. Or, instead of cookies, save some hours and use any small candies or treats.
Use these paper cone favors for weddings, showers, or any party.
more cookie painting ideas
If you need more cookie painting ideas, check out these watercolor flower cookies. Or these painted sunflower cookies. I also painted Eglantine flowers for get well cookies.
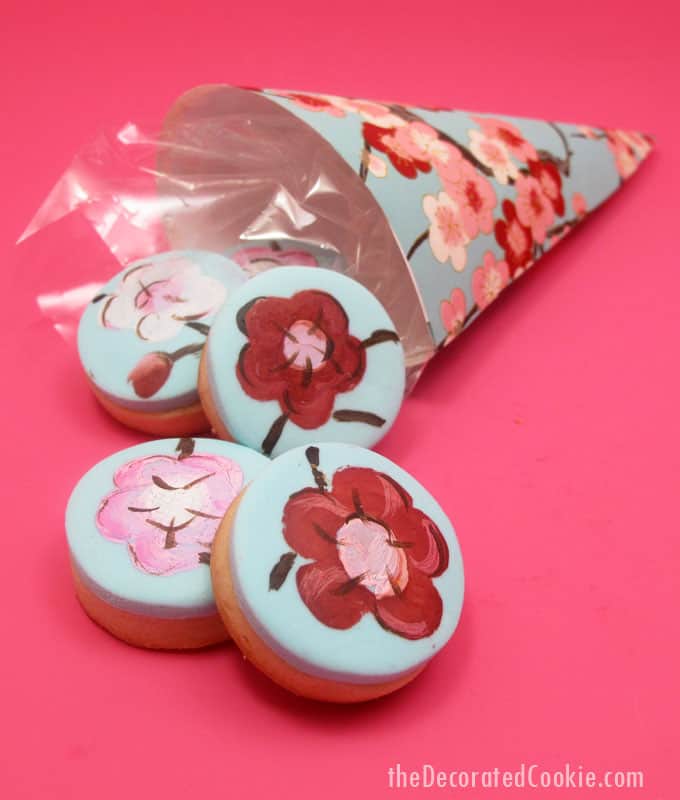
For the decorative paper shown, go to Paper Source for the Cherry Blossom pattern, the Yuzen Red and White Blossoms, but you can’t help but linger on this site with all the paper choices.
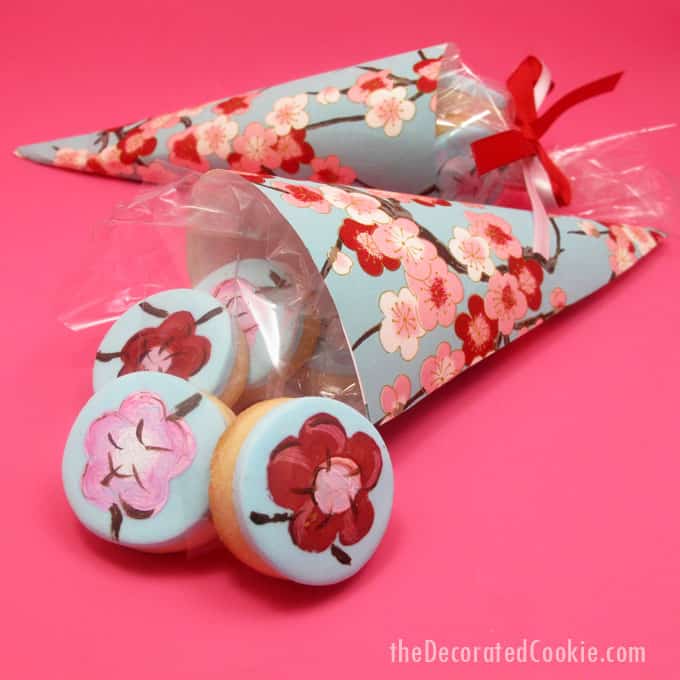
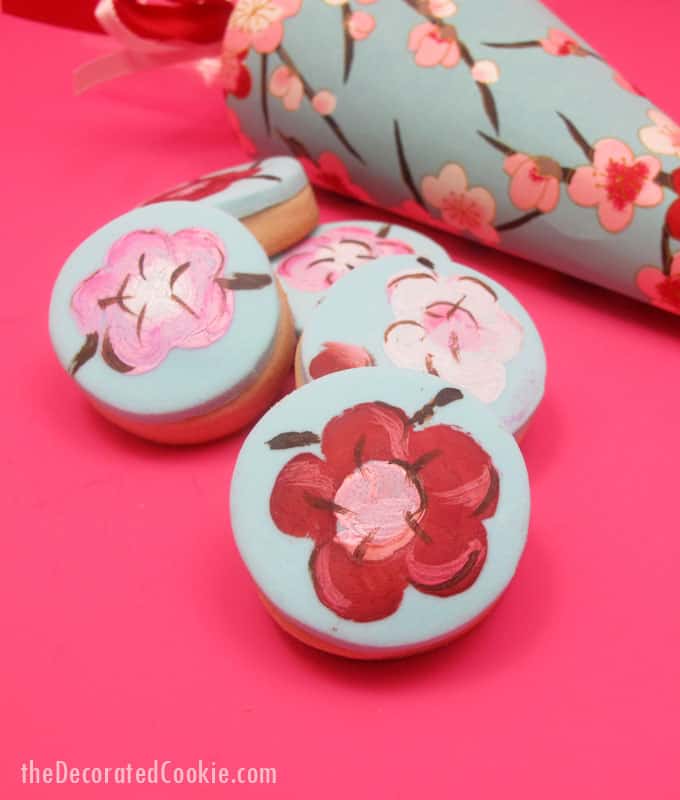
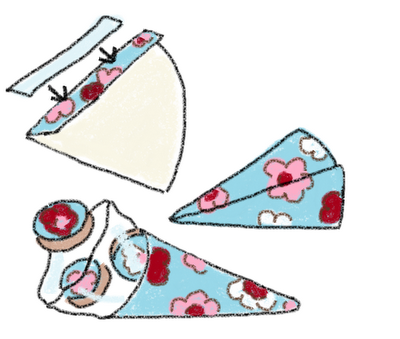
how to make paper cones
- paper cone template
- scissors
- pencil
- decorative paper
- letter-size paper
- double-sided tape
- cellophane favor bags
- ribbon
- cookies
how to make painted cookies
you’ll need:*
- cut-out cookie dough and frosting or icing
- fondant (store-bought or homemade fondant)
- food coloring
- 1 1/2 inch circle cutter
- small paint brushes
- palette
*The frosting is used to adhere the fondant to the cookie.
You may use anything you like, even store-bought, or just brush the cookie with light corn syrup instead of using frosting. Find fondant in the craft store, or make your own.
Find the circle cutter and paint brushes in the craft store.
For food coloring, I suggest Americolor Soft Gel Pastes (Sky Blue, Electric Pink, Red Red, Bright White and Chocolate Brown used here).
Find cookie decorating supplies HERE.
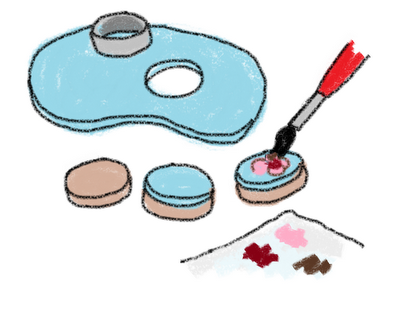
step one: Prepare your cookie dough, chill, roll out, cut out circles and bake according to the recipe. Let cool completely.
step two: Tint fondant by kneading a drop or two of food coloring into a handful of prepared fondant. Or, if you prefer, leave the fondant white. If the fondant gets sticky from overhandling, let sit uncovered at room temperature for about 15 minutes until easily pliable. Use confectioner’s sugar on your surface if needed to prevent sticking.
step three: Roll out fondant about 1/8 to 1/4-inch thick. Cut out circles with the same cutter you used to cut out the cookies. Adhere the fondant circles to the cookies with a dab of frosting, icing or brushed corn syrup. Let stiffen a couple hours, uncovered at room temperature, and then paint.
step four: Paint on your cookies: Pour a few drops of food coloring on your palette. Add a drop or two of water and mix if the food coloring is thick. For pastel colors, add a drop or two of white, mixing well. Play around with more drops of color or white to achieve desired colors, always starting with one drop at a time.


Lora says
What gorgeous favor idea. I love these colors as well.
Mima says
Awesome style :O) Romantic, chic & original. Also love colors
Kelly @ Kell's Kitchen says
These are some pretty cookies!
Trish - Sweetology101 says
this is clever…I might steal this idea for the Mothers Day tea at church this year b/c I have to come up with some sort of "favor" for the ladies… NEAT!
Jessica says
You really should change the instruction to thin the food coloring with water to something alcohol based. Water melts fondant and I'm surprised yours didn't here. Vodka or lemon extract are pretty common and won't make the fondant turn to wet goo.
enneffe artigianerie says
I love this idea!! It's very romantic and sweet. Great!
the decorated cookie says
One to two drops of water mixed with food coloring will not turn your fondant to goo, if you follow the instructions (let fondant stiffen a few hours, then mix 1 or 2 drops of water into gel paste coloring, if needed, to thin). This method is well-tested. Hopefully this doesn't confuse readers. Yes, water and fondant don't mix, and it's best to keep the work area dry. You use alcohol/extracts when you need a liquid, such as when mixing with gold or lusterdust powder, then painting large areas of fondant. This is not what I'm doing here! I'll not delete the comment in case anyone finds this conversation useful, and if anyone has any trouble, of course let me know! Just want to be sure readers don't confuse this method with another one. Thank you for your suggestion, but it's important to clarify this so other readers don't get confused by misinformation.
The Vanilla Bean Baker says
Congratulations on being featured in Brides. Your cookies & cones are adorably pretty!
Sue says
Meaghan, These cookies are soooo pretty, and match the paper perfectly! Thanks for the tips on painting with the food coloring. I have wanted to try it for awhile now.
Sue says
P.S. CONGRATS on the BRIDES magazine feature~WOW!
Diane {Created by Diane} says
These are absolutely beautiful, Congrats on the feature!
Linda V @ Bubble and Sweet says
So gorgeous I adore the design and the colors. Yay for the magazine exposure.I also mix my fondant with water and like you have not had issues with it. Actually, as I try to avoid using alcohol I sometimes mix my luster dust with water to make gold and as long as the fondant has set I have found it to be ok – that's the method I used recently for the detail on my masks. Obviously this is only small sections and would not work for a large area.
Mommyof2girlz/StephD says
Congrats on magazine the feature! Those are beautiful!!
the decorated cookie says
Thank you all!And yep, I agree, Linda. Stiffened fondant is a lot more sturdy and reliable than you'd think.
Mel M. M. McCarthy says
Stunning. LOVE the paper & colours.