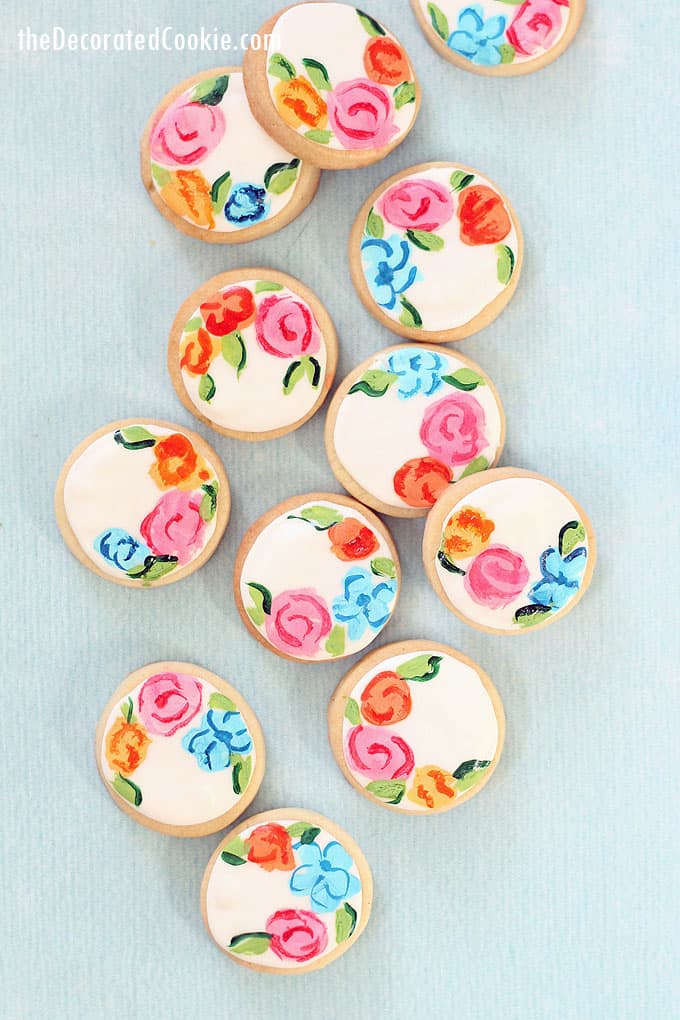
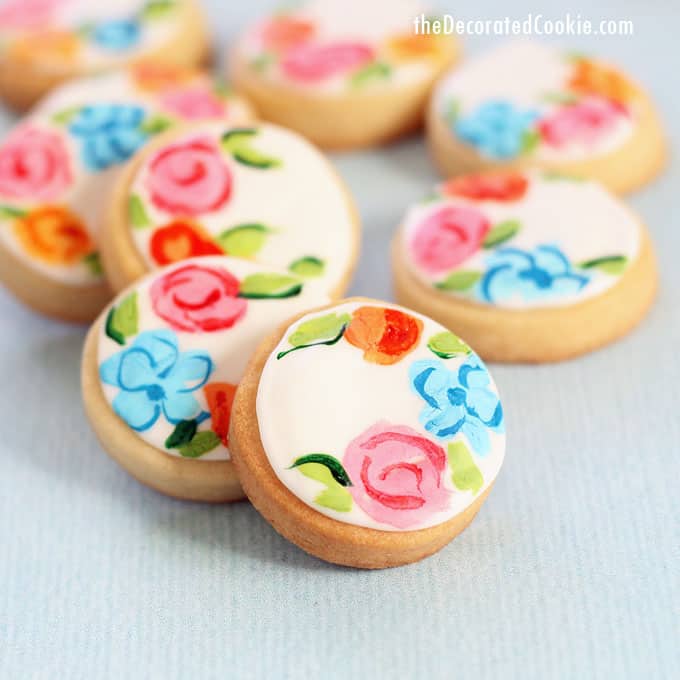
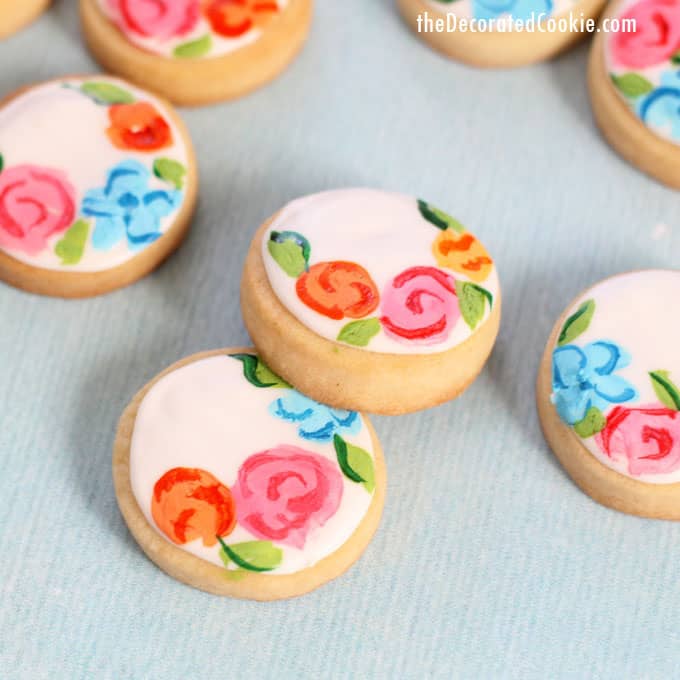
Painted flower cookies are surprisingly easy to make and such a beautiful, tasty gift to give.
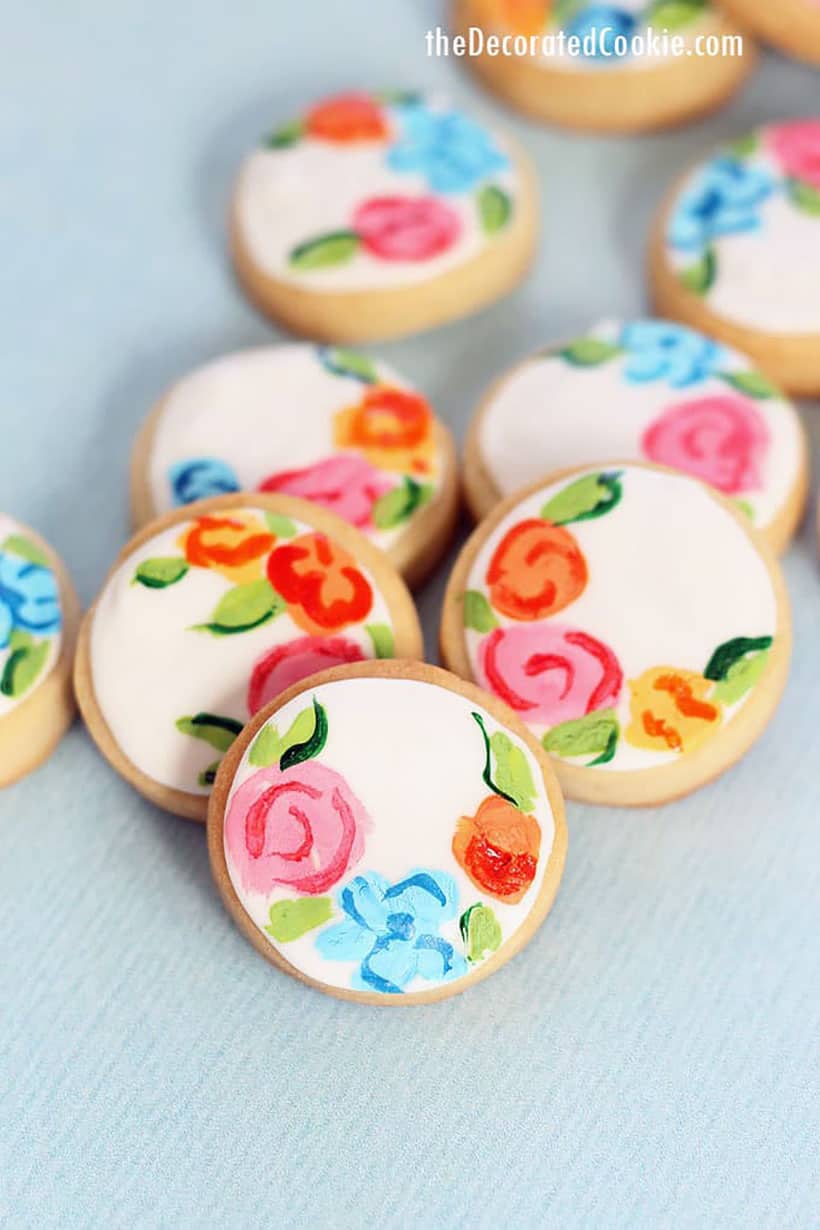
painted flower cookies
So, some good news and bad news. The good news is that these painted flower cookies are really quite simple and easy to make. The bad news is I made these for a gift, not anticipating a blog post, so I have no step-by-step pictures.
I’m going to do my best to explain the how-to for you though and I have an animated video at the end of this post.
I used my beloved gel paste food coloring to paint on cookies topped with royal icing. You may also paint on cookies topped with fondant, as I did with these similar watercolor flower cookies and painted birdhouse cookies. These flower cookies show the same cookie painting method of adding detail to royal icing.
how to paint on cookies
you will need:*
- cut-out sugar cookie dough
- royal icing
- circle cookie cutters (1 1/2 inch used here)
- disposable decorating bag
- coupler
- size 3 tip
- food coloring
- food-safe paint brushes
*Click the links above for more information, links to buy, and recipes.
food coloring you’ll need:
I prefer Americolor Soft Gel Pastes, available online or in specialty cake decorating stores. You will need White food coloring and other colors of your choice. For the flowers shown, I also used Electric Pink, Orange, Egg Yellow, Electric Green, Leaf Green, and Sky Blue.
bake your cookies:
Prepare the dough according to the recipe, chill, roll out, cut out circles, bake and let cool completely.
prepare your royal icing:
Make the icing according to the recipe. I usually work with one cup at a time. Tint your icing with white food coloring (this may take quite a few drops).
For these cookies, I like to use a 15-second consistency of royal icing. That is, icing that you use to both outline and fill so the end result is smooth. Thin the icing with drops of water until, when you overturn a spoonful, it takes about 15 seconds to sink into the icing and disappear.
Assemble a decorating bag with the tip and coupler, fill with the white icing, and close tightly with a rubber band.
decorate the cookie background:
For each circle cookie, pipe an outline on the cookie, then pipe back and forth to fill the cookie. The cookie should be smooth. LET THE COOKIES DRY OVERNIGHT. If you are in a humid climate, you may need to let the cookies dry for a day and a half. A low fan on the cookies also helps to speed the drying.
paint on the cookies:
Using a paper plate or a piece of wax paper as a palette, arrange your colors. For lighter colors, pour a few drops of white and use the back of a paint brush to stir in a drop or two of food coloring (such as pink, orange, or blue). For darker colors, pour a few drops of the color on the palette and add a drop or two of white. Mix up your colors to your own preference.
Use the paint brushes to paint the flowers. First, use a flat brush or larger brush to paint a circle or other shape with a light color as your flower’s base. Then, use the liner brush (or very small brush) to add detail on top with the same, darker color. Use a small round brush (brushes with a point at the end) to add leaves with the lighter green. Use the liner brush to add detail on the leaves with the darker green. Let the cookies dry.
painted flower cookies

Beautiful painted flower cookies. How to paint on cut-out sugar cookies topped with royal icing.
Ingredients
- cut-out sugar cookie dough
- royal icing
- circle cookie cutters (1 1/2 inch used here)
- disposable decorating bag
- coupler
- size 3 tip
- food coloring
- food-safe paint brushes
- food coloring you'll need:
- Americolor Soft Gel Pastes in Bright White, Electric Pink, Orange, Egg Yellow, Electric Green, Leaf Green, and Sky Blue.
Instructions
- Prepare the dough according to the recipe, chill, roll out, cut out circles, bake and let cool completely.
- Prepare the icing according to the recipe. I usually work with one cup at a time. Tint your icing with white food coloring (this may take quite a few drops).
- For these cookies, I like to use a 15-second consistency of royal icing. That is, icing that you use to both outline and fill so the end result is smooth. Thin the icing with drops of water until, when you overturn a spoonful, it takes about 15 seconds to sink into the icing and disappear.
- Assemble a decorating bag with the tip and coupler, fill with the white icing, and close tightly with a rubber band.
- For each circle cookie, pipe an outline on the cookie, then pipe back and forth to fill the cookie. The cookie should be smooth.
- LET THE COOKIES DRY OVERNIGHT. If you are in a humid climate, you may need to let the cookies dry for a day and a half. A low fan on the cookies also helps to speed the drying.
- Using a paper plate or a piece of wax paper as a palette, arrange your colors. For lighter colors, pour a few drops of white and use the back of a paint brush to stir in a drop or two of food coloring (such as pink, orange, or blue). For darker colors, pour a few drops of the color on the palette and add a drop or two of white. Mix up your colors to your own preference.
- Use the paint brushes to paint the flowers. First, use a flat brush or larger brush to paint a circle or other shape with a light color as your flower's base. Then, use the liner brush (or very small brush) to add detail on top with the same, darker color. Use a small round brush (brushes with a point at the end) to add leaves with the lighter green. Use the liner brush to add detail on the leaves with the darker green. Let the cookies dry.



Leave a Reply