
Jolly Rancher lollipops
Jolly Rancher lollipops are a great, easy fun food idea for kids (with a grown-up’s help) when said kids are bored and driving you nuts.
I came up with this idea years ago in exactly that situation. My daughter and I were together all day, everyday, day in, day out, from morning to night, without break (ie. she was above napping). And she’s not a loner. And she talks incessantly. So we usually head to the kitchen in those moments.

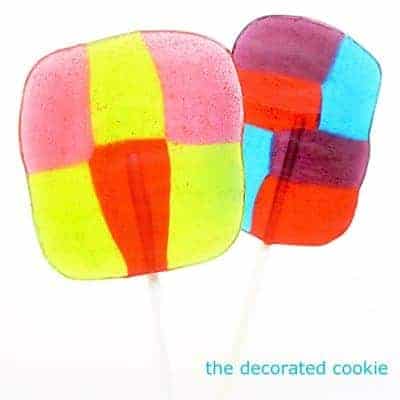
Here are the lollipops we made in 2009:

more lollipop ideas
Looking for more variations? Here are all of my easy lollipop ideas:
- Christmas Jolly Rancher lollipops
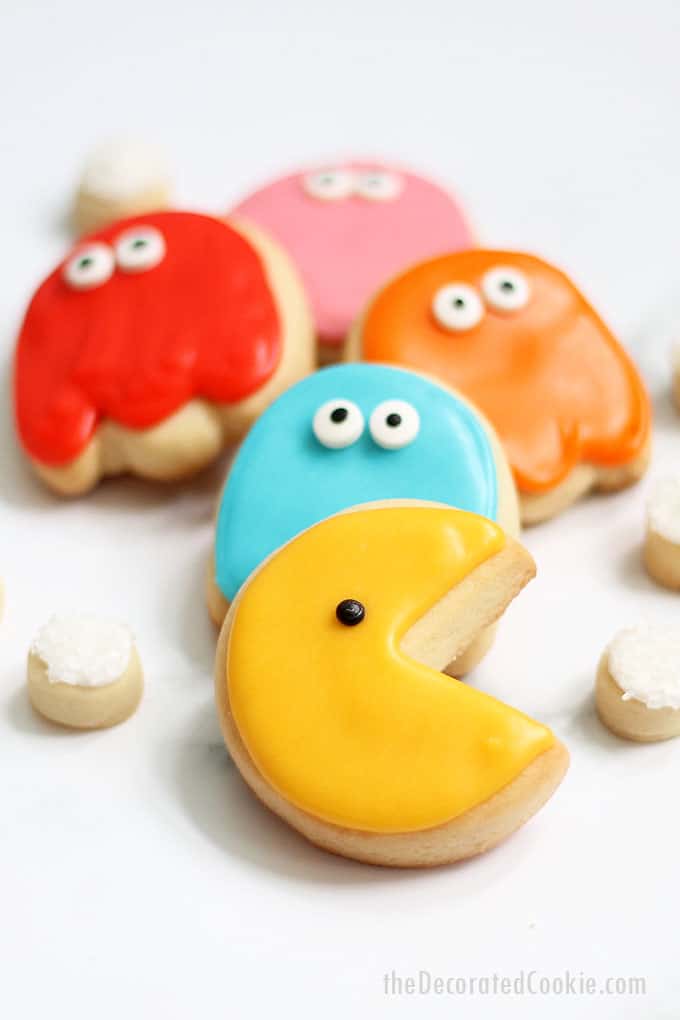
- monster Jolly Rancher lollipops
- Valentine’s Day Jolly Rancher lollipops
- Lifesavers flower candy lollipops

more fun food for kids
- Make silly veggie faces or veggie bugs.
- How about homemade smiley fries or pizza pops?
- Check out this roundup of 30 fun food ideas for kids.
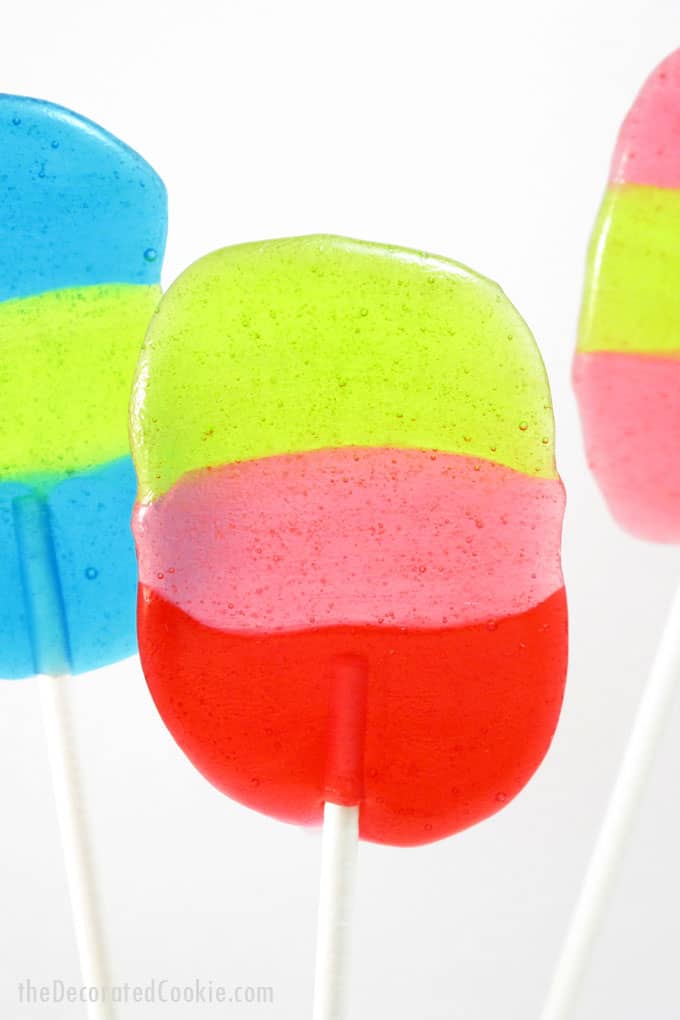
how to make homemade Jolly Rancher lollipops
ingredients and supplies
- baking tray
- aluminum foil
- parchment paper
- Jolly Ranchers candy
- lollipop sticks
instructions
Preheat oven to 275 degrees.
Line a baking tray with aluminum foil, then lay a piece of parchment paper on top of the foil.
Assemble unwrapped candies as desired. Remember to leave room for lollipop sticks later and arrange a few inches apart.

Bake about 6 to 10 minutes or until candies melt to desired effect.
IMPORTANT: Make sure to keep your eye on the lollipops! Don’t let them bake too long or they will be too thin and misshapen.
As soon as you remove the lollipops from the oven, place stick on the melted candy and turn.
Let cool completely on tray, then carefully remove paper from back. Warning! Your lollies will likely not be perfect ovals or rectangles or whatever shape you hope to create. There will be imperfections, but that’s what makes them lovely lollies, no?
For the flower lollipop, I put six jolly ranchers around one in the center. Because of the shape of the candy, they were spaced a bit, but when they melted, they merged.

Jolly Rancher lollipops
The origingal homemade Jolly Ranchers lollipops! Great fun food idea for kids.
Ingredients
- lollipop sticks
- Jolly Rancher Candies
- baking tray
- aluminum foil
- parchment paper
Instructions
- Preheat oven to 275 degrees. Line a baking tray with aluminum foil, then lay a piece of parchment paper on top of the foil.
- Assemble candies as desired. Remember to leave room for lollipop sticks later and arrange a few inches apart.
- Bake about 6 to 10 minutes or until candies melt to desired effect. Make sure to keep your eye on the pops! Don’t let them bake too long or they will be too thin and misshapen.
- As soon as you remove the lollipops from the oven, place stick on the melted candy and turn. Let cool completely on tray, then carefully remove paper from back.
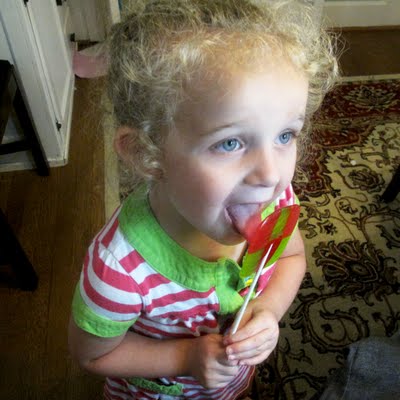
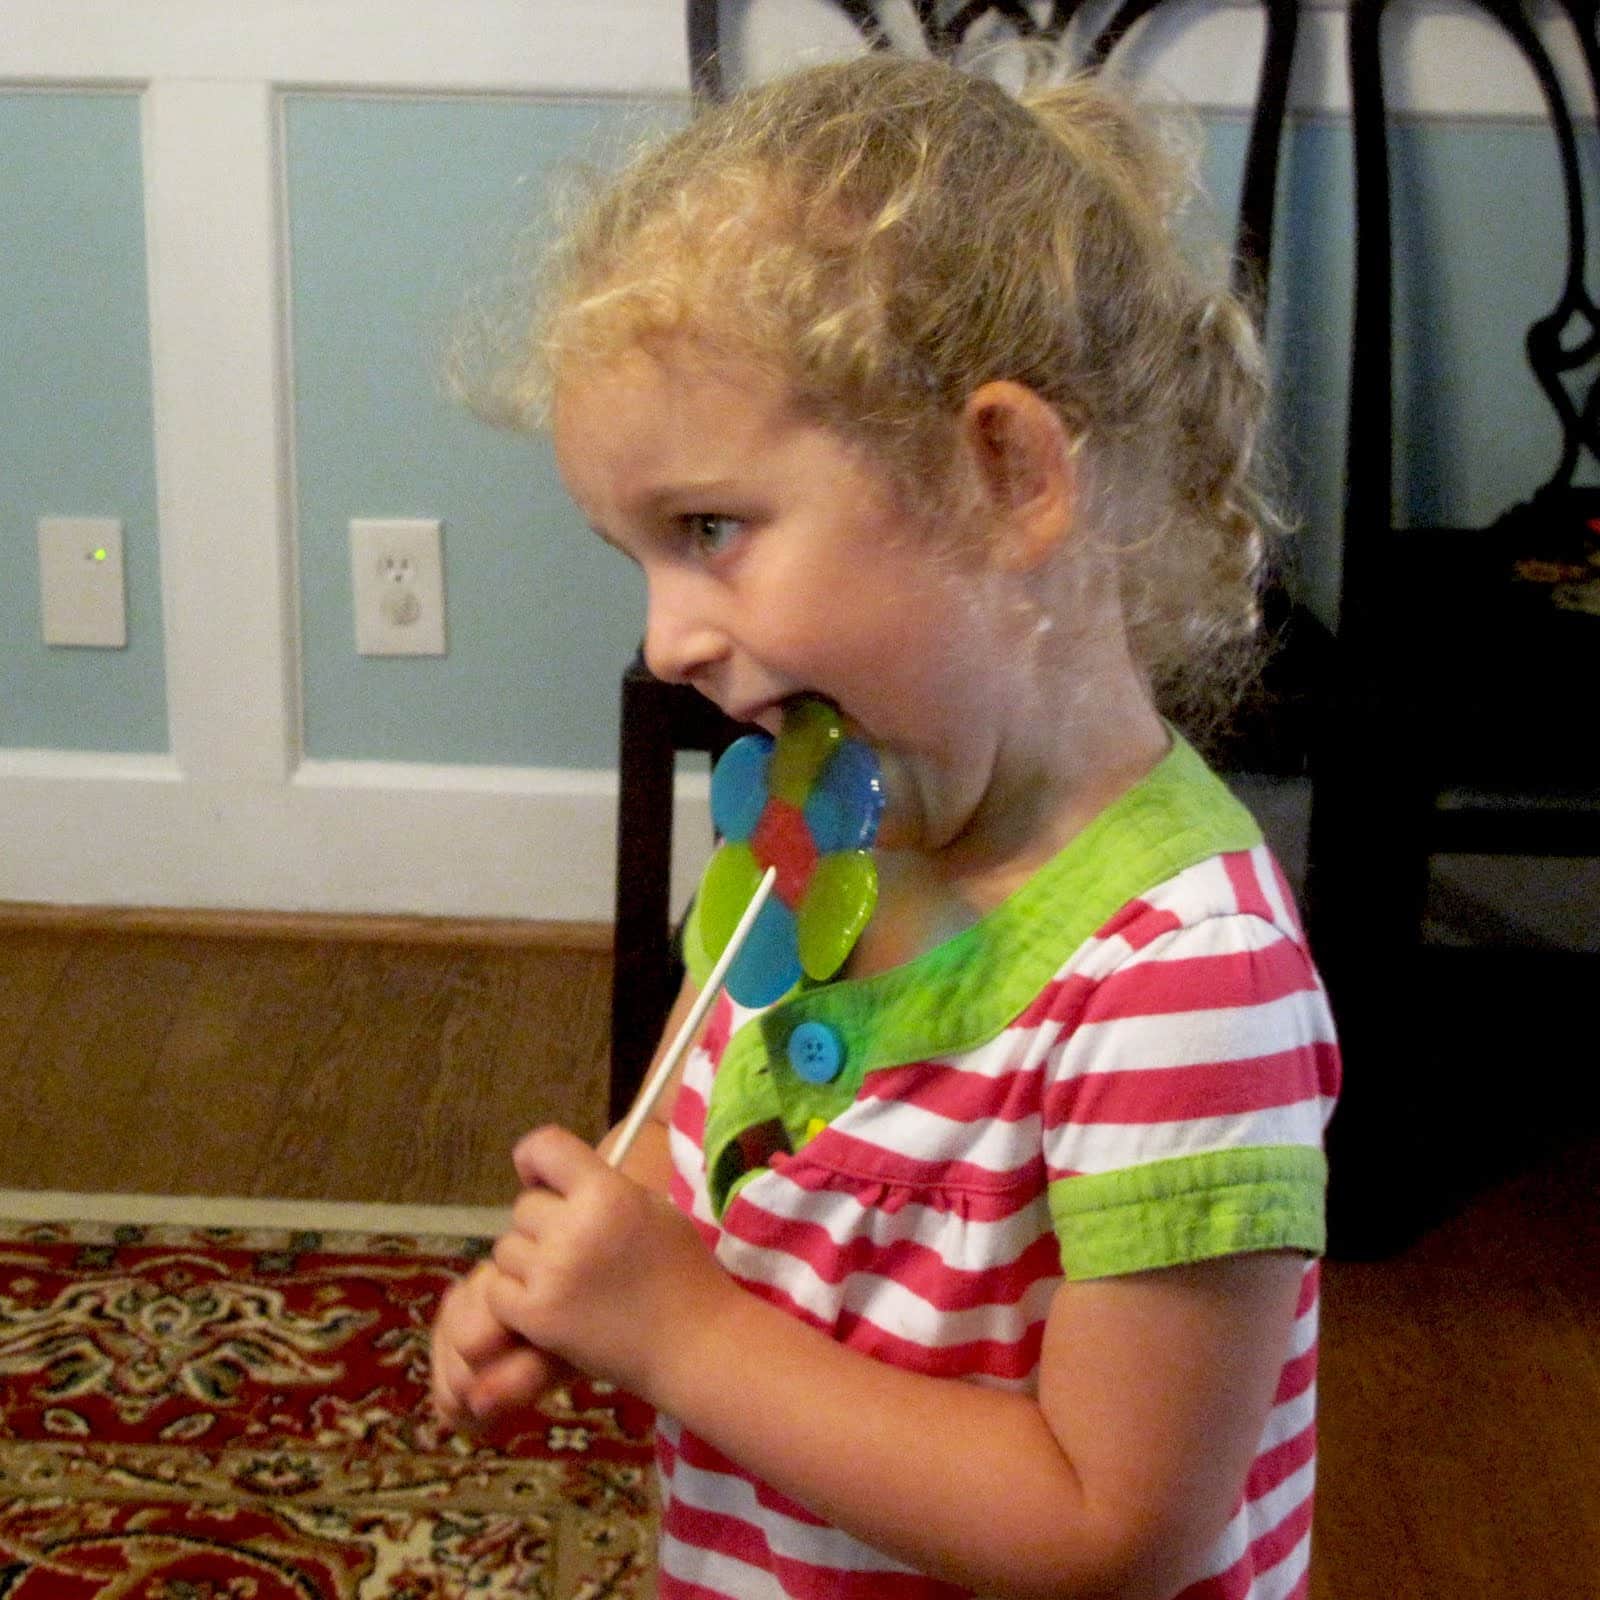
And naturally, I had some help with these. She unwrapped aaaallllll the candy, helped me arrange them on the tray, and sat in front of the oven painfully watching them melt into lollipops.


Emily says
These are so cute! Love the happy colors!
Jenny says
And while she has one in her mouth, she can't talk. Bonus!
Carley says
Man it must have been in the air today because my 2 were driving me mad as well! She is an absolute doll I love her curls! I am guessing she is about 4 since she will be in school in the fall well I have a 4 year old boy and a 16 month old boy. We are in the house day in as well so I feel your pain sister! Those are super cute though I will def have to try! Hugs Carley
Linda V @ Bubble and Sweet says
What a super cool idea!
Kimberly Chapman says
You can also microwave them. Put them in a silicon baking cup and microwave them incrementally on a medium heat until you know how long it takes your microwave to go.Then you can roll them up into a ball and stick a fondant figure on top and pretend it's a ray gun. See, I did: https://kimberlychapman.com/crafts/cakes/2010-feb-alienfilmfestival.htmlAlso, you can melt Lifesavers the same way and make a Tom Servo head.Melting things is fun, muahahahahaha. >:D
LilaLoa says
Ha ha ha. So cute! (The suckers and that little doll of yours!!)
franca says
but good and have nice views, very good, your baby is happyhello
Sweet Tooth Desserts says
This is such a cook idea, I have to try these!!
Trish - Sweetology101 says
oh geepers both of the little lollipops (human and sugar) are SO CUTE! Sophia and I will be adding these to our to do list.
Chic Cookies says
Thank you everyone! Oh my goodness, can everyone please click the link in Kimberly's comment? This cake is amazing. I posted a link to it on my other blog (ediblecrafts.craftgossip.com)
Kristen P - "Praz" says
Awesome. I missed this post the first time, so thanks for revisiting. I will most certainly be making these and will blog my experience as well!
CraftCrave says
Just a quick note to let you know that a link to this post will be placed on CraftCrave in the Cooking category today [15 Jul 01:00am GMT]. Thanks, Maria
Sue says
Good thing she's cute:) Love the lollies!
Plumbing Supplies says
The little girl really enjoys the lollipops so i think it must taste good. Thanks for sharing this post to us.
Cheryl @ Sew Can Do says
And now I have the answer to what to do when any (or all of my 3) are driving me crazy. Genius! My 5yr old is exactly like that – I am amazed he's not already awake and glued to my side as I type this!